*This post may contain affiliate links for which I earn commissions.*
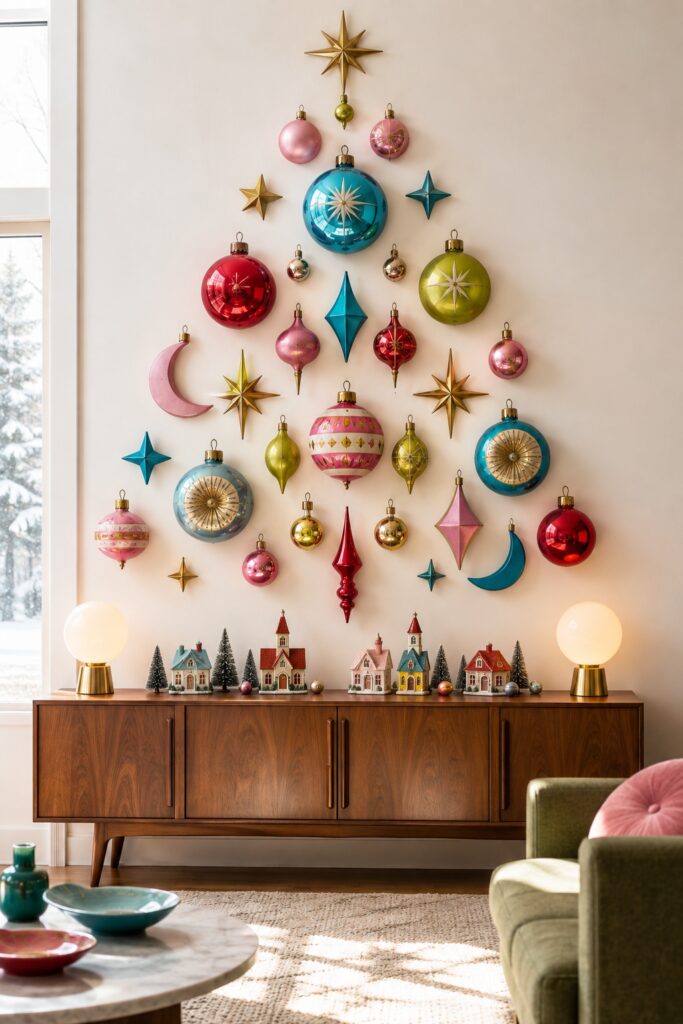
A Christmas tree does not have to occupy the floor to become the centerpiece of a room. This imaginative wall display uses oversized ornaments, geometric finials, celestial shapes, and gleaming starbursts to form a full tree silhouette above a midcentury-style cabinet.
The arrangement feels nostalgic without following a strictly traditional Christmas palette. Ruby red, turquoise blue, rose pink, citron green, and polished gold give it the playful spirit of vintage glass ornaments. A miniature village beneath the display creates a charming base and makes the entire wall feel like one complete holiday scene.
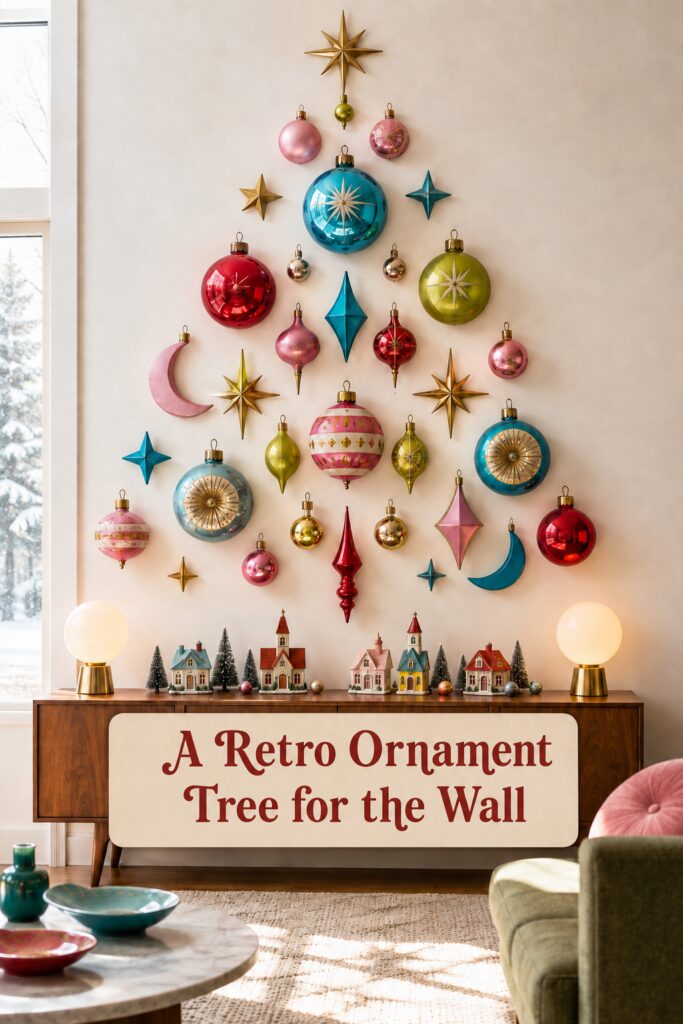
The inspiration image featured in this post was created with AI.
Why This Ornament Wall Feels So Distinctive
The strongest design decision is the use of recognizable Christmas decorations in an unexpected format. Rather than placing ornaments on branches, the pieces are mounted individually against a simple cream wall. Their placement creates the outline of a tree even though there is no greenery behind them.
Scale is essential to the effect. Large round ornaments establish the broad shape and give the display enough visual weight to fill the wall. Smaller balls, elongated finials, diamonds, stars, and crescent moons occupy the spaces between them.
The color palette adds another layer of personality. Shiny red and gold provide familiar Christmas warmth, while turquoise, pink, and yellow green introduce a spirited retro influence. Repeating these colors at different heights prevents one shade from taking over the arrangement.
The miniature village along the cabinet completes the scene. Its horizontal line gives the ornament tree a visual foundation and helps connect the wall display to the furniture below.
Start With a Clear Christmas Tree Silhouette
Before hanging anything, decide how tall and wide the finished arrangement should be. Use removable painter’s tape to mark a center line and the outer edges of a large triangle.
Place the topper first, then position one ornament near the center and two or three larger pieces across the lower half. These anchor points will make it easier to build a balanced tree shape.
The display does not need to be perfectly symmetrical. In fact, slightly varied spacing gives it the collected quality of a vintage ornament assortment. The outermost decorations should still follow an imaginary diagonal line from the topper to the lower corners.
Use Oversized Ornaments as Visual Anchors
The largest round ornaments do most of the work in this display. Their reflective surfaces create depth, catch light from the nearby windows, and make the wall feel festive from across the room.
Choose lightweight shatterproof ornaments whenever possible, especially for pieces that will be displayed directly above furniture. Look for several sizes rather than buying an entire collection in one diameter.
A mix of approximately 4-inch, 6-inch, and 8-inch ornaments can produce a convincing sense of scale. Reserve the largest pieces for the center and lower third of the tree, where they help widen the silhouette.
Shop Similar Oversized Christmas Ornaments
Look for lightweight ornaments with shiny, satin, or subtly patterned finishes. Turquoise, cherry red, pink, citron, and gold will capture the character of this particular arrangement.
Mix Round Baubles With Finials and Diamonds
Round ornaments alone could make the wall feel overly uniform. The pointed finials, onion shapes, diamonds, and elongated drops introduce movement and help fill narrow spaces.
Place vertical finials near the center line to draw the eye upward. Diamond ornaments can extend toward the outer edges without adding too much bulk. A few small round baubles can be tucked into gaps where a large ornament would make the display feel crowded.
Matching every shape is unnecessary. The variety is part of the appeal, provided the colors and finishes appear more than once.
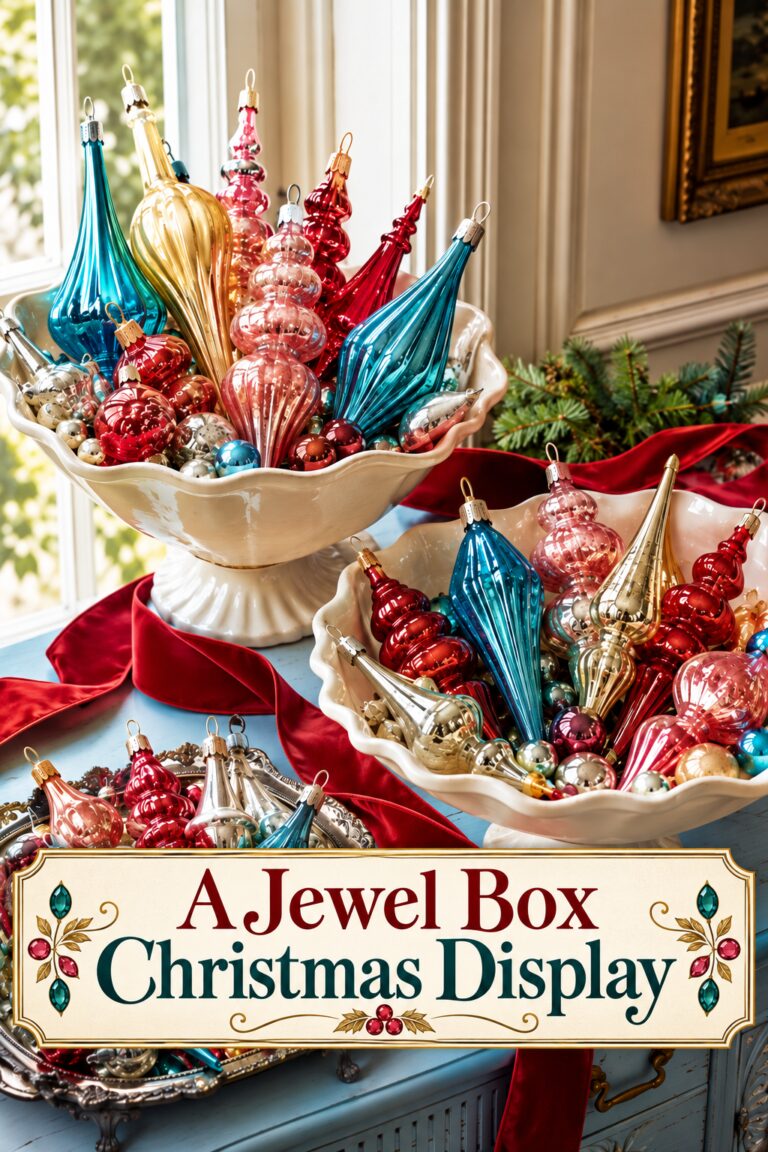
Look for Vintage-Style Finial Ornaments
Seek out assorted sets containing onion, teardrop, diamond, and pointed shapes. Shatterproof versions are practical for wall mounting, while a few smaller glass ornaments could be used in protected positions if the hanging method is secure.
Add Atomic Stars and Celestial Accents
Gold starbursts give the arrangement its unmistakable midcentury personality. They also offer visual relief from the concentration of round ornaments.
Use one substantial star as the tree topper, then repeat smaller eight-point stars throughout the display. Turquoise stars, crescent moons, and faceted diamonds can add a fanciful celestial note without weakening the Christmas theme.
These secondary shapes are especially helpful along the tree’s edges. Their points expand the silhouette while leaving plenty of visible wall between the decorations.
Add Starburst and Celestial Ornaments
Choose stars with crisp geometric points and metallic, mirrored, or dimensional finishes. Limit the celestial pieces to a handful so they function as accents rather than competing focal points.
Build a Retro Christmas Color Palette
The image succeeds because its colors are energetic but controlled. Red, pink, blue, and green appear throughout the tree, while gold caps and starbursts unify the assortment.
Begin with two dominant colors, such as turquoise and red. Add pink and yellow green in smaller amounts, then use gold as the common metallic finish. This method makes it easier to combine ornaments purchased from different collections.
If the wall is already visually busy, reduce the number of colors or select ornaments with simpler finishes. A cream, white, or pale neutral wall provides the best contrast for this kind of display.
Create a Miniature Village Beneath the Tree
A row of small houses and bottle brush trees turns the cabinet into the base of the ornament tree. It also carries some of the wall colors downward, making the composition feel connected from top to bottom.
Arrange the tallest church or house near the center, then vary the rooflines toward the sides. Place narrow trees between buildings to create breathing room. Tiny ornaments used as tabletop accents can echo the larger display above.
Two globe lamps positioned near the ends of the cabinet provide a subtle framing device. Similar symmetry could be created with lamps, lanterns, candlesticks, or small tabletop trees.
Shop Similar Miniature Christmas Village Pieces
Look for compact houses with pink, turquoise, red, or softly weathered details. Individual pieces may be easier to coordinate than a large matching set.
Add Bottle Brush Trees to the Village
Choose several heights and leave a little space around each building. Trees with lightly frosted branches will stand out against a wood cabinet without making the surface appear crowded.
Hang the Ornaments With Care
Use wall-mounting products that are rated for the weight of each individual decoration and appropriate for the wall’s finish. Weigh larger ornaments rather than estimating.
Small clear wire hooks can work for lightweight pieces because the hook can catch the ornament loop while remaining visually discreet. Heavier decorations may require a more substantial mounting solution.
Test every hanging product in an inconspicuous spot and follow its surface preparation, weight, curing, and removal instructions. Avoid placing fragile glass pieces where children or pets could reach them.
For an easier alternative, attach the ornament arrangement to a painted plywood panel or fabric-covered display board. The completed panel can then be secured to the wall using hardware rated for its total weight.
Keep the Arrangement Balanced
Step back frequently while building the display. Check that the largest ornaments are distributed across the width of the tree and that no single color forms an unintended cluster.
Leave visible wall around every piece. The negative space is what allows each ornament shape to be recognized and keeps the composition from looking like a crowded collection.
Finish with the smallest baubles and stars. They should correct awkward gaps rather than fill every empty area.
A Final Styling Thought
The charm of this ornament tree comes from its combination of careful geometry and playful variety. Establish the triangular outline first, then let an assortment of nostalgic shapes and lively colors give the wall its personality.