*This post may contain affiliate links for which I earn commissions.*
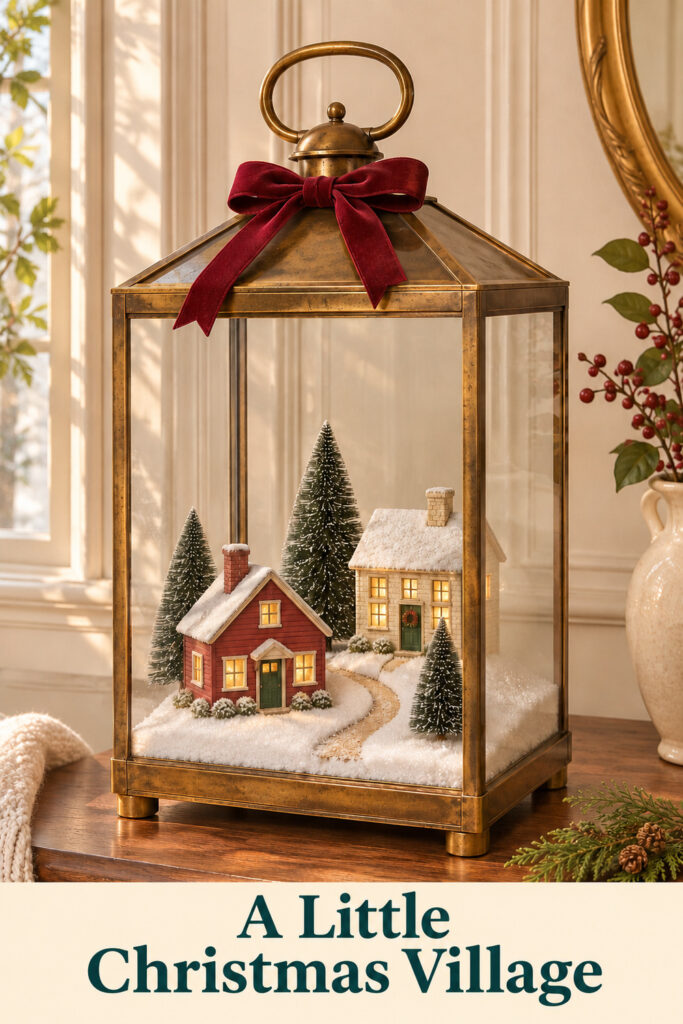
Two tiny cottages, snowy trees, and a winding path fit inside a brass lantern in this Christmas inspiration. The glass gives the scene a boundary, while the cranberry bow makes the lantern feel like part of the decoration rather than a container borrowed for the afternoon.
What appeals to me is the manageable size. You could borrow the idea for an entryway console or a sideboard without clearing space for an entire miniature town. The important choices are the size of the lantern, the proportions of the houses, and enough open space to see what you’ve arranged.
This image was created with AI as decorating inspiration.
What Makes This Lantern Village Work
The brass frame outlines the scene before your eye reaches the houses. That strong outline helps a small collection feel complete. Inside, the red cottage sits forward and the cream cottage sits farther back, so the arrangement has depth without needing a large number of buildings.
The path does useful work, too. Its curve carries the eye from the front edge toward the taller house. Evergreen trees fill the spaces beside and behind the buildings, but the roof area stays open. That empty glass is part of the appeal. Fill every corner with scenery and you lose the sense of a little world inside a lantern.
Warm window lights soften the snowy surfaces. They also repeat the warmth of the brass and the wooden console, which keeps the white scenery from looking chilly.
Find Glass display lanterns
Browse current Amazon options that can help you recreate this look.
Browse Glass display lanterns on Amazon →As an Amazon Associate I earn from qualifying purchases.
Key Pieces for a Contained Christmas Scene
A Glass Lantern With an Opening Door
Choose the enclosure before choosing buildings. Measure its usable interior floor, not just the outside width, and check the door opening. A house that fits inside on paper may still refuse to pass through the door. The lantern in the inspiration has a broad rectangular base and tall clear sides, both helpful features for showing a miniature scene.
Two Houses That Belong Together
Similar doorway and window proportions matter more than identical colors. One red building and one cream building can look related when their scale agrees. If you already own village houses, try them together outside the lantern first. Look at their roof heights and footprints before committing to the arrangement.
Trees With Different Heights
A taller tree behind the houses and smaller trees near the front create a simple rhythm. Keep the tallest tree below the roof structure so it doesn’t appear wedged inside. Bottle brush trees offer the clearly miniature texture shown here, but model evergreens can provide a less frosted interpretation.
A Stable Snowy Base
The snow is a surface treatment, not the foundation. Buildings need to rest on a firm insert that sits flat on the lantern floor. A thin scenic covering can conceal the insert afterward. Keep loose material away from door hinges, wiring connections, and any area you need to open regularly.
Gentle Battery Lighting
Look for small battery-powered village lighting or compatible LED components. Plan where the battery pack will sit and how you’ll reach its switch. Don’t shut a cable into a glass door or modify a building’s electrical parts to make them fit. Use a different lantern or building if the combination won’t accommodate the existing equipment.
One Exterior Ribbon Accent
The cranberry velvet bow connects the red cottage with the lantern’s outer frame. Its loops are full, but the tails stop above the village windows. A smaller bow would work on a narrower lantern. The point is to finish the container without hiding the scene you’ve just arranged.
Arrange the Village Before Adding Snow
Start with the empty lantern on its intended surface. Check that the door can open without hitting a wall, lamp, or mirror. Leave room to reach around the enclosure when turning the lights on. Moving a completed snowy display to discover that the switch is trapped is an avoidable little Christmas adventure.
Place the houses on the firm base and close the door gently. View the arrangement from the direction people will normally approach it. The cottages should be visible through the clear front panels rather than hidden behind a thick corner post. Shift them until their main features fall within the glass openings.
Add the tallest tree at the back, then test the smaller trees near the front. Avoid making a solid wall of greenery. A gap between a tree and a house lets you see the building edges and makes the display feel more spacious.
Next, plan the path. You can suggest one with a narrow strip of differently textured scenic material rather than building a complicated roadway. Keep it broad enough to read from outside the enclosure, but leave the houses on stable, level footing.
Only after the layout works should you add the thin snow treatment and conceal the lighting wires. Switch on the lights before closing everything up. Their glow should illuminate windows, not turn the whole interior into a bright yellow box.
Adapt the Display to Your Furniture
A console needs enough depth to support the lantern’s entire base. Avoid letting the front feet project over the edge, even if the arrangement looks appealing from straight ahead. A broad sideboard may be the better home for a deep enclosure.
For a small lantern, reduce the village to one cottage and a few trees. Keep the clear roof space and visible path, which preserve the same enclosed-scene effect. For a larger lantern, resist immediately doubling the building count. Larger gaps can make the existing pieces easier to enjoy.
Set the display against a fairly quiet background. The pale wall in the image helps the dark tree shapes show through the glass. A busy patterned wall can compete with the buildings, especially when reflections appear on the front panels.
Shop Similar Pieces
Look for Wide Glass Display Lanterns
Compare interior measurements, door size, and the thickness of the frame. A broad viewing panel will show more of the houses than a lantern divided into many narrow panes. Check that the base is level and intended for stable indoor display.
Shop Similar Miniature Christmas Houses
Choose a small coordinated group with compatible proportions and a lighting arrangement you can use safely. Check whether the listing measurements include chimneys or roof decorations. Those little projections count when you’re working inside a fixed enclosure.
Add Bottle Brush Trees in Mixed Heights
Look for a restrained range of sizes rather than a set of equally tall trees. Stable bases are useful even when you’ll cover them with scenery. Choose tree colors that leave a clear contrast against the cottages.
Look for Soft Velvet Christmas Ribbon
A deeper red ribbon echoes the cottage without competing with its details. Check how the ribbon holds a bow and whether its width suits the lantern top. Keep long tails clear of the opening and lighting controls.
Final Styling Tip
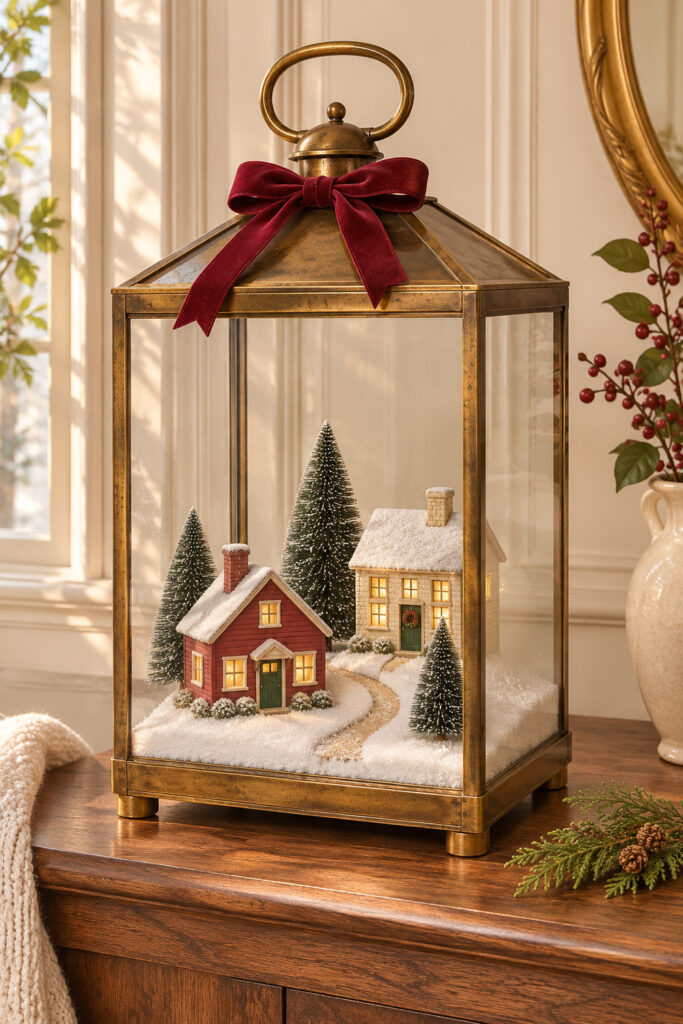
Before adding anything beside the lantern, look at it with the lights on and the door closed. If you can see both cottages, the path, and the tree silhouettes, you have the important parts. One short evergreen sprig on the console may be all the extra decoration the scene needs.