*This post may contain affiliate links for which I earn commissions.*
Rose toile, cream braid, and tiny gold bells give these LED pillar candles a dressed-up Christmas base. The fabric bands repeat the sofa’s floral detail, while the bows connect them to the tree behind the tray. They’re separate sleeves, so the candles can lift out when you need to reach their switches or battery doors.
This tutorial proposes a practical version using thin card covered with fabric. Make each sleeve to fit its own candle rather than guessing dimensions from the picture. The rings are decorative covers for battery-operated LED pillars only, not holders for real candles.

The inspiration and instructional images were generated with AI. This tutorial proposes a practical adaptation and does not document a physically tested project.
Choose the supplies around your candles
Start with three LED pillar candles that have stable, flat bases and controls you can reach after removing the sleeves. Different candle heights will give the finished tray some variation. Check each candle’s directions before putting a decorative cover around its lower body, and leave any vents or required clearances unobstructed.
Suggested sleeve height is about 2¼ inches, provided that suits your candles and their instructions. This is a proposed starting size, not a measurement taken from the image. Use a shorter band if the candle is small or a control would be covered.
Gather these materials:
- Thin, firm craft card or light posterboard that bends smoothly around the candle
- Rose toile cotton fabric, with enough length for each sleeve and folding allowances
- Narrow cream decorative braid for the upper and lower edges
- Raspberry velvet ribbon for three small bows
- Three small gold bells and strong matching thread
- Fabric adhesive suitable for bonding your chosen cloth to card
- Suitable craft adhesive for the card overlap, if the fabric adhesive isn’t intended for that joint
Tools include a flexible measuring tape, pencil, ruler, paper for a test band, scissors, small clips, and a sewing needle. Keep a protective mat beneath the work. An optional oval tray, faux evergreen tips, and lightweight ornaments can complete the display after the sleeves are finished.
Choose a small enough toile pattern that part of its design remains visible on a short band. Very thick fabric can make the folded edges bulky. Test a scrap with your adhesive first, following its directions for application and drying.
Build and check the removable sleeves
Step 1: Make a paper test band
Wrap a strip of paper around the lower candle body, leaving a little ease so it can slide off without scraping. Mark where it meets, then add about ½ inch for an overlap. Check the fit from the direction you’ll use to remove the sleeve. A wider candle base may require a slightly roomier ring.
Cut the paper to your chosen height and try it again. It should sit on the tray without reaching the candle’s flame area or covering required openings. Use this paper band as the template for that candle. Repeat for the others if their diameters differ.
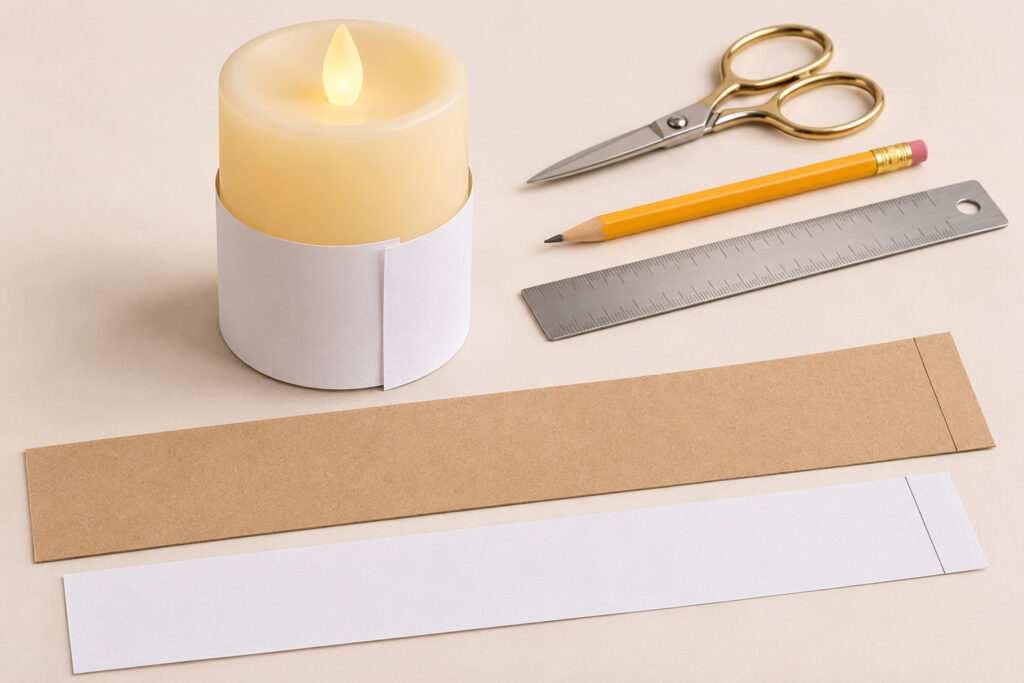
Step 2: Join a level card ring
Trace the template onto card and cut a clean strip. Curve it gently with your hands, then overlap the ends at the marked line. Glue the overlap with an adhesive suited to the card and hold it with clips as directed by the adhesive maker.
Stand the ring upright while checking its edges. The upper and lower rims should be level, not rising where the seam joins. Let the joint set fully, remove the clips, and test the candle fit again. If it catches, adjust or remake the card ring before adding fabric.
Step 3: Cover the outside and turn in the edges
Cut a fabric rectangle long enough to go around the finished ring with about ½ inch of overlap at the back. Add about ½ inch above and below the card for folding. These are working allowances; adjust them if your card or fabric needs a different fold.
Apply adhesive as directed and smooth the fabric around the outside, keeping the main pattern upright. Fold under the final short edge for a neat back seam. Make small spaced clips in the upper and lower fabric allowances, stopping short of the card edge, then fold those tabs inside and adhere them. The clips help the fabric follow the curve without bulky gathers.
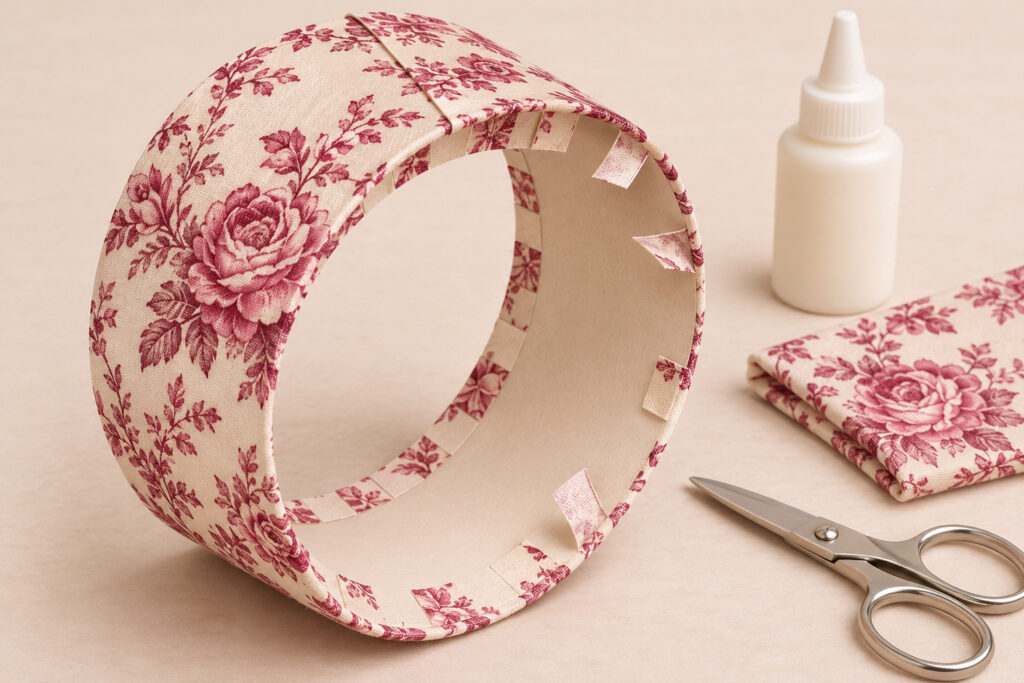
Let the adhesive dry before sliding the candle through. Check for loose tabs or glue ridges that would snag it. Press down any lifted edge and allow it to set again; don’t force the candle through a tight sleeve.
Step 4: Add the cream braid
Wrap braid around the upper outside edge, starting and ending at the back seam. Cut enough for a neat join, then attach it with an adhesive suitable for both materials. Repeat around the lower outside edge. Keep the trim on the ring rather than under its base so the sleeve stands flat.
Look around the whole rim before the adhesive sets. The braid should follow one level line instead of dipping at the front. Trim stray threads only after the attachment is secure, taking care not to cut the fabric beneath them.
Step 5: Sew the bell to a bow and attach it
Tie a small velvet bow and adjust its loops before trimming the tails. Sew the bell firmly through its loop to the bow’s center knot with several passes of strong thread. Knot the thread at the back and check that the bell can’t slip free with a gentle tug.
Attach the bow to the outside front of the sleeve, opposite the fabric seam. Use an appropriate adhesive and let it set completely. Keep the bow small enough that its tails stay off the tray surface.
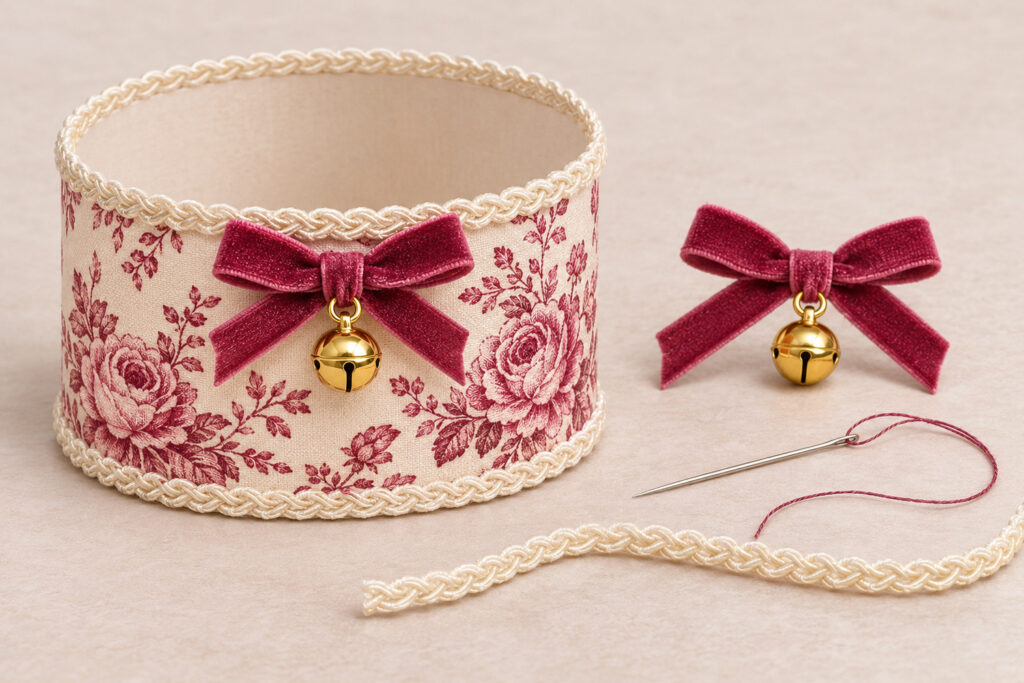
Step 6: Fit the candles without fastening them
Set each finished sleeve on a flat surface and lower its LED pillar into the center. Don’t glue the candle to the ring. Lift it out again to confirm that the battery door and switch remain accessible and the sleeve stays intact.

Finish the details without adding bulk
Use the same braid and ribbon across the set so different candle heights still feel related. If your toile is pale, a deeper bow gives its front a clear center. Plain rose fabric is a useful substitute when a large print would disappear around the curve.
For a simpler version, omit the bell and keep the velvet bow. Don’t replace it with a heavy hanging ornament; the thin card sleeve isn’t designed to carry weight. Store the rings upright and dry so their shape isn’t crushed between seasonal decorations.
Position the finished rings on a Christmas tray
Space the pillars on a stable tray with each base fully supported. Add a little faux greenery and a few ornaments around them while keeping controls and required clearances unobstructed. Use only lighting and accessories intended for this type of display, following their instructions.
Keep the small bells and loose ornaments out of reach of young children and pets. When the display needs attention, lift the candles out rather than pulling on the bows. Check the fit of the first finished sleeve before making the remaining two; that small pause can save you from repeating an awkward seam.