*This post may contain affiliate links for which I earn commissions.*
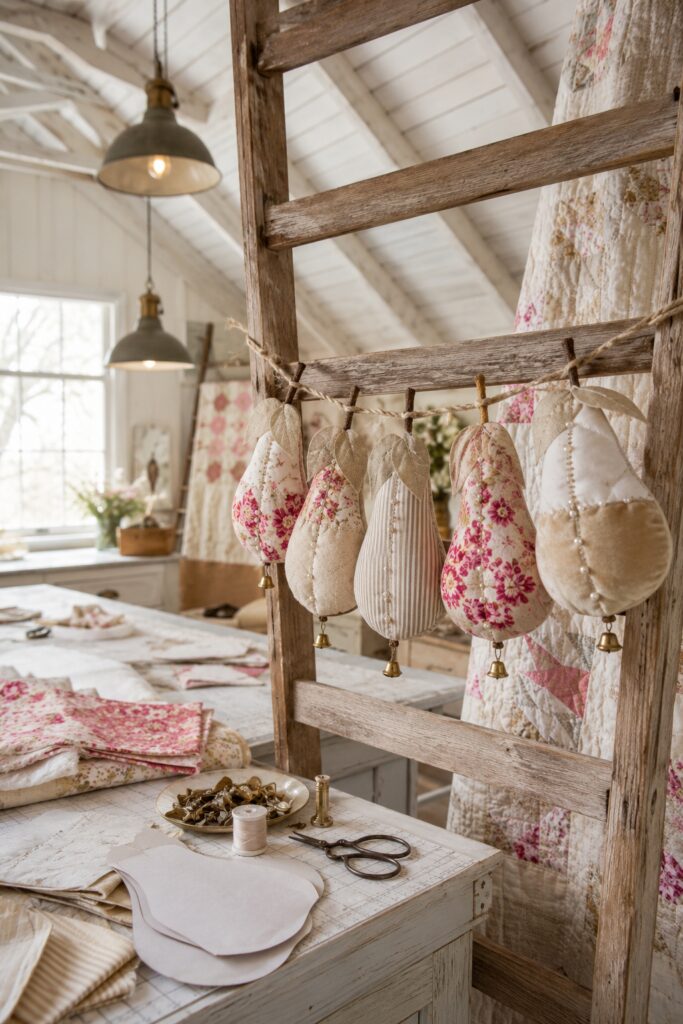
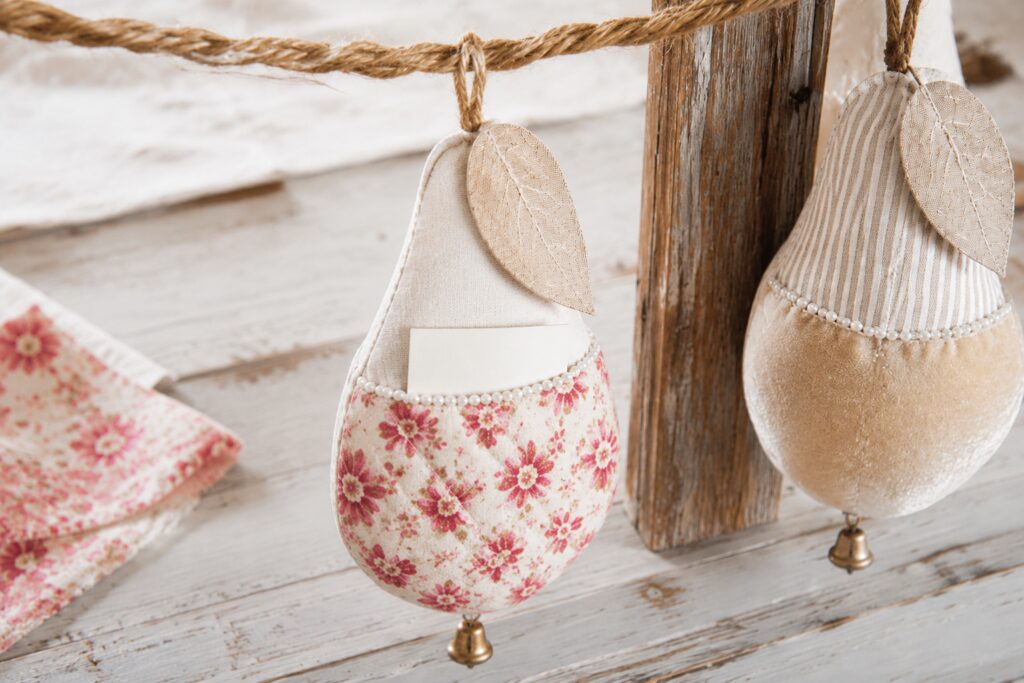
Fall decorating can have a softer side: ivory linen, oatmeal stripes, a little champagne velvet, and pink flowers that look gathered from a basket of treasured fabric scraps. In this inspiration, pear shapes hang from natural cord against an old wooden ladder, with pearl details and tiny bells giving them a collected, handmade character.
This version turns that idea into lightly padded fabric pears with genuine little front pockets. The quilting stays manageable, and each piece can have its own fabric combination.
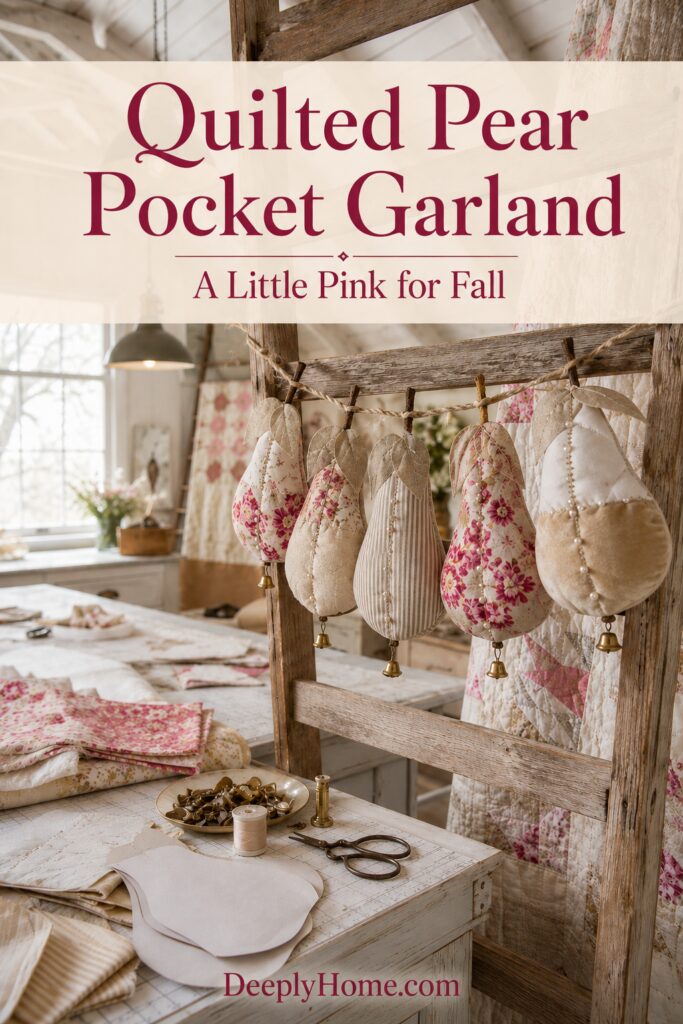
The inspiration and instructional images were created with AI. They illustrate a proposed DIY method rather than a photographed project made by hand.
A Garland of Little Harvest Pockets
You will make five fabric pears with quilted pockets, linen leaves, wrapped flax stems, and optional bells. Suggested finished bodies are about 7 inches tall and 4½ inches wide, excluding stems and bells. Allow approximately 4 to 5 feet of cord, including tying ends.
The pictured seams and pocket shapes are interpreted as separately quilted front pockets sewn onto simple pear bodies. This avoids complicated three-dimensional piecing while keeping the texture and patchwork effect. Shallow padding helps the openings remain usable for small paper notes.
Gather Your Fabrics and Sewing Supplies
Materials
- About ½ yard of ivory linen or a firmly woven linen-cotton blend for bodies and leaves
- One fat quarter each of pink floral quilting cotton and oatmeal ticking; use these for pockets or substitute them for some ivory fronts
- A small piece of nonstretch champagne velvet or velveteen for one or two pockets
- About ¼ yard of lightweight cotton for pocket linings
- A piece of low-loft quilt batting about 12 by 18 inches
- A small handful of polyester fiberfill per pear, added gradually
- Natural flax or linen cord: about 5 feet of 3 mm cord for the garland, plus about 2 yards of thinner cord for loops and stems
- Matching sewing thread and strong thread for hanging attachments
Tools
- Paper, pencil, ruler, and fabric marking tool
- Fabric scissors, pins or clips, hand-sewing needles, and a blunt turning tool
- Sewing machine, or a hand needle for small backstitches
- Iron and pressing cloth, used according to each fabric’s care instructions
Optional Finishing Details
- About 1 yard of sew-on imitation pearl trim with small beads
- Five lightweight brass or brass-colored bells, roughly ½ inch tall, with smooth attachment eyes
- Embroidery floss for leaf veins and visible stitching
- Small paper slips for gratitude notes
These quantities include some working room. Lay out your templates before buying fabric, particularly if a large floral repeat needs careful positioning.
Want to Make this Pear Garland?
I’ve put together a convenient Amazon supply list featuring hand-picked, well-rated products that work for this DIY project so you won’t have to hunt around for them yourself.
See My Hand-Picked Supply ListAs an Amazon Associate I earn from qualifying purchases but this doesn’t increase your price at all!
Plan the Fabric Order First
Arrange the five fronts before cutting. Try ivory with pink, floral with ivory, ticking with velvet, ivory with pink, and ivory with velvet. Repeating the pink twice gives the eye somewhere to return without covering every piece in flowers.
Prewash washable cottons and linen if appropriate, then press. Treat velvet separately according to its care instructions; pressing directly onto the pile can flatten it. Keep all velvet pieces facing the same direction so they reflect light consistently.
Make one complete sample before cutting the full set. A paper shape is only a starting point, and a trial piece lets you adjust the pocket depth and fullness.
Sew the Garland Step by Step
1. Draw the Body and Pocket Templates
Draw a symmetrical pear about 7 inches tall and 4½ inches across its rounded lower section. Give it gently sloping shoulders and a rounded narrow top, rather than a sharp point. This is the finished outline. Add a ¼-inch seam allowance all around for the cutting template.
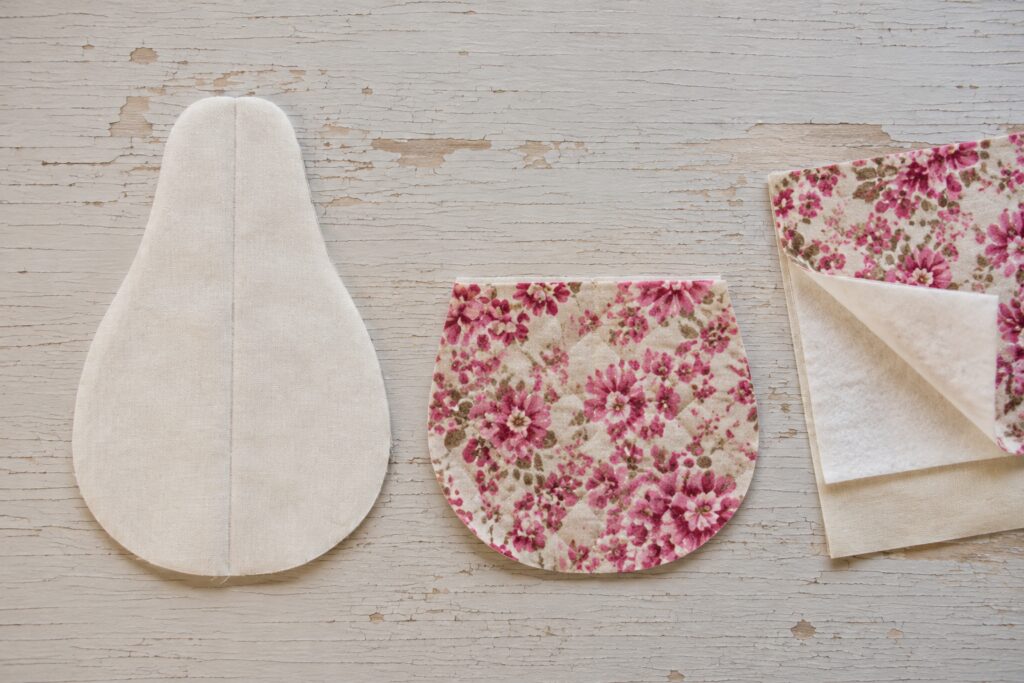
Trace a pocket shape over the lower half of the finished outline, with a straight top and curved bottom. Bring its curved outline inward about ¼ inch so the completed pocket will sit inside the body seam. Add a separate ¼-inch seam allowance around this pocket template.
Cut one front and one back per pear. Cut one pocket face and one lining per pocket. Cut batting to the pocket’s finished outline, without seam allowance. Keep ticking stripes vertical.
2. Make and Quilt the Pocket Panels
Place a pocket face and lining right sides together. Position batting against the wrong side of the lining, centered inside the seam allowance. Pin or baste it in place. Stitch around the pocket with a ¼-inch seam, leaving about 1½ inches open along the straight top.
Trim the curved seam allowance slightly and clip small notches without cutting the stitching. Turn right side out, placing the batting between face and lining. Smooth the curve with a blunt tool. Fold the opening allowances inward and topstitch the entire top edge closed.
Mark diagonal lines approximately 1 inch apart, then another set crossing them. Quilt through all three layers, working from the center outward. Small running stitches or machine stitching both work. Stop if the fabric begins to pucker and smooth the layers before continuing.
3. Attach the Pocket Without Closing Its Mouth
If using pearls, hand-sew the trim just below the finished pocket top. Stitch around its supporting thread or braid, keeping beads out of the future side stitching. Secure cut ends according to the trim’s construction.
Center the pocket on the right side of the pear front. Pin the curved edge, keeping the top free. Edgestitch down one side, around the bottom, and up the other side. Reinforce the two top corners with a few extra stitches. Do not stitch across the mouth or through the back panel.
Slide a paper slip inside to check that the pocket opens. Lay the back nearby and set out the cord pieces for later. Any loops or stems shown loose at this stage are not yet attached.
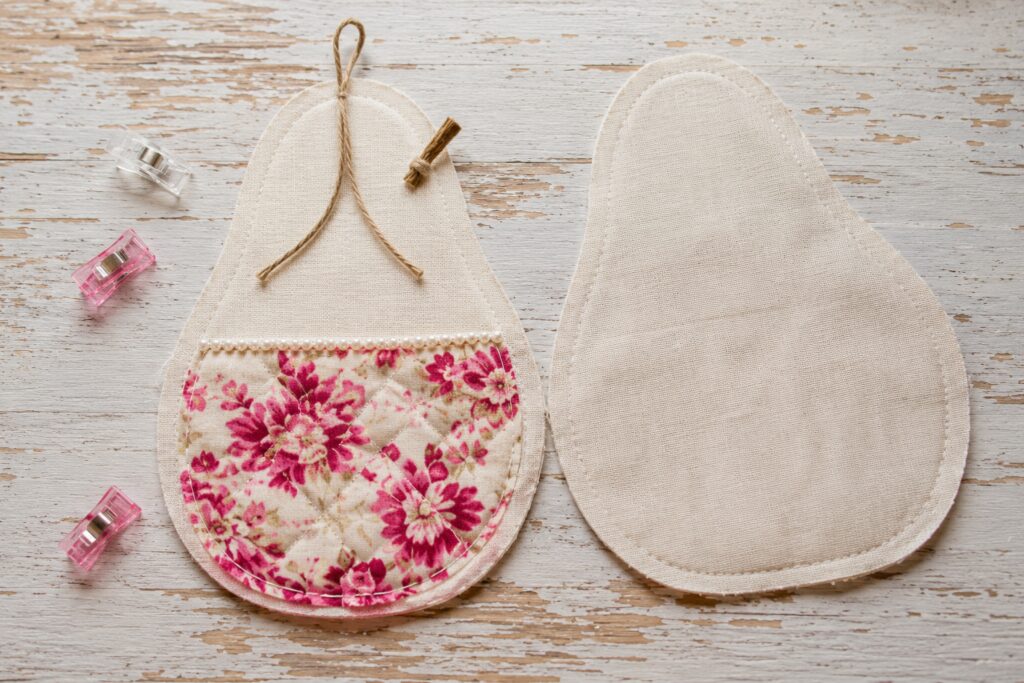
4. Sew and Lightly Pad the Body
Place the front and back right sides together, enclosing the pocket between them. Sew around the outer edge with a ¼-inch seam, leaving a 2-inch turning opening on one side above the pocket. Keep the pocket clear of this outer seam.
Clip the curves carefully and turn through the opening. Ease out the narrow top with a blunt tool. Add small tufts of fiberfill, beginning at the shoulders. Use just enough to soften the silhouette; the body should remain shallow rather than becoming a firm stuffed toy.
Fold the opening allowances inward and close with ladder stitch. Check the pocket again. If padding pulls its mouth tight, remove some before completing the closure. Optional running stitches close to the outer edge give a softly outlined finish.
5. Add Leaves, Stems, and Hanging Loops
Cut two matching pointed oval leaves from linen, about 2 inches long. Stitch them wrong sides together with small stitches near the edge, leaving a modest raw border. Add a central vein and a few angled branches with embroidery floss.
For each stem, fold a short length of thin flax cord into a narrow bundle about 1½ inches long. Wrap it firmly with thread and secure the wrapping. Hand-sew its lower end to the rear upper edge of the pear, leaving about an inch visible. Sew the leaf base beside it.
Make a separate hanging loop from about 5 inches of thin cord. Overlap its ends on the back by about ¾ inch and sew them firmly through the back fabric and upper seam allowance with several strong stitches. Hide the attachment behind the stem and leaf. The loop carries the weight; the decorative stem does not.
6. Attach the Bells and Thread the Cord
Sew a bell through its attachment eye to the bottom seam using several passes of strong thread. Catch the seam allowance for support. Keep the thread loop short, knot securely, and tug gently to check it.
Thread the main garland cord through each hanging loop. Space the bodies a few inches apart, adjusting to your display. A small hand stitch connecting each loop to the cord can keep them from sliding toward the center.
Keep the Collected Look
Let different textures do the work. Crisp ticking looks especially good beside softly quilted florals, while a single velvet pocket adds a little sheen. Choose small-scale flowers so a recognizable cluster fits within each pocket.
Keep pearl accents narrow and bells light. Slight variations in leaves or hand stitches suit the inspiration, but consistent body sizes help the garland feel intentional.
Small Changes That Still Suit the Project
For a quieter arrangement, use just one pink pocket and repeat ivory elsewhere. For a family Thanksgiving display, tuck a gratitude note into each opening. You can also omit the bells or make three pears for a small shelf.
Use the same construction for every variation so changing fabrics does not turn into five different sewing projects.
Find a Place for the Finished Garland
Hang it indoors across a securely fixed decorative ladder, cabinet, or shelf using suitable attachment points. Keep it away from flames, heaters, damp windows, children, and pets; the cord, beads, and bells are decorative components rather than toys.
Start with one fabric pairing you love. Once that first pocket opens neatly and the body hangs comfortably, repeat the method and let the remaining scraps give each pear its own character.