*This post may contain affiliate links for which I earn commissions.*
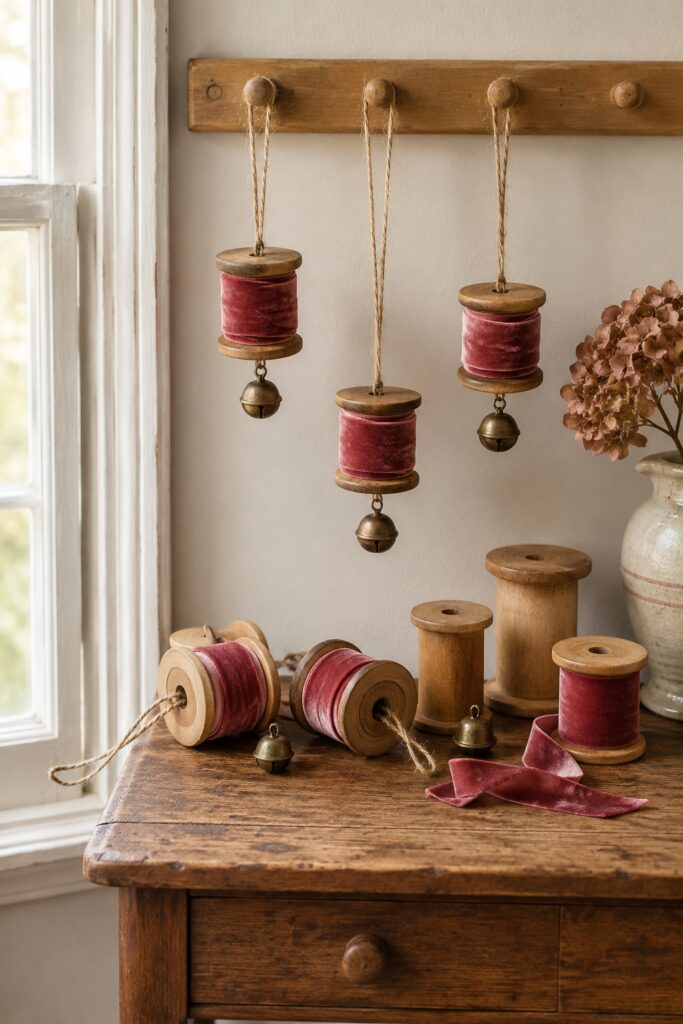
A wooden thread spool already has the beginnings of a Christmas ornament: a pleasing shape, warm grain, and a center hole ready for a hanger. Wrap its middle in cranberry velvet and add a little brass bell underneath, and that simple sewing-room shape takes on a festive character.
The inspiration pairs plush ribbon with exposed wooden rims, letting each material stand out. This tutorial translates that combination into a small hanging decoration using a straightforward threaded assembly.
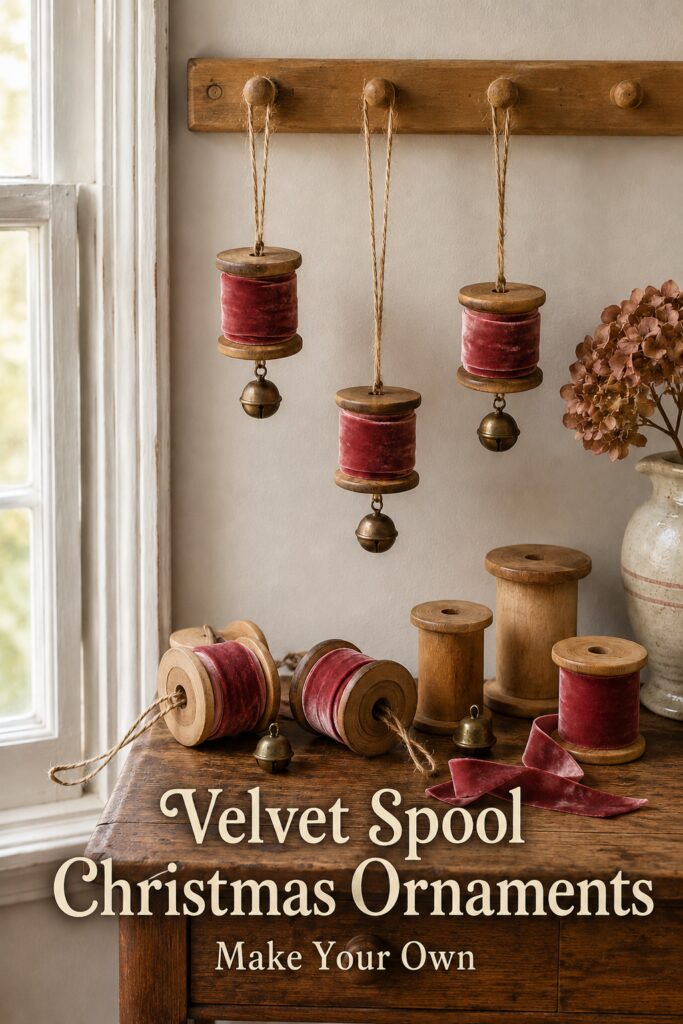
The inspiration and instructional images were created with AI. They illustrate the design and suggested assembly rather than document a physically constructed project.
A Little Spool with a Velvet Center
You’ll make individual ornaments with a velvet-wrapped barrel, a natural twine loop, and one bell suspended underneath. A small wooden bead supports the spool from below, keeping the assembly together without relying on glue to carry its weight.
As a suggested starting point, choose spools about 2 inches tall. With the bead and bell, the decorated portion will be roughly 3 to 4 inches long, depending on your supplies. The hanging loop adds whatever length suits your display.
The reference appears to use metal connections beneath the wood. Here, a short twine connection creates a similar dangling-bell effect with fewer tools.
Materials and Supplies
For Three Ornaments
- Three wooden craft spools with an open hole running through the center
- Soft, nonwired cranberry or muted red velvet ribbon, sized to fit between the rims
- Three small antique brass or brass-finish jingle bells with closed hanging eyes
- Three wooden beads, approximately 12 mm across, with holes large enough for two strands of your twine
- Thin natural jute twine, approximately 1-2 mm thick
- Clear-drying craft adhesive labeled for both fabric and wood
Choose beads whose outside diameter is comfortably larger than the spool’s center hole. A bead that slips into that opening cannot support the ornament.
For a 2-inch spool, a bell around ¾ inch across is a useful starting proportion. Check the hanging eye, too: your twine must pass through it.
Tools
- Fabric scissors
- Ruler or flexible measuring tape
- Blunt tapestry needle or a folded piece of thin wire for threading
- Fine sandpaper, if the wood has rough spots
- A protective covering for the work surface
Optional Finish
If you start with pale unfinished wood and prefer a warmer brown, use a suitable water-based or gel wood stain before assembly. You’ll also need an applicator and any protection specified on its label.
Want to These Spool Ornaments?
I’ve put together a convenient Amazon supply list featuring hand-picked, well-rated products that match the material list for the DIY project shown in this post.
See My Hand-Picked Supply ListAs an Amazon Associate I earn from qualifying purchases but this doesn’t increase your price at all!
Check the Fit Before Cutting
Measure the barrel between the inside edges of the two wooden rims. That space determines the ribbon width. The spool’s overall height includes the rims, so it is not the measurement to use when buying ribbon.
Aim for a band that fills most of the barrel without folding over either edge. A narrow line of exposed wood beside the ribbon looks neater than a crowded, puckered fit.
Test the threading components before decorating. Two strands must fit through both the bead and spool, while the bead must remain outside the spool’s opening. Pass a single strand through the bell eye to check that connection as well.
Make one complete ornament before cutting supplies for the other two. This gives you a chance to adjust the proportions and hanger length.
Assemble the Ornaments
1. Smooth and Prepare the Wood
Check the rims and the edges of the center hole for splinters. Lightly sand rough areas, then wipe away the dust.
If you want darker wood, stain the spool and bead before adding ribbon or twine. Follow the finish instructions and let everything dry fully before continuing. Avoid coating the inside of the hole heavily, where buildup could make threading difficult.
You can also leave the wood natural. Its pale color will make the red band more prominent.
2. Wrap the Barrel in Velvet
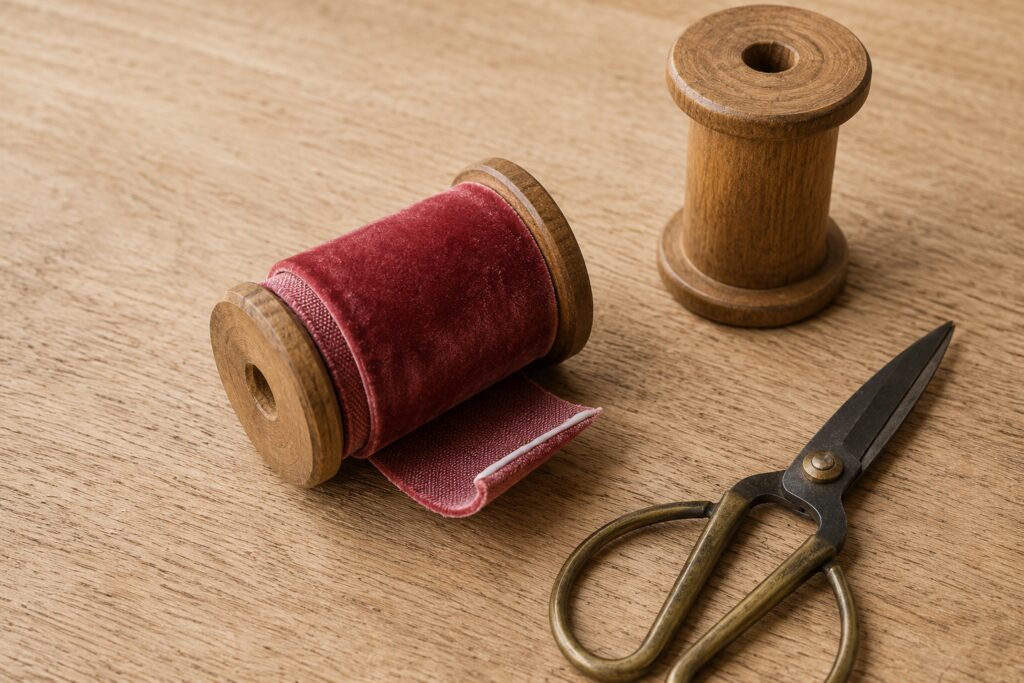
Wrap the ribbon once around the spool’s middle without adhesive. Add approximately ½ inch for an overlap, then cut straight across.
Check the velvet’s nap before gluing. Brush the surface gently with your fingers and turn the spool toward the light. If you are making a matching set, keep the pile running in the same direction on each piece so they catch the light similarly.
Apply a thin layer of adhesive beneath the starting end and press it against the barrel. Wrap the ribbon snugly, keeping its edges parallel to the rims. Secure the overlapping end with another small amount of adhesive.
Position this seam at the back. Use only enough glue to hold the fabric, since excess can soak through or leave a stiff patch. Follow the adhesive’s drying instructions before handling the band further.
3. Prepare the Bell and Supporting Bead
Cut approximately 24 inches of twine for the first ornament. This is a working length with trimming room, rather than a required finished measurement.
Thread one end through the bell’s hanging eye. Slide the bell to the middle of the cord, then bring the two free ends together.
Tie both strands together in an overhand knot about ½ inch above the bell. To do this, treat the two strands as one, form a loop, and pass both free ends through it. Tighten the knot while keeping the bell below.
Pass both free ends through the wooden bead and slide it down onto the knot. The knot must be too large to pass through the bead’s hole. If it slips through, enlarge it with another overhand knot directly against the first, then test again.
The order from bottom to top is now bell, short twine connection, supporting knot, wooden bead, and two loose cord ends.
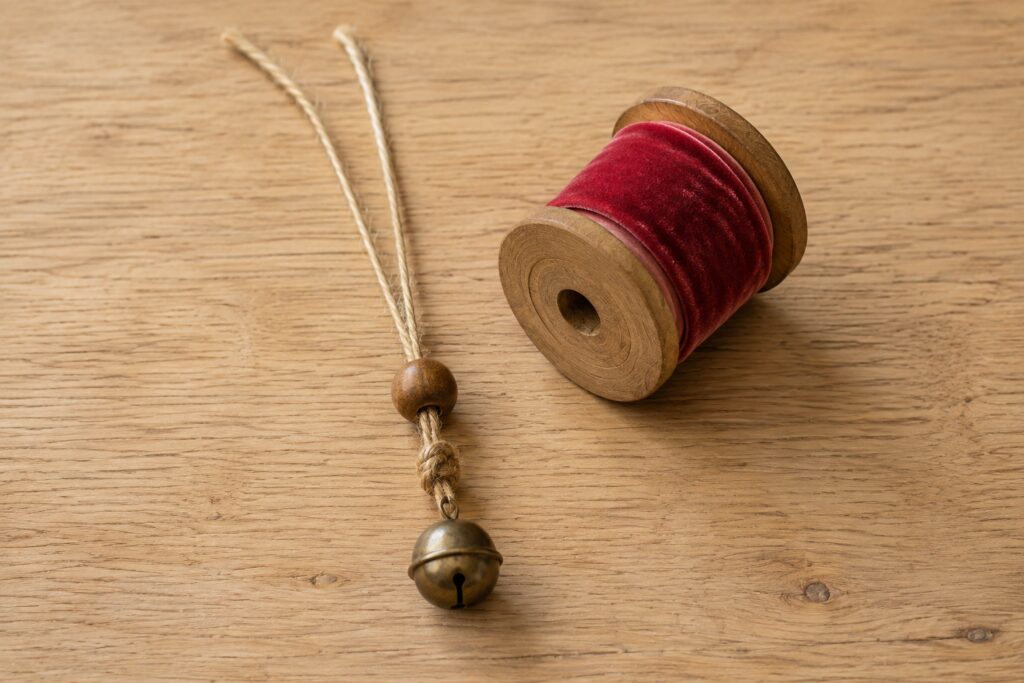
4. Thread the Spool onto the Hanger
Feed both loose ends up through the spool’s center hole, entering at the bottom and emerging at the top.
A blunt needle can help guide the strands. Alternatively, fold a thin piece of wire into a narrow loop, pass that through the hole, catch the cord ends, and draw them through gently.
Slide the spool down until its lower rim rests on the wooden bead. The bead should remain clearly outside the hole, with the bell hanging below it.
Hold the two upper strands and lift the ornament just above your work surface. Check that the supporting knot stays beneath the bead and the bead stays beneath the spool. If either slips, correct the fit before continuing.
5. Tie the Hanging Loop
Bring the two free ends together and tie them securely with an overhand knot, leaving enough cord above the spool to form your hanger. Add a second knot against the first for security.
Keep approximately ½ inch of tail beyond the knot instead of trimming flush. Adjust the loop’s position so the join is discreet when displayed.
For a tree ornament, a loop roughly 3 to 4 inches long is a practical starting point. A peg rail may need more length, particularly if you want the three pieces to hang at different heights.
Give the finished assembly a gentle downward tug while holding the loop. Confirm that the spool is supported and the bell can move freely.
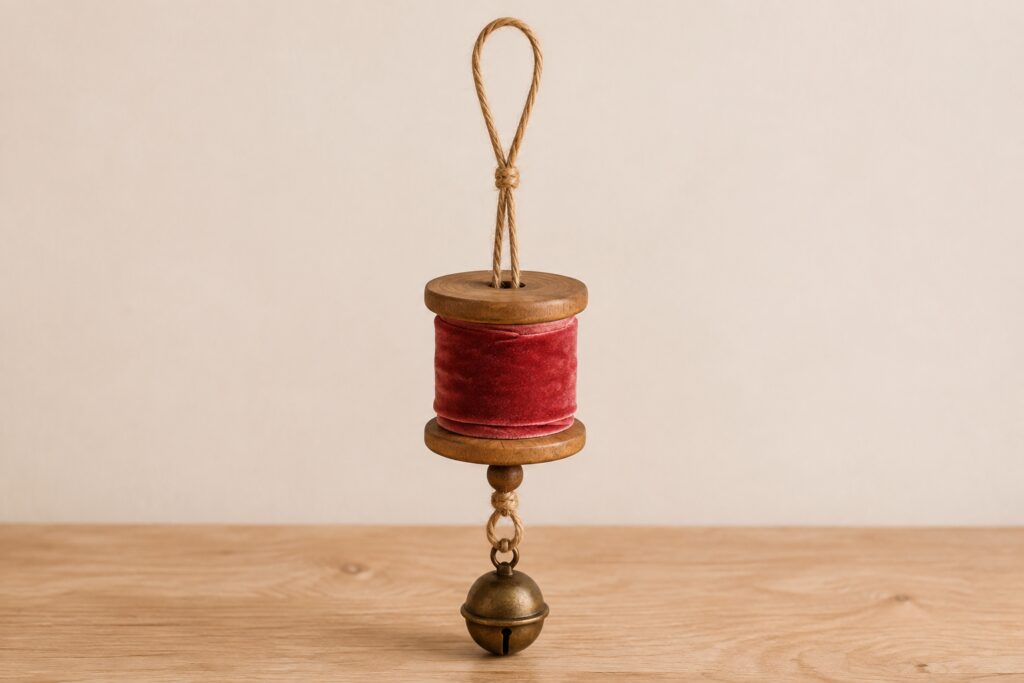
Details That Make the Finish Work
Keep the wooden rims visible. They provide the distinctive spool shape. Covering them with ribbon would make the piece look more like a fabric cylinder.
Use a softly aged red. Cranberry, oxblood, and faded burgundy all suit the warm wood and brass combination. Velvet changes appearance with the light, so compare samples beside your wood if possible.
Keep the bell close. A short connection lets it move while keeping the ornament visually compact. A long dangling cord can make the lower portion look disconnected.
Match the bead to the wood. It serves a structural purpose, but a similar brown helps it blend into the underside.
Avoid overwrapping. One fitted layer gives the cleanest shape. Several turns can create a bulky ridge and crowd the rims.
Small Variations to Try
For a softer version, replace the red with dusty rose velvet while keeping the brass bell and natural twine. For a more traditional set, alternate cranberry and ivory bands across several matching spools.
If your ribbon is slightly narrower than the barrel, center it and leave equal amounts of wood showing above and below. That intentional spacing looks better than stretching or gathering the fabric to fill the gap.
You can also vary spool sizes, provided each bead remains larger than its corresponding center hole. Keep the bell sizes proportional so the smaller ornaments are not overwhelmed.
Hanging and Storing Your Set
Display three pieces on a peg rail at staggered heights, or hang them individually from sturdy Christmas tree branches. Turn the ribbon seams toward the back and allow enough space for the bells to hang without resting against nearby objects.
These are indoor decorations. Keep the cords, beads, and bells away from small children and pets, and position the fabric and twine away from candles or other heat sources.
At the end of the season, wrap each ornament loosely in tissue. Avoid placing heavy decorations on top, which can flatten the velvet or dent the bells. Check the twine and knots before hanging them again next year.
Start with one spool and let its proportions guide the rest. A neat velvet band, visible wood grain, and a freely hanging bell are enough to capture the character of the inspiration without reproducing every detail.