*This post may contain affiliate links for which I earn commissions.*
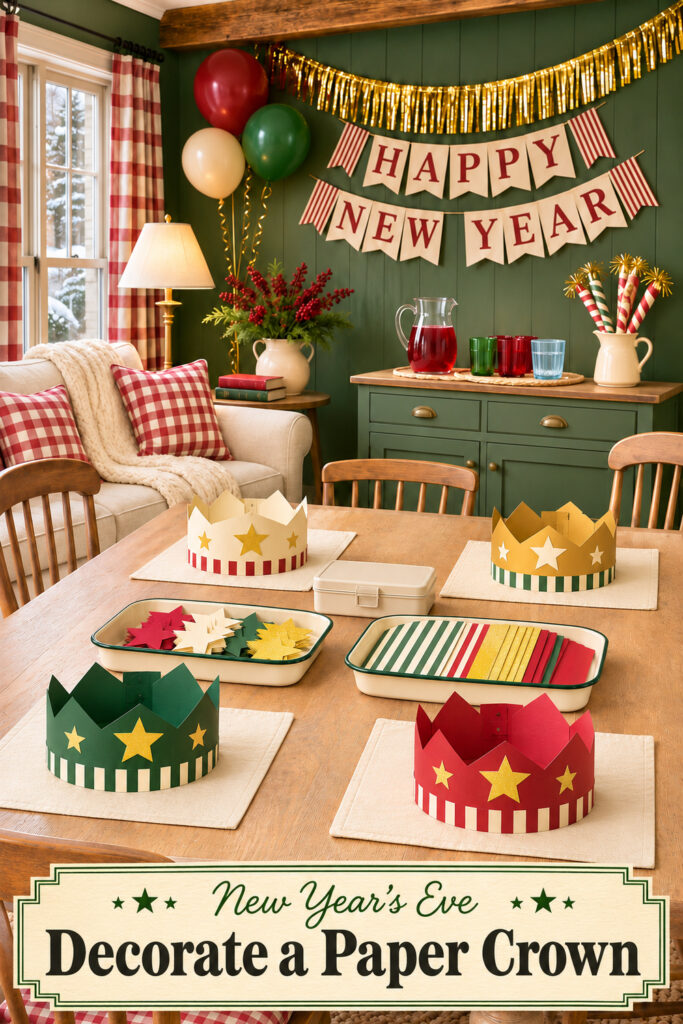
Paper crowns give this New Year’s Eve table a cheerful job before the countdown begins. Four finished examples sit on pale mats, with sorted stars and striped paper between them. Red checks, green paneling, and a gold fringe keep the room festive, while the clear greeting makes the occasion easy to recognize.
The idea is a shared decorating activity that fits into a comfortable family room. You can prepare the supplies before guests arrive, then let each person choose colors and add their own details. The finished samples provide a little guidance without asking everyone to make the same crown. A separate juice area leaves the main table available for hands, paper, and conversation.
This image was generated with AI as decorating inspiration. Similar pieces can help you recreate its effect.
Let the samples explain the activity
The four crowns show a small range of choices: cream, gold, green, and red, all connected by stars and stripes. That limited palette makes the supplies look coordinated before anyone begins. It also gives guests enough variety to make a choice without searching through a large box of unrelated materials.
Set one finished example near each place or show a couple at the middle of a smaller table. Keep them within reach so people can see how the decorations sit on the paper. A sample is more useful than a long list of instructions when the main activity is choosing and arranging simple pieces.
Leave the center open enough for the shared dishes to move. The table should work once several people are seated, not just while the crowns stand neatly in their starting positions. A little open wood around the mats helps the whole arrangement feel ready rather than crowded.
Choose crowns for the people using them
Plain paper party crowns are a practical starting point. Check their fastening method, size range, and intended age suitability. The decorative idea doesn’t require cutting a crown shape from scratch, and using suitable prepared bases can leave more time for the enjoyable part.
Try one crown before decorating the rest. Make sure the overlap or closure works without putting a sharp edge or an awkward fastener against the wearer. Keep embellishments away from the band area that needs to adjust. A crown that looks finished on the table still needs to be comfortable on a head.
Choose large paper decorations appropriate to the participants. Flat stars and broad strips show clearly in the inspiration, giving the crowns a simple old-fashioned party look. Avoid loose small pieces where they aren’t suitable, and follow the supply makers’ guidance for use and supervision.
Offer alternatives for anyone who prefers to decorate a flat party card rather than wear a crown. The same colors and star shapes can still connect their contribution to the table. Keeping the activity optional makes the space welcoming without requiring everyone to enjoy the same kind of craft.
Give each supply a clear place
The enamel dishes keep stars and strips in separate groups. Their shallow sides let people see what is available, while the pale interior makes the darker paper easy to distinguish. Use sturdy containers with smooth edges and enough room for fingers.
Sort by the way people will choose. Put the large shapes together, then arrange strips by color or pattern. You don’t need a separate bowl for every small variation. Too many containers can leave less working space than the supplies themselves.
A closed box can hold suitable markers or other prepared materials. Keep anything that needs adult handling separate from the open shared dishes. This is a styling plan rather than a full craft tutorial, so choose the actual attachment materials around the age group and paper you intend to use.
Keep spare supplies in one organized nearby spot. Refill a shallow dish as needed instead of piling every star onto the table at once. A small offcut container can sit within reach during the activity, then be cleared away before the evening’s next event. That makes the table easy to reset.
Keep drinks beyond the paper area
The berry-colored drink is presented in a clear pitcher with ordinary sturdy tumblers, giving the gathering a visibly alcohol-free option. Placing it on the sideboard separates spills from the paper mats and helps people approach the drinks without leaning across someone else’s work.
Use suitable serving pieces and a tray or protective surface beneath them. Leave room to set down a cup while pouring. The pitcher should be easy for the intended server to lift; a large vessel can become unwieldy once filled.
Give used cups an obvious place away from clean craft supplies. For children, choose drinkware suited to the group and let adults handle pouring where needed. You can repeat the crown colors through cups without adding more decorations to the main table.
The jug of party horns belongs beside the drinks rather than among the paper stars. Its upright shapes add height to the background and make the New Year’s purpose clear. Check any accessories for suitability before making them available, and keep the display orderly enough that each item can be removed independently.
Build the cottage party around the table
The red checks on curtains and cushions repeat the crown colors on a larger scale. They give the room a familiar cottage feeling, while the gold fringe adds a more obviously celebratory layer. Keep the greeting readable and secure its supports independently from the window fittings.
Balloon ribbons should stay outside the working and walking areas. Anchor the group securely and consider its full width rather than only its highest point. A low balloon can drift into the place where someone pulls a chair out.
Warm lamps and a knit throw soften the room beyond the activity. Leave useful lighting on while people decorate, even if you plan a dimmer atmosphere later. Stars, edges, and fasteners need to be visible. The sofa can offer a separate resting place when someone finishes their crown before the others.
Adapt the setup to a smaller gathering
Use two places at a kitchen table and keep the remaining materials on a tray nearby. A couple of finished examples, one supply dish, and a clear greeting can carry the idea without decorating the whole room.
If your furniture has different colors, keep the paper palette limited and repeat one existing textile color in the crowns. The connection matters more than a perfectly matched green wall or red curtain. Familiar furniture can become part of the party without being covered up.
Select the useful party pieces first
Begin with suitable crown bases and decorations, then choose containers that fit the table. The banner and background can follow once the activity area works.
Look for plain paper party crowns
Check size adjustment, fastening, and suitability for the intended users. A sound simple base is more useful than an elaborate shape that’s difficult to wear.
Shop similar shallow enamel dishes
Choose sturdy dishes that show the paper shapes clearly. Leave enough room to pick up a piece without tipping the whole supply group.
Look for large paper star decorations
Keep the shapes appropriate to the participants and the crown size. A few clear sizes and colors will make the table easier to use.
Test a place before guests arrive
Sit at one mat, reach for the shared stars, and put on a sample crown. Move anything that interferes with those ordinary actions.
Then clear one place as if the craft is finished. A setup that resets easily can move comfortably from decorating to the rest of the celebration.
Final Styling Tip
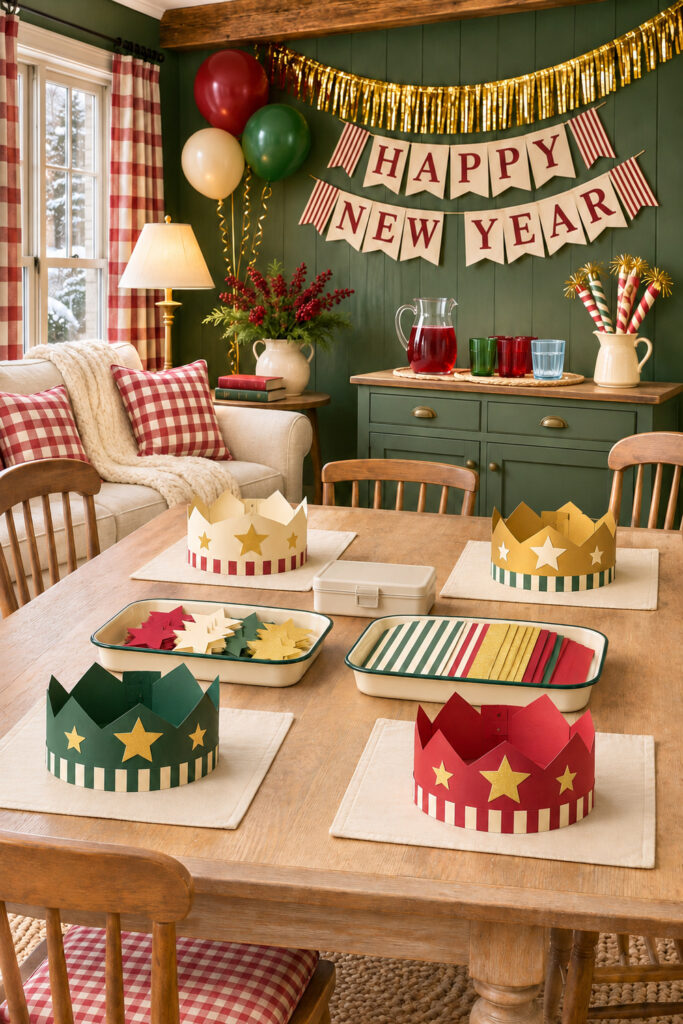
Repeat the same stripe on two different crown colors. That small connection lets every sample feel individual while keeping the party table coordinated.