*This post may contain affiliate links for which I earn commissions.*
A little bench faces a smooth blue pond in this winter bowl. Two wooden sleds sit on the snowy shore, with dark trees behind them and a few clear pieces catching the light near the edge. The scene feels ready for a cold afternoon without needing tiny people to explain it.
The larger room supplies the comfort around that small landscape. Ivory flowers rise from a blue vase, a thick cream throw rests on nearby seating, and a navy mug waits on its own tray. You can borrow the contained winter scene while keeping the bowl dry and the real cup well outside its decorative materials.
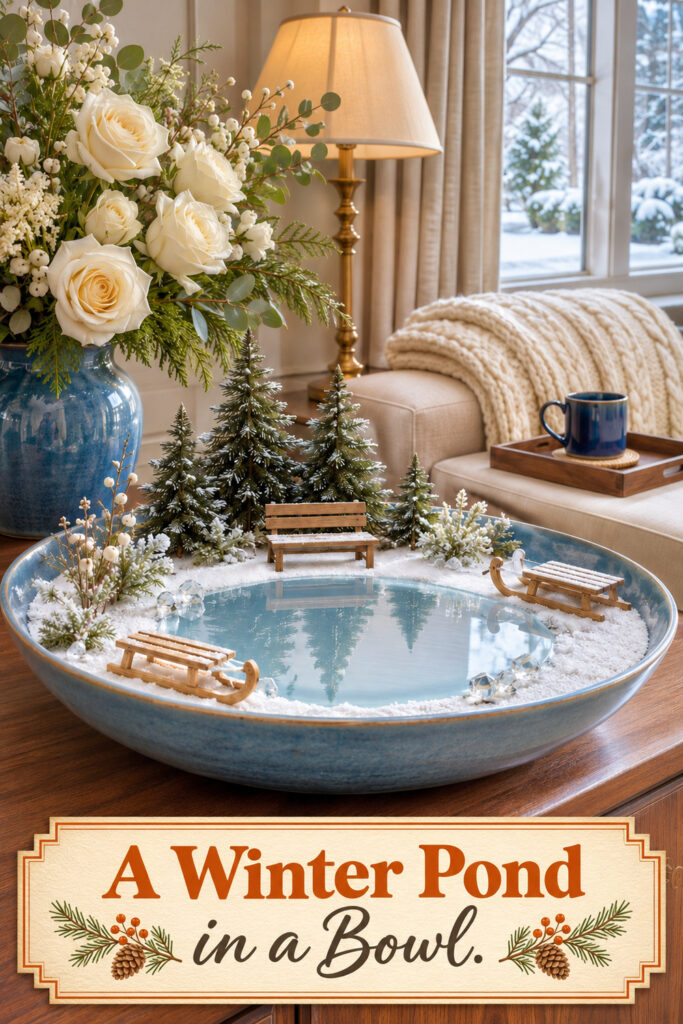
This image was generated with AI as decorating inspiration. Similar pieces can help you recreate the effect.
Choose a Bowl That Shows the Shore
The shallow blue bowl has enough width for an open pond and separate groups around it. Its low rim lets you see the little bench and sleds from the room, rather than only from directly above. The blue glaze also connects the miniature scene to the full-size vase nearby.
Check the interior shape before planning the layout. A rounded bowl may need a fitted removable display insert so each object has a level place to stand. Keep the insert within the rim, and test its support with the actual pieces before covering it. The bowl should sit steadily on the cabinet without rocking.
Make the Pond a Dry Reflective Surface
The pictured pond looks glossy and icy. A flat mirror-effect acrylic piece or another suitable decorative insert can suggest that finish without adding water. Choose an appropriately finished piece for the intended display and follow its handling directions. Don’t assume the image shows the material used in a real finished project.
Try the pond shape before adding the snowy shore. Leave enough visible surface in the middle to reflect the trees and light, with room around it for the bench and sleds. An insert that fills nearly the whole bowl would leave little place for the small objects that make the scene readable.
Keep any cut edges finished appropriately and protected within the display. A ready-sized shape can be simpler than cutting a hard sheet yourself. Check that the reflective piece lies flat and doesn’t tilt against the bowl. The gentle shine should reveal the little landscape, not create an exposed sharp edge or a wobbling platform.
Put the Bench at the Back
The tiny wood bench faces the open pond from the rear shore. Its straight seat and back give the scene a useful horizontal line between the trees. Because it is empty, you can imagine the winter outing without adding another small figure to arrange.
Choose a bench whose scale fits the sleds. Compare the seat height and overall width before buying or combining pieces. It can be stylized, but its legs should look reasonable beside the trees and pond. Set all its feet on a firm part of the insert, thinning the snow material beneath them if needed.
Turn the bench so its front remains visible from the normal viewing side. Keep tree branches from covering the seat or back. If your bowl is small, use a bench and one sled rather than trying to fit a complete park into the available edge.
Give Each Sled Its Own Place
One sled rests near the front, while the other sits farther around the shore. Their natural wood adds warmth against the blue and white. Their different angles help the miniature landscape feel less like a row of matching ornaments.
Look for coherent runners and a complete supported seat. Place the sleds fully on the shore, with no end hanging over the pond or bowl rim. Keep their fronts pointed into open areas where the curves can be seen. A little space around each one helps the small shapes show at a distance.
You can use simple model sleds rather than working toys. Check the actual pieces for loose parts and treat the whole arrangement as decoration. If a model needs securing, choose a method suited to its materials and the removable base, not a permanent attachment to a bowl you may want to use differently later.
Keep the Snow and Trees Contained
The white shore surrounds the pond without hiding the broad blue rim. Dark fir trees rise at the back, with smaller shrubs softening the sides. The contrast gives the pale scene depth while leaving the pond’s middle clear.
Use a thin dry display layer over the supported base. A fitted snow mat can be easier to contain than loose material. If you add any small decorative grains, use them sparingly and keep them within the bowl. Follow the material’s directions and avoid placing the scene where loose pieces can be scattered into food or drinks.
Set trees on their own stable bases before adding the final surface layer around them. Vary their height slightly, keeping the tallest at the back. Check that none leans against the rim or hides the bench. A few faceted clear accents can repeat the icy shine, but they should stay small enough to support the story rather than become its main subject.
Surround the Bowl with Real Winter Comfort
The broad blue vase and full ivory flower arrangement give the small landscape a generous neighbor. Greenery repeats the miniature trees at a different scale, and the pale flowers echo the snowy shore. Keep the vase separate so water and stems can’t spill into the dry display.
The thick throw and mug tray connect the scene to a place people actually use. Fold the blanket so it stays on the seat or arm rather than in the route. Give the mug a firm tray or coaster outside the bowl. The little pond is for looking at; the real cup needs its own accessible landing spot.
Warm shaded light balances the cool blue. Position a lamp so you can see the miniature details without a bright reflection hiding the pond. Keep the display clear of fittings and cords, and check it in the room’s normal evening light as well as daylight.
Adapt the Scene to Your Surface
A small cabinet can hold a narrower bowl with one bench, one sled, and a short tree group. Preserve the open reflective center and the clear difference between shore and pond. Reducing the small pieces will usually help more than piling the snow higher.
A pale neutral bowl can work if you repeat blue in a vase, cup, or folded textile nearby. The scene will still feel wintry with dark trees, light ground, and warm wood. Keep Christmas ornaments and greetings out if you want it to remain an after-Christmas display.
Choose the Parts Around the Container
Start with the bowl and flat insert. Then check the miniature bench, sleds, and tree bases as a group before adding surface materials.
Look for Wide Shallow Ceramic Bowls
Check the rim height, underside, and usable interior. A low blue edge helps frame the pond while keeping its small shore pieces visible.
Shop Similar Reflective Display Inserts
Choose a manageable finished shape with handling guidance suited to your project. It should lie flat within the supported base.
Look for Miniature Wooden Sleds
Compare runner shapes and scale with your bench. A simple natural finish gives the pale landscape some warm detail.
Take a View from the Sofa
Look toward the bowl from a normal seat, then inspect it close up. Check the bench feet, tree bases, open pond, and contained snow edge. Move the lamp if glare hides the center. Keep the mug tray clear and remove spare miniature pieces from the cabinet top.
Final Styling Tip
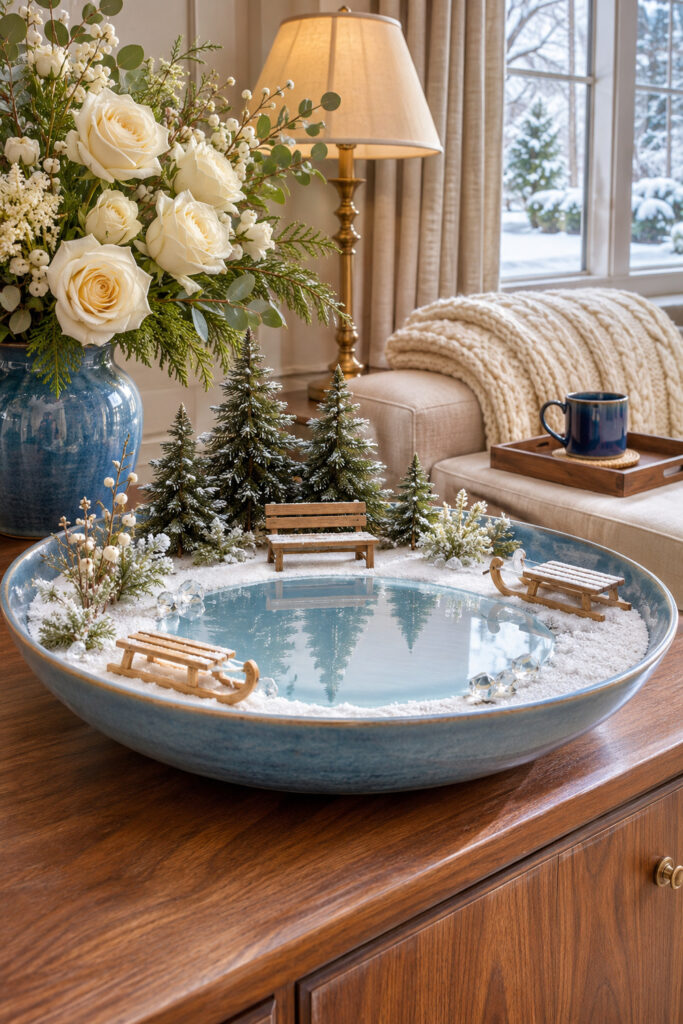
Leave the center of the pond open. That quiet lustrous patch makes the detailed snowy shore easier to appreciate.