*This post may contain affiliate links for which I earn commissions.*
Gold and silver biscuit tins give this Christmas pantry a collected look without covering the shelf in unrelated decorations. Small champagne bows soften the metal, and an open tin of star-shaped biscuits shows what the containers are for. Evergreen and bells frame the shelf above.
This is an idea for combining seasonal storage with a display you’ll actually use. Start with tins suitable for the food you plan to store, then add a few removable Christmas details to the closed ones. You can create a smaller group with ordinary containers rather than searching for exact replicas of the embossed stars in the image.
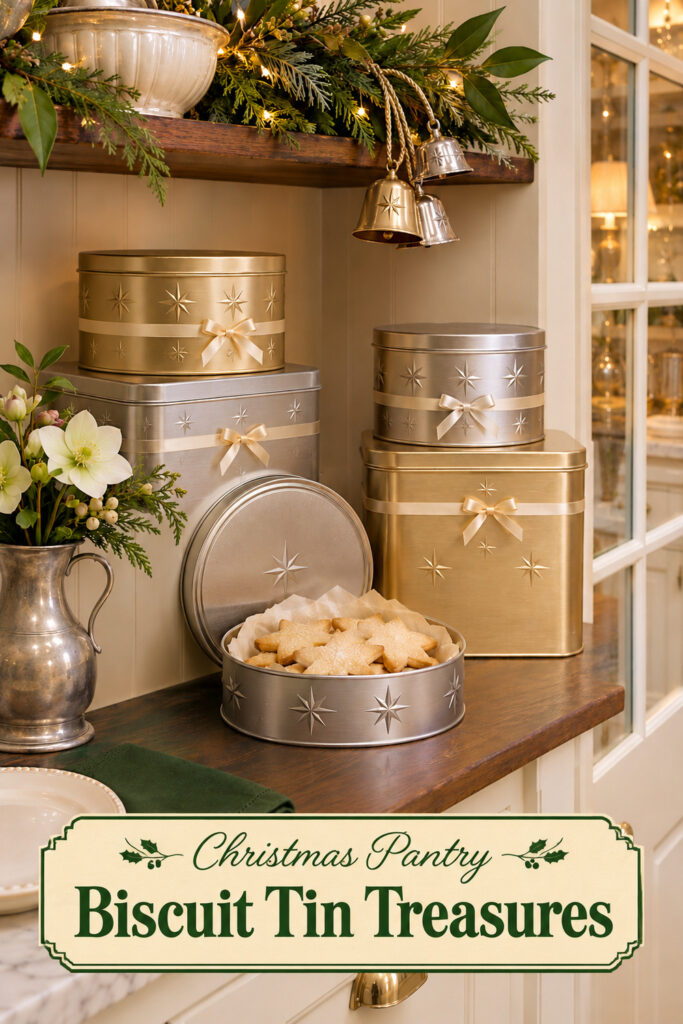
This image was generated with AI as decorating inspiration. The pictured tins are conceptual; comparable food-safe containers can recreate the overall effect.
Make the Collection Read as Storage
The closed tins form two short stacks, with the open low tin in front. Round and rectangular shapes bring variety, while the repeated metal finishes keep the group connected. The biscuits give the arrangement a purpose beyond holding ribbon.
Keep that practical story in your own version. Choose a few tins that can contain the foods you make or buy. Leave room to lift the lids and remove a container without dismantling the whole shelf. The display should still work when the open tin is closed and the Christmas treats are put away.
Choose Tins for Food First
Check that each container is intended for direct food storage or use an appropriate food-safe inner container where needed. A decorative vintage tin may have uncertain coatings, worn surfaces or rust. Its appearance alone doesn’t establish that it is suitable for biscuits.
Use clean, dry tins in sound condition and follow their care directions. Inspect rims and lids for sharp or damaged edges. A tin that catches a cloth when wiped can also catch a hand reaching into it.
Consider the type of food you intend to store. Different baked goods may need different storage conditions, and a decorative metal lid isn’t automatically airtight. Keep the actual food’s guidance in mind rather than assuming every holiday tin performs the same way.
If you want to display an older tin, give it a clearly decorative role and keep the food in suitable separate packaging. You can still enjoy its shape and metal finish. The useful compromise is to preserve the look without asking an unsuitable container to do a food-storage job.
Arrange Short Stable Stacks
The picture uses a wider tin at the bottom of each stack, with a smaller one above. That creates height without making a tall tower. The low open tin gives the front edge a different shape and lets the stacks remain behind it.
Lay out your own group on a table first. Check that lids sit fully in place and that each upper tin has a stable resting area. Don’t balance a round base across a ridged lid if it rocks when touched.
Use fewer pieces on a shallow shelf. Three tins can make a complete arrangement: one short stack and one low container beside it. Leave space around the edges so the metal outlines remain visible against the wood.
Think about weight once the tins are filled. A shelf that supports empty display pieces may need a different load assessment when the containers hold food. Follow the shelf’s guidance and keep frequently used tins within a comfortable reach. Avoid reaching across a heavy stack to get the one container you open every day.
Add Ribbon Only Where It Can Stay Clean
Narrow champagne ribbon wraps the closed tins, with small bows placed toward the front. Their pale color bridges the gold and silver without introducing another strong shade. Short tails keep the finish tidy.
Tie ribbon so it can be removed easily before opening or cleaning a tin. Keep it away from the food-contact area and don’t run it through a lid seal or closure. A pretty bow shouldn’t prevent a container from closing as intended.
Choose a ribbon that doesn’t shed fibers or glitter into the surrounding area. Test its finish against the tin if the surface is delicate. You can make a small bow and attach it with a removable method compatible with the container, rather than wrapping a long band around every piece.
Leave the serving tin unwrapped while it’s open. The image does that clearly. Decorative fabric belongs on the exterior of closed containers, not folded among biscuits or tucked under a lid where it can brush the food. Keeping that separation also makes the open tin easier to use and clean.
Frame the Shelf with Greenery and Bells
The evergreen swag sits above the tins, with metal bells hanging near one end. Warm lights make the branch texture visible and repeat the softer shine on the containers below. The decoration frames the storage rather than filling the gaps between every tin.
Use independent supports suited to the shelf and garland weight. Keep branches clear of the lids and the route your hand follows when removing a container. Avoid fastening the garland to a tin handle or resting it on an upper lid.
Choose lights appropriate for the location and keep power sources away from food, water and heat. Make the switch accessible without lifting a stack. A short strand can provide a glow without needing to weave a wire through the whole storage area.
For a pantry you use often, faux greenery can simplify upkeep. Fresh branches may shed or leave moisture, so plan appropriate protection if you choose them. Keep all decorative material separate from the open food container. The holiday frame should be easy to remove when the pantry returns to ordinary use.
Keep One Serving Group Below
A cream plate and a neatly folded green napkin connect the display to serving. The low flower jug adds a pale natural detail at the side, repeating the softer colors in the ribbon and biscuit shapes.
Use a small plate that can sit within easy reach of the serving tin. Keep the napkin separate from decorative foliage. If the lower counter is needed for daily preparation, move the plate and cloth to their usual storage until you serve.
The flowers don’t need to be elaborate. A few full white faces and restrained greenery can soften the metal without hiding the tin edges. Use a stable vessel and protect the wood from water, or choose a suitable faux posy.
Adapt the Collection to Existing Containers
Plain silver tins can take the whole role, with gold repeated through bells or a nearby handle. If your tins have strong printed designs, group only a few and keep the ribbon simple. There’s no need to disguise useful labels or cover food information.
A closed cabinet can hold the same coordinated storage without the open-shelf display. Keep the tins grouped by use and add one small seasonal accent above the cupboard instead. The most useful part of the idea is having attractive containers that are easy to reach and return.
Look for Suitable Pieces by Function
Choose the food containers before the decorative layers. Their dimensions and closures determine how the collection can be arranged.
Shop Similar Food-Safe Metal Biscuit Tins
Check internal dimensions, finish and storage guidance. A related mix of shapes is more useful than an exact decorative star pattern.
Look for Narrow Champagne Ribbon
Choose a clean, non-shedding finish that forms a modest bow. Keep it removable and on the outside of closed containers.
Shop Similar Small Metal Bells
Use light pieces with secure loops and suitable supports. Repeat both metal tones without hanging them in front of every lid.
Lift Out the Most-Used Tin
Remove and return the container you expect to use most often. Check that its neighbors don’t shift and the garland doesn’t catch. Close the serving tin when you’re finished and leave the front edge of the shelf clear.
Final Styling Tip
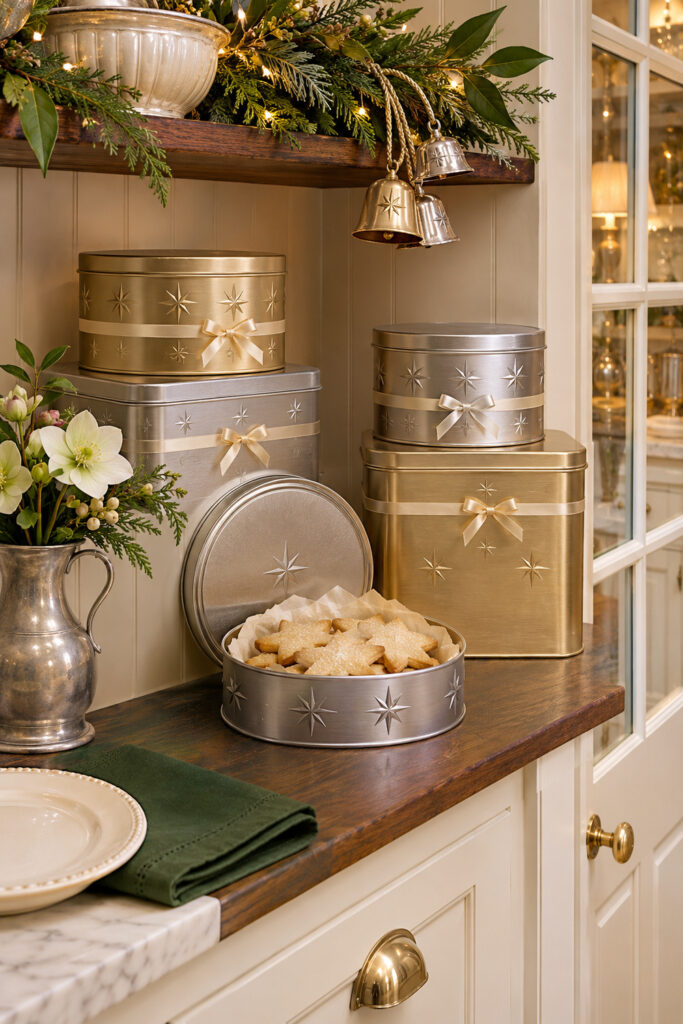
Let one tin sit lower than the stacks. That small change in height gives the collection a clear front without requiring more decorations between the containers.