*This post may contain affiliate links for which I earn commissions.*
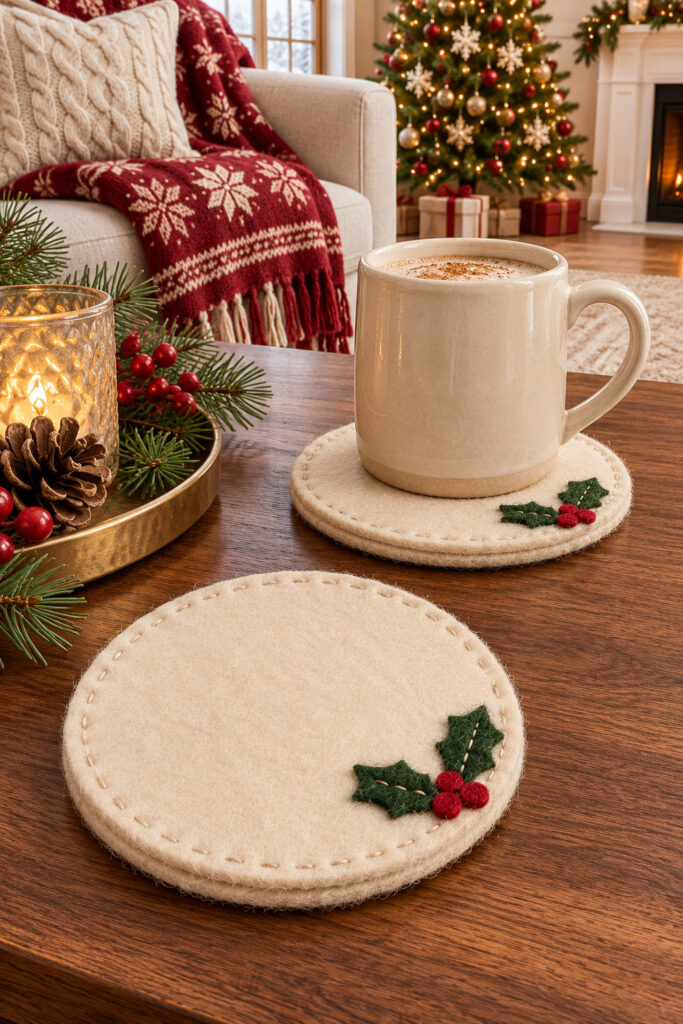
Two small felt leaves and three red dots are enough to give a cream coaster a Christmas look. The holly sits close to the rim, where it can show beside a mug. A second layer of felt hides the stitches on the back and gives the coaster more body. The shapes are small, so you can try one coaster with scraps before you cut a set.
Keep the mug area flat
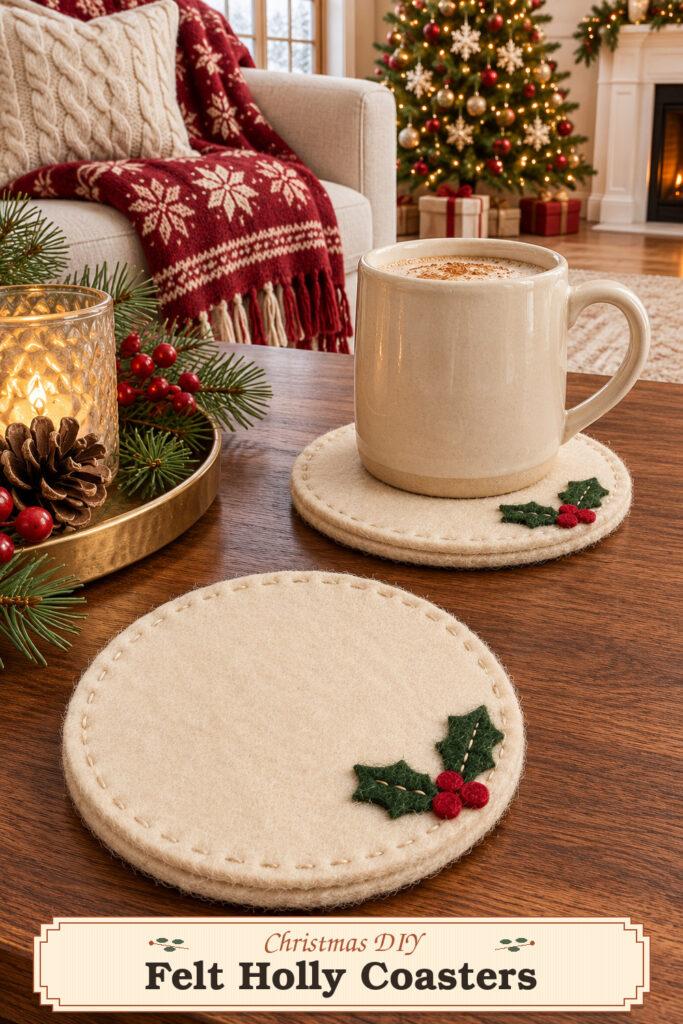
The inspiration and instructional images were created with AI. The tutorial describes a practical way to make similar felt coasters.
The center of the coaster stays plain. That gives the mug one flat place to sit and keeps the holly from being crushed. Put the motif near the edge, with enough room for a line of stitches around the coaster. If the mug base covers most of your test circle, make the coaster larger before you cut any more.
This version uses small hand stitches to hold both the holly and the coaster layers. You can keep the thread close in color to the felt for a quiet finish. A contrasting cream or tan line can also look good if your stitches are even. Practice on two scraps first if you haven’t sewn through thick felt before.
Materials and tools
- Firm cream craft felt for two equal circles per coaster
- Small scraps of deep green and red felt for the holly
- A paper circle template, about 4 to 4½ inches across as a starting point
- Sharp fabric scissors and a removable marking tool appropriate for felt
- A hand sewing needle, cream thread, and green and red thread
- Small sewing clips or straight pins to keep pieces from shifting
- A mug to check the size and flat center
Step 1 Cut matching circles and small holly pieces
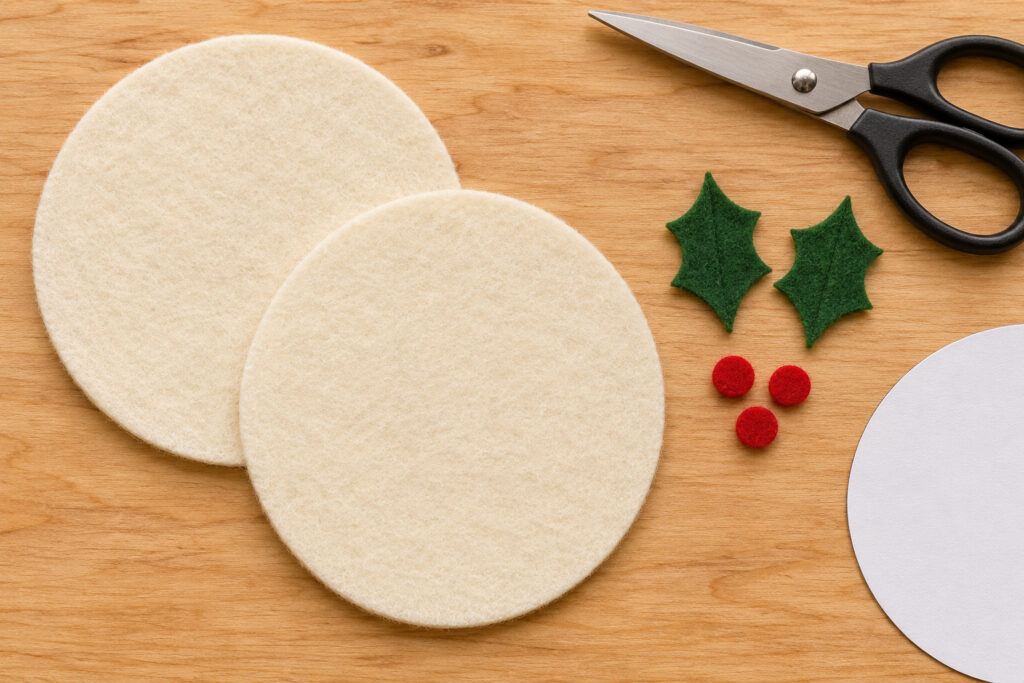
Set your mug on the paper template. Leave a visible strip around the base, with enough room at one edge to place two small leaves. If the mug sits close to the outline, draw a larger circle. Keep the template so you can cut all the coasters to the same size.
Cut two cream circles using the template. Hold the scissors upright and turn the felt as you cut. This keeps the edge cleaner than trying to turn the scissors around the whole curve. Cut two small pointed green leaves and three tiny flat red circles. You can use plain pointed ovals for the leaves, especially if the felt is too small to cut neat notches.
Lay the two cream circles together to check their size. If one edge sticks out a little, trim it before you sew. Set one cream circle aside for the back. Keep the leaves and berries together in a small dish so they’re easy to pick up when you stitch.
Step 2 Stitch the holly to the top circle
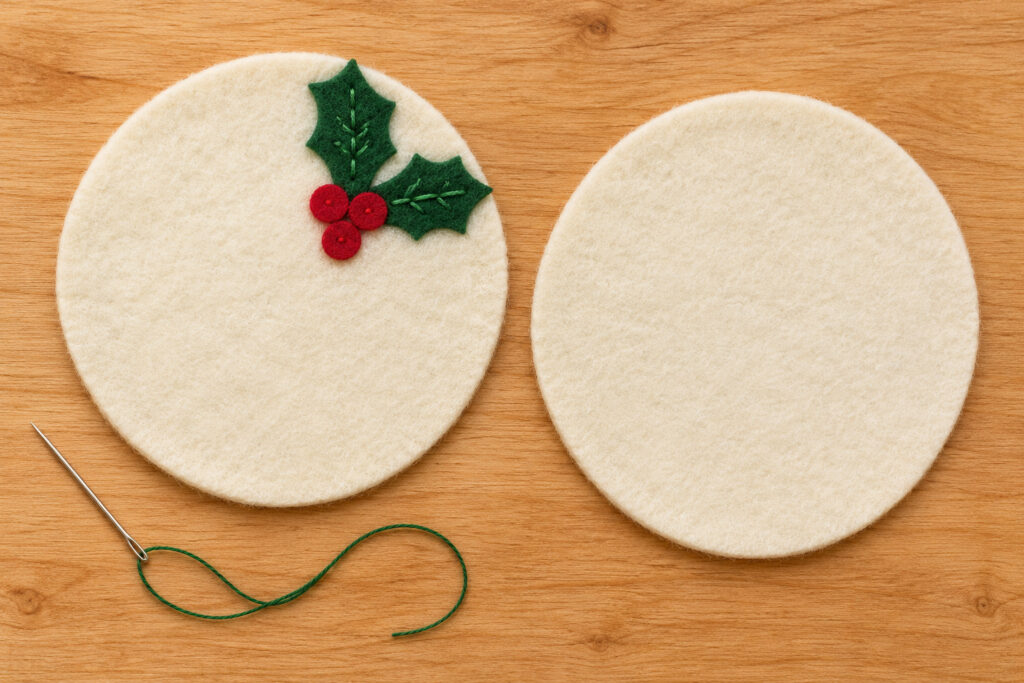
Place the first cream circle flat and arrange the holly at the rim. Turn the leaves so their tips point away from each other. Put the red dots near the place where the leaves meet. Set the mug in the center once more. Move any leaf or dot that touches the mug base. Leave enough room for the cream seam beyond the holly.
Thread the needle with green thread and knot the end. Bring the needle up from the back of the cream circle and make a few small stitches through each leaf. A stitch near each end and another along the middle can be enough if the felt lies flat. Keep the stitches inside the outline so the points stay visible. Tie the thread off on the back.
Switch to red thread and sew each dot with a small stitch or two. Keep them flat and close together. If one dot bunches up, loosen the stitch and try again with less tension. The back may look a little rough when you turn it over. That’s fine because the second cream circle will cover it.
Step 3 Join the two cream layers
Put the decorated circle on top of the plain circle with the holly facing up. Line up their edges and clip them together. Use cream thread and hide the starting knot between the two layers. Bring the needle up through the top circle near the edge where you want the seam to begin.
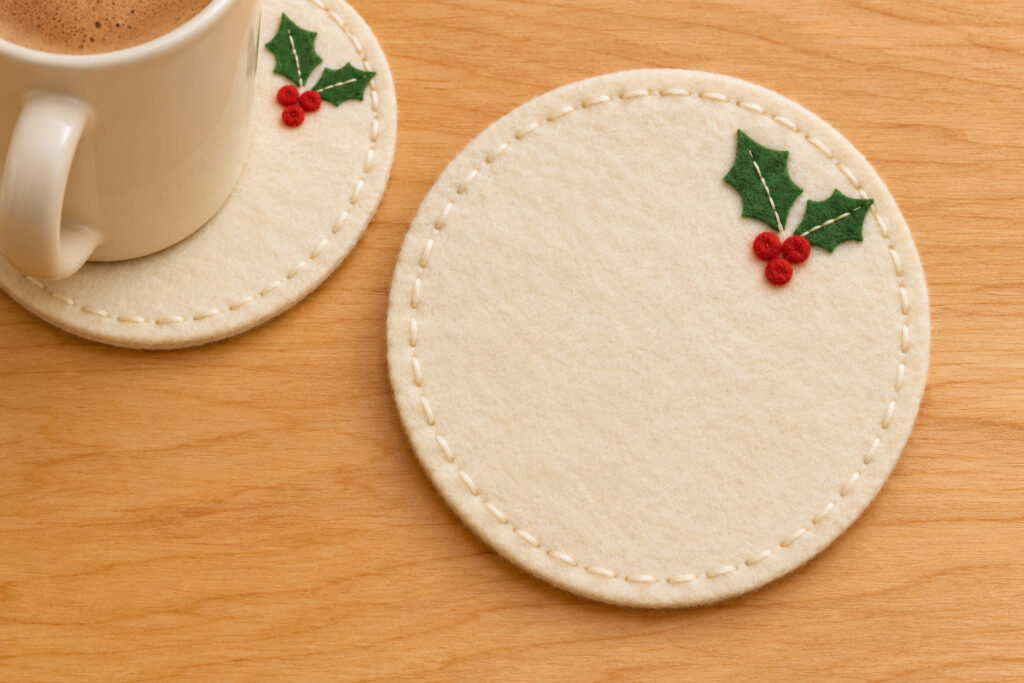
Sew a short running stitch through both layers. This is the simple in-and-out stitch that leaves a little dash showing on top, then a short gap. Work around the circle with a steady distance from the edge. Turn the coaster in your hands as you sew. Remove a clip when you get close to it and check that the felt hasn’t slipped.
Finish by taking the needle between the layers. Tie off the thread where it can sit out of sight. Set the coaster flat and press the edge gently with your fingers. If it cups upward, the thread may be too tight. Ease the last few stitches before you finish the next one.
Make the rest of the set
Use the first coaster to decide where the holly belongs on the others. Mark its approximate spot on the template, or place a finished coaster beside each new circle as you work. You can cut all the cream rounds at once, then sew all the holly before joining the layers. Working in groups lets you use one thread color at a time.
Set the first two finished coasters side by side and look at the stitches. A small difference in spacing is part of the handmade look. If one coaster is clearly larger, use the paper template to compare the next pair before sewing. It’s easier to trim a loose circle than to change the edge after the layers are joined.
Set the coasters out for Christmas
Put one coaster under a cream mug with the leaves showing at the side. A second empty coaster can sit nearby so its full design is visible. The cream felt works against dark wood, and the red dots can repeat a stripe in a throw or the color of nearby tree ornaments. Keep the mug and coaster on a stable tabletop.
Test any felt on the surface you plan to use and follow the fabric care directions. Blot spills promptly and let the coaster dry flat. Use a separate heat-rated pad for hot cookware. When the holidays are over, lay the coasters flat in a drawer so the edges hold their shape.
If you’re making the coasters as a gift, stack them flat once the stitching is done. A simple ribbon around the stack can hold the set together. Leave the knot on the back so the person who opens it can see the holly on the top coaster. Make the set large enough to fit a standard mug, and mention that the felt should be kept flat while it dries.
If you want the holly to look a little different from coaster to coaster, turn one leaf by a small amount. Keep the motif the same distance from the rim so the seam still has room.
Before you make a full set
Set your usual mug on the first finished coaster and check that it sits flat. Turn the holly toward the handle if you want the leaves to show when you lift the mug. Once that first one fits, you have a pattern you can use for the rest.