*This post may contain affiliate links for which I earn commissions.*
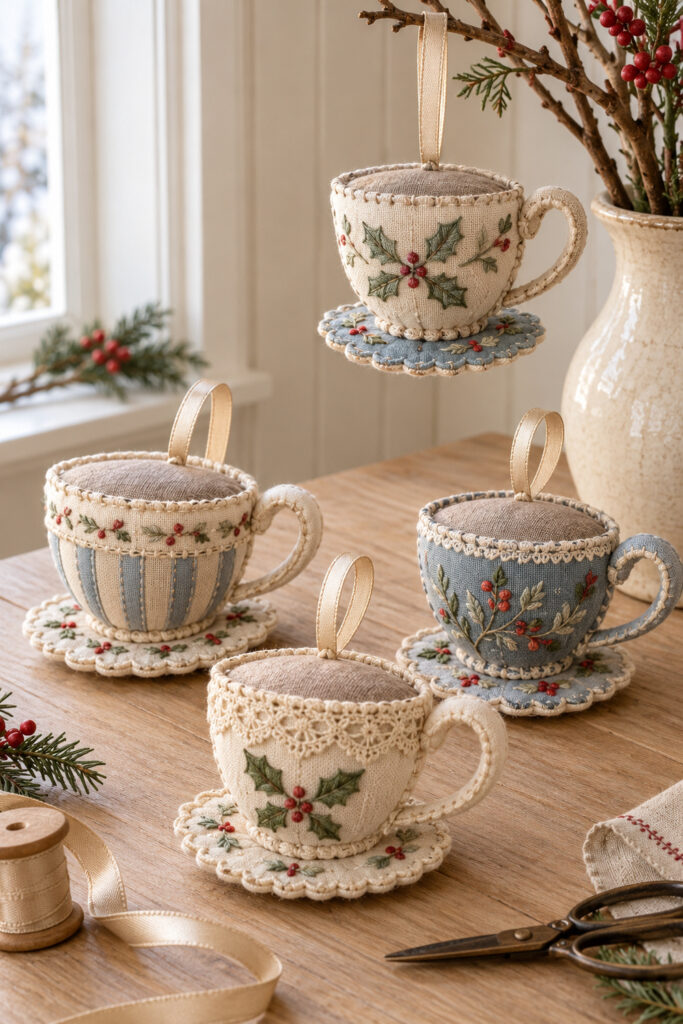
Little linen teacups with embroidered holly, cream stitching, and scalloped saucers make a lovely starting point for handmade Christmas ornaments. The inspiration pairs ivory and faded blue fabric with small red berries and champagne hanging loops. The cup shape is the feature worth keeping, even if you simplify the construction.
This tutorial uses two lightly stuffed fabric silhouettes instead of attempting a miniature upholstered vessel. A narrow taupe top suggests tea, a folded fabric loop forms the handle, and a felt saucer finishes the bottom. The result is a flatter hanging ornament with the same recognizable subject.
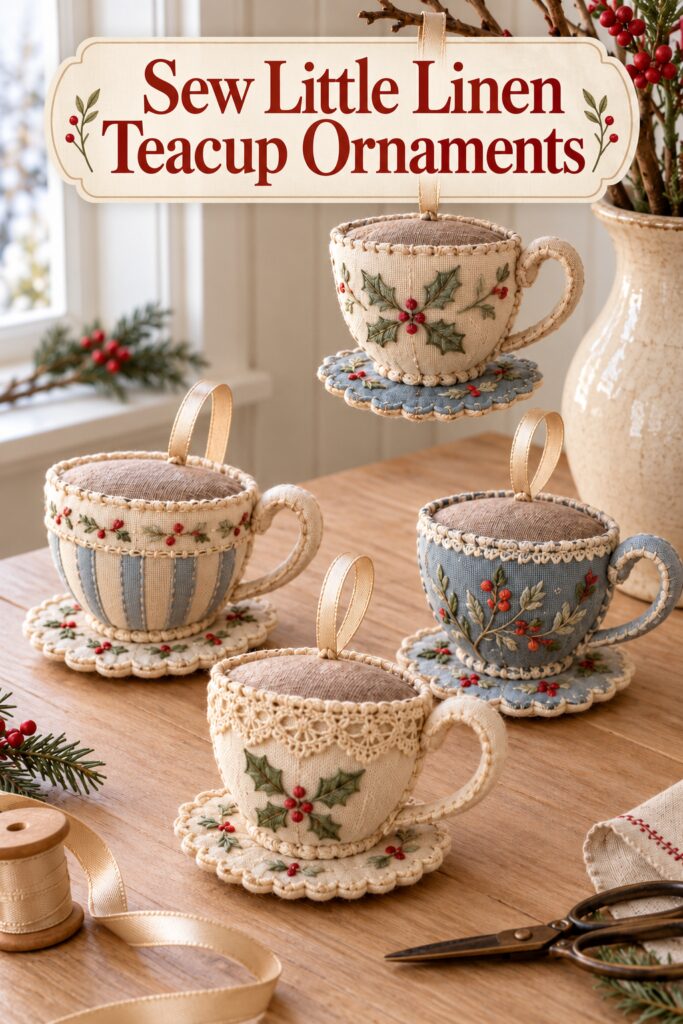
The inspiration and demonstration images were created with AI. They illustrate the design and proposed construction rather than documenting a physical project being made.
What You’re Making
You’ll sew a small teacup-shaped ornament with a gently padded body, one handle, a closed top, and a flat scalloped saucer. Suggested starting dimensions are about 9 cm across the cup body and 6 cm high, with a saucer about 11 cm across. These are proposed measurements, not measurements taken from the inspiration.
Make one first to check the proportions before cutting a collection. The shallow construction is intentional: it hangs more like a shaped fabric ornament than a real teacup, and it avoids tiny curved side panels or hidden wire.
Materials and Supplies
- Tightly woven ivory linen or linen blend for two cup panels and a handle
- Lightweight sew-in interfacing to back the linen and stiffen the handle
- Ivory felt for two matching saucer pieces
- Taupe felt for the narrow top insert
- A small amount of polyester stuffing
- Cream sewing thread and embroidery floss
- Sage green and dusty red embroidery floss for the holly
- Champagne ribbon for the hanging loop
- Paper and pencil for the templates
- Fabric scissors, small sharp scissors, pins or sewing clips, and hand sewing needles
- Optional narrow cream lace or faded blue fabric strips for variations
Use a needle suited to your fabric and thread. An embroidery hoop is helpful while decorating the front panel but isn’t required for the assembly. Keep needles and cut ribbon scraps contained as you work.
Want to Make these Adorable Teacups?
I’ve put together a convenient Amazon supply list featuring hand-picked, well-rated products that match the supply list above to save you time.
See My Hand-Picked Supply ListAs an Amazon Associate I earn from qualifying purchases but this doesn’t increase your price at all!
Before You Start
Draw a cup body with a straight upper edge, sides curving inward, and a rounded bottom. Fold the paper vertically before cutting if you want matching sides. Draw a separate shallow oval saucer, wider than the cup, and add broad scallops that are easy to cut from felt.
Draw the top insert as a narrow oval approximately as wide as the cup opening and only about 1 cm deep. Its final dimensions depend on how much you stuff the body, so leave spare taupe felt for adjustment. Wash and press the linen first if its care instructions permit, then test your stitches on a scrap.
Sew the Teacup Ornament
1. Prepare the Matching Cup Panels
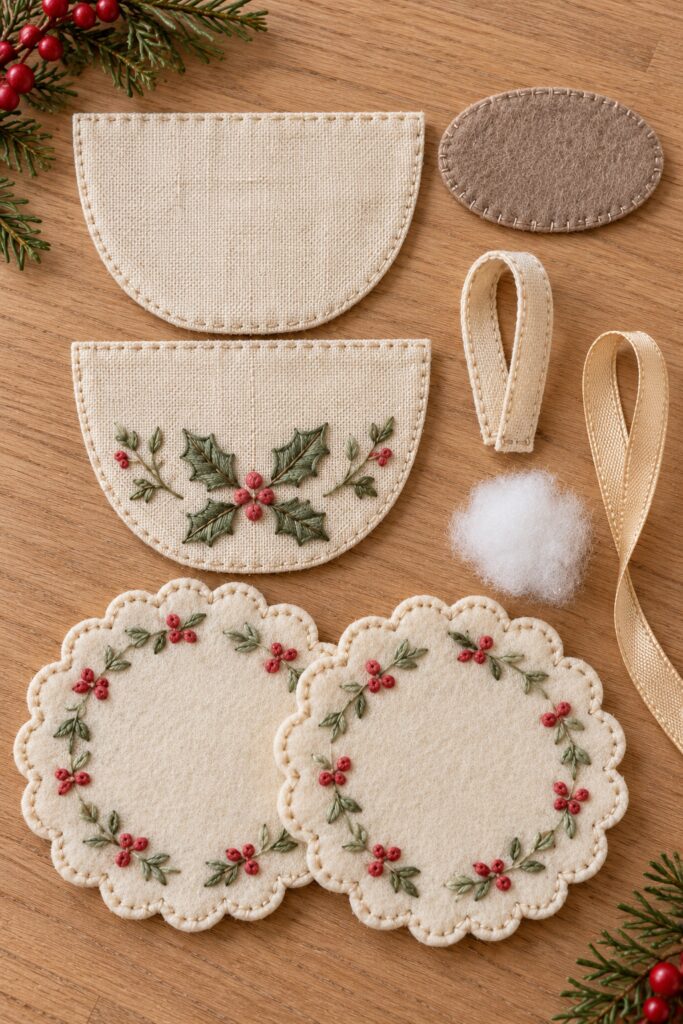
Trace two identical cup shapes onto the linen, allowing approximately 4 mm extra around each outline for turning the raw edges inward. Cut matching interfacing pieces to the finished outline without that allowance. Baste the interfacing to the wrong side of each panel, then turn the linen allowance over it and tack it down.
The finished panels should match when placed together with their right sides facing outward. The interfacing gives the folded edge a little body and helps contain fraying linen. Don’t add seam allowance again when checking the finished size. If the edges differ, adjust them now, before decorating or joining the panels.
2. Add the Holly and Make the Handle
Embroider a small holly sprig on the front panel, keeping it away from the turned edges. Use simple pointed leaves with short straight stitches for veins. Small red satin-stitched circles make berries without beads. Keep the back reasonably tidy so loose thread doesn’t catch the stuffing later.
For the handle, fold a narrow linen strip around a strip of sew-in interfacing, turning its raw edges inside. Stitch along both long edges to make a firm fabric band about 5 to 7 mm wide. Curve it into a loop and check it beside the cup; shorten it until the handle looks balanced rather than oversized.
3. Join the Body and Secure the Handle
Place the panels wrong sides together. Slip the two handle ends between them on the right side, one near the upper corner and the other lower on the curve, leaving the loop outside. Overlap each end well into the body and stitch through the full sandwich several times at those points.
Blanket-stitch around the curved sides and bottom, leaving the straight top open. To make a blanket stitch, bring the needle through both edges and pass it through the thread loop before tightening. Keep the stitches close enough to hold the edges together without gathering them. The body should stay flat enough to resemble the template.
4. Add Light Padding and the Hanging Loop
Push small wisps of stuffing through the top opening. Spread them into the bottom curve with a blunt tool or your fingers, keeping the body gently padded. Stop before the panels bulge into a ball. The front decoration should remain readable and the top opening should be a narrow slit, not a broad circle.
Fold a short length of champagne ribbon into a hanging loop. Place both cut ends inside the center of the back rim and stitch them securely through the reinforced panel. Test the balance while supporting the ornament over the table. The handle is decorative; use the ribbon loop for hanging.
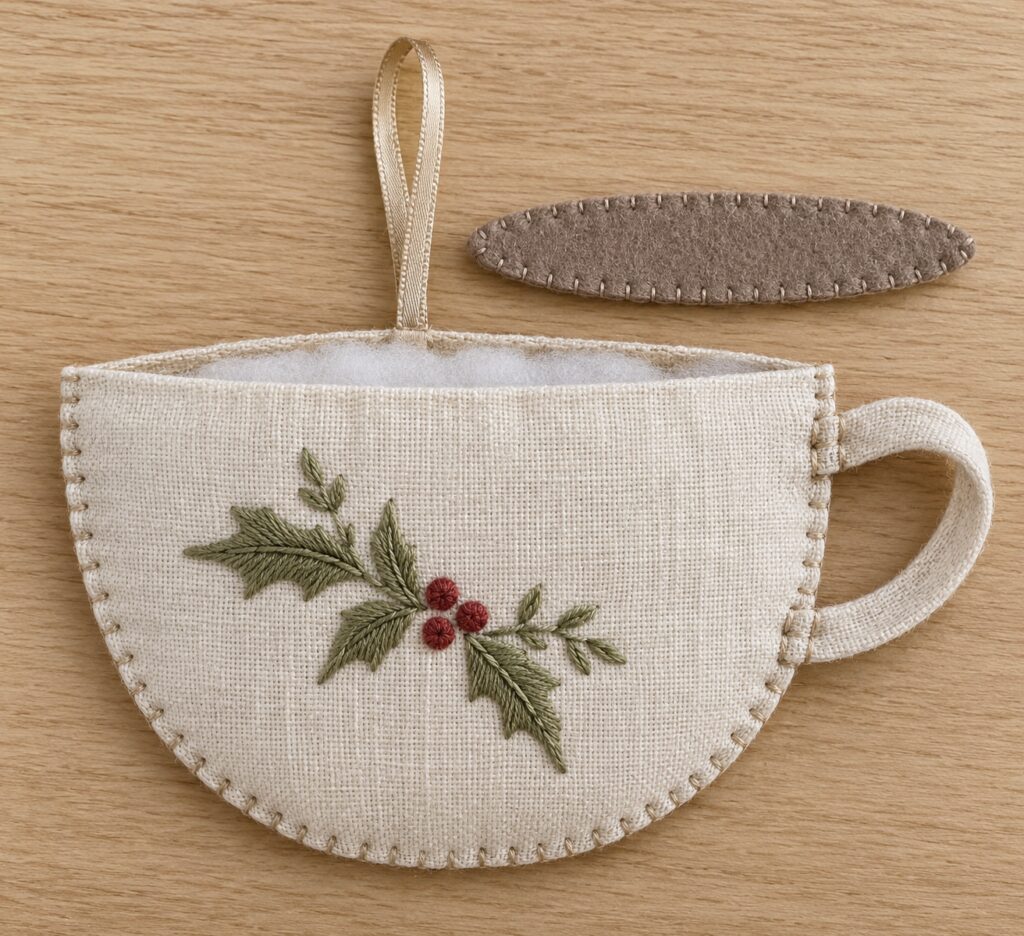
5. Close the Top with Taupe Felt
Hold the opening in its natural shallow oval shape and trim the taupe insert to fit. The rounded ends meet the cup’s upper corners, while its long sides meet the front and back rims. Pin or baste those four points first. If the insert forces the body wider, trim it instead of adding more stuffing.
Whipstitch around the top, catching felt and the folded linen rim with small stitches. A whipstitch passes over the edge repeatedly, binding the two pieces together. Close the entire opening, including around the ribbon ends. The taupe surface suggests tea, but the ornament is closed and isn’t intended to hold anything.
6. Attach the Scalloped Saucer
Cut two matching shallow oval saucers from ivory felt. Decorate the upper piece with a few tiny green stitches and red berries if you like, leaving the center free. Center the cup’s bottom seam along that upper piece. Sew through the bottom seam and upper saucer at several points, keeping the cup upright relative to its saucer.
Turn the assembly carefully to see the stitches underneath. Add securing stitches if the body rocks excessively, then place the lower saucer piece beneath the upper one to hide the stitch backs. Blanket-stitch the two saucer edges together. Don’t sew through the hanging ribbon or handle while turning the small assembly in your hands.
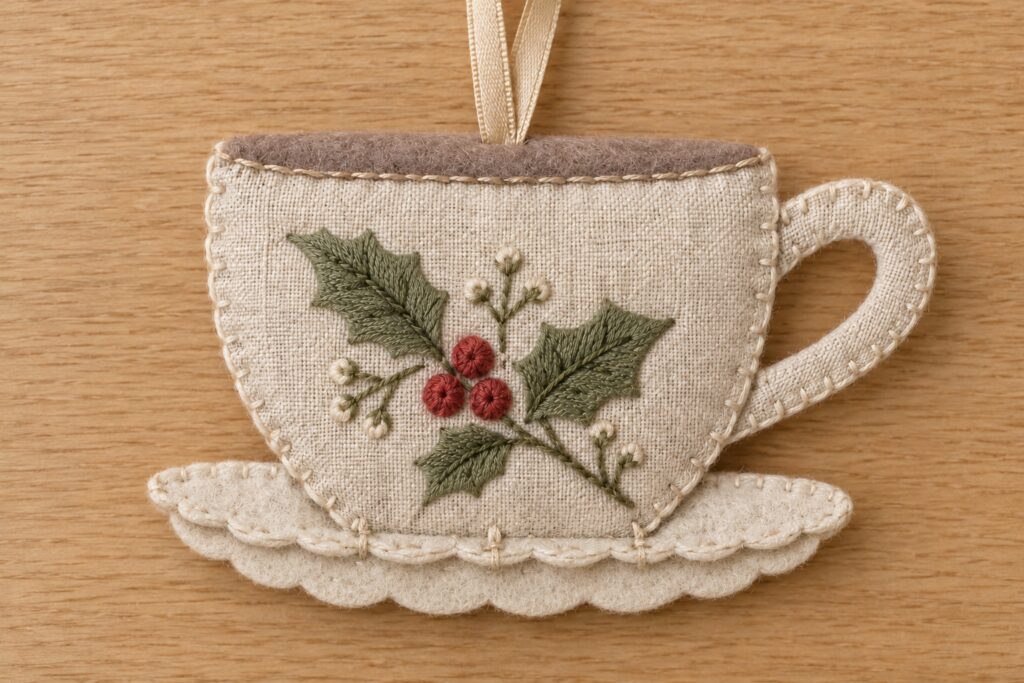
Tips for the Heirloom Finish
Keep the stuffing light and the edge stitches visible. Those two choices preserve the fabric character instead of trying to imitate hard china. Use cream thread with enough contrast to show against the linen, and repeat the same thread color around the saucer so the separate parts feel related.
Try the holly on a scrap before working on the cup. A few clear leaves and berries will read better on this scale than a crowded miniature picture. If the first handle flops, shorten it or add another interfacing layer to the next one rather than inserting exposed wire.
Easy Ways to Vary the Collection
Use faded blue linen for one cup, or stitch narrow blue strips onto an ivory front before assembly. Add lace along the upper front rim, keeping it clear of the top seam. Keep the body template and saucer proportions consistent while changing one detail at a time.
Displaying the Finished Ornaments
Hang each ornament by its sewn ribbon on a sturdy branch or display hook that supports its weight. Check the loop and saucer attachment before use. These are indoor decorations, not toys or food vessels, and should stay away from heat, flames, moisture, and small children.
A Useful Finishing Check
Hold the ornament at viewing distance before starting another. If you recognize the cup, handle, holly, and little saucer immediately, the simplified version has kept the important parts of the idea. Adjust that first sample rather than trying to correct a whole set at once.