*This post may contain affiliate links for which I earn commissions.*
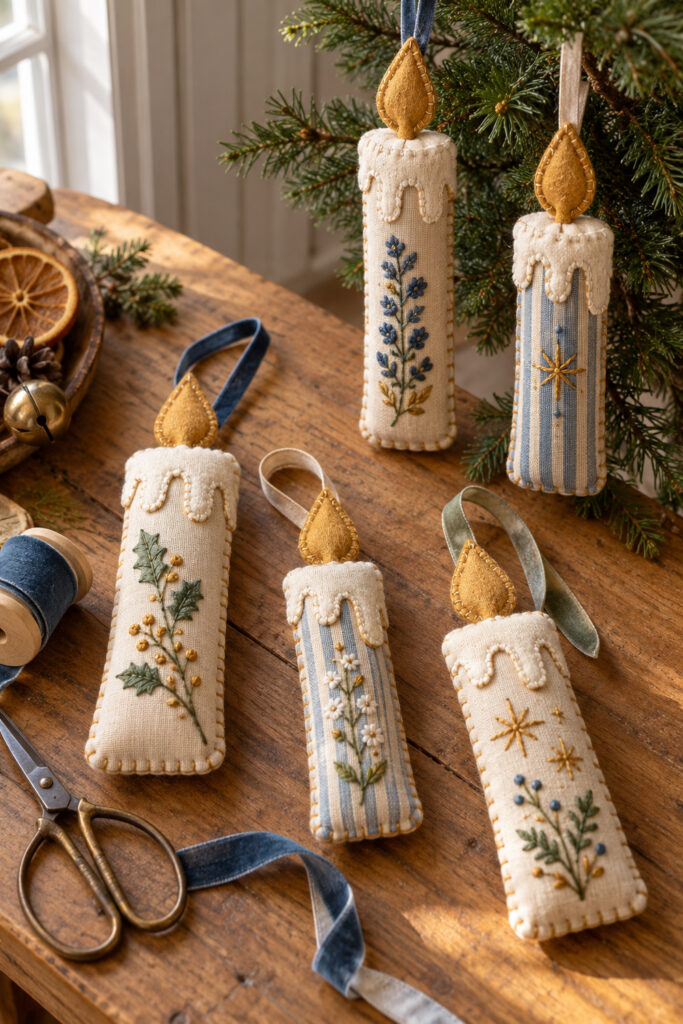
Cream linen, faded blue stripes, gold felt flames, and small embroidered sprigs give these candle ornaments their handmade character. The scalloped wax shapes and visible edge stitches make the idea especially appealing. You can keep those details in a small hand-sewn ornament without building a miniature fabric cylinder.
This tutorial uses a flat padded candle silhouette. Two fabric-covered felt panels form the body, with a separate felt drip cap, stitched flame, and ribbon loop at the top. That adaptation keeps the recognizable subject while making the assembly easier to follow with ordinary sewing supplies.
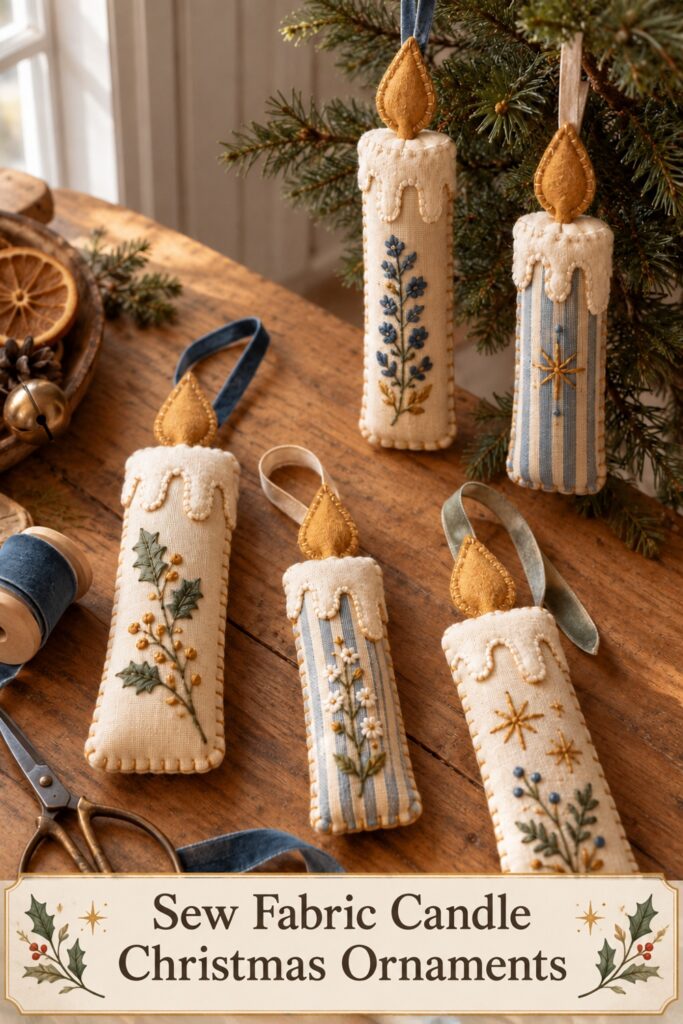
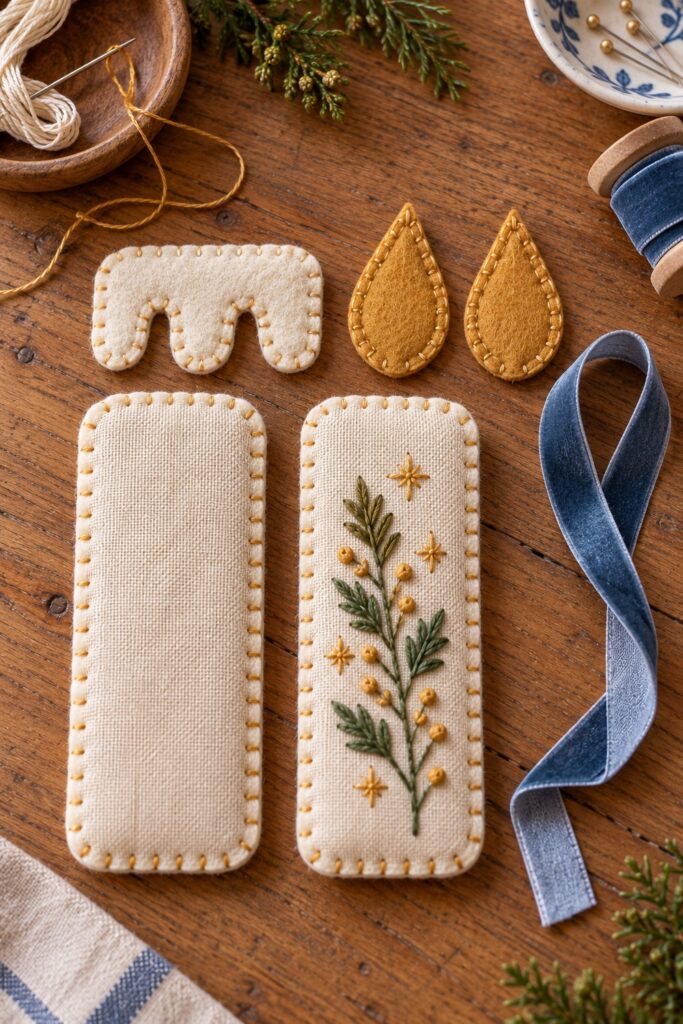
The inspiration and instructional demonstration images were created with AI. They illustrate the design and proposed construction method rather than documenting a physical project being made.
What You’re Making
Make a gently padded candle ornament with a cream or striped front, a plain back, a gold teardrop flame, and a secure hanging loop. The suggested body measures 2 inches wide by 5 inches tall, excluding the flame. These are starting dimensions for this tutorial, not measurements taken from the inspiration. Keep the body flatter than the rounded columns pictured there.
The drip cap sits across the upper front, with three or four rounded drops pointing down. A small stitched sprig or star decorates the space below it. The finished piece is a textile decoration only. It contains no wick, light, battery, or real flame.
Materials and Supplies
Materials
- Cream linen or tightly woven cotton for two body faces per ornament
- Cream craft felt for two body backings and the wax drip cap for each candle
- Gold felt for two flame pieces
- Embroidery floss in cream, gold, and muted green
- Strong sewing thread for the flame and ribbon anchors
- A small amount of polyester fiberfill
- One 8 inch length of ribbon about 3 eighths of an inch wide
- Paper for templates
Tools
- Fabric scissors and small embroidery scissors
- A sharp hand sewing or embroidery needle suited to the fabric layers
- Pins or sewing clips and a ruler
- A pencil for the paper templates
- A blunt chopstick or similar stuffing tool
Want to Make These Candle Ornaments?
I’ve put together a convenient Amazon supply list featuring hand-picked, well-rated products that match the materials list in this post to save you time. Just click below to see all the items.
See My Hand-Picked Supply ListAs an Amazon Associate I earn from qualifying purchases but this doesn’t increase your price at all!
A small embroidery hoop is helpful if you want a more detailed front. For a simple sprig, you can hold the fabric gently in your hand. Keep needles and scissors accounted for while working, particularly if children or pets share the space.
Before You Start
Draw a rounded rectangle 2 inches wide and 5 inches high on paper. This will be the template you’ll use to cut out your candle shapes. Keep the upper edge almost straight, rounding only the corners.
Draw a separate 2 inch wide drip cap with a straight top and three or four rounded drops, approximately 1 inch deep at the longest drop. Make each drop broad enough to cut cleanly from felt.
Draw a 1 and a half inch tall teardrop flame with a short quarter inch tab extending from its bottom. That tab will be hidden inside the body.
Cut paper templates first and arrange them together. The flame should look balanced above the narrow candle, with the drip cap leaving room for the embroidery below.
If using washable woven fabric, prepare it according to its care instructions before cutting. Do not wash felt without checking its directions.
Following is a proposed sewing method; make one ornament first and adjust the dimensions, steps, and/or the padding to work with the materials and tools you have on hand before cutting an entire collection.
Step by Step Tutorial
1 Cut and Back the Candle Panels
Cut two candle body shapes from the woven fabric and two identical shapes from cream felt. Each woven candle body piece will be backed with one of the felt pieces.
Cut one drip cap from cream felt and two flame shapes from gold felt, retaining their small bottom tabs. For striped fabric, align the stripes with the candle’s long edge on the front. A plain back is fine even when the front has a pattern.
Place each fabric candle body face over a felt backing piece with the edges aligned. Work small running stitches just inside the edge to keep each pair together. These preliminary stitches stabilize the woven fabric; the final blanket stitches will join the two backed panels. If the weave sheds threads, trim loose fibers and handle the edges gently rather than pulling them.
2 Decorate the Front While It Is Flat
Mark a small central sprig lightly with a fabric-safe removable method tested on a scrap, or simply follow a few straight stitches. Work a green stem using short backstitches, then add paired leaf stitches. Add a few gold straight stitches or tiny stars for contrast. Keep the design away from the edge and beneath the planned drip cap.
Each stitch should pass through the front fabric and its felt backing. Keep the thread relaxed enough that the panel lies flat. If the surface puckers, undo the tight section now. The backstitch forms a continuous line by bringing the needle forward and then taking it back to the end of the previous stitch.
3 Stitch on the Felt Wax Drips
Place the drip cap felt piece across the front panel’s upper edge. Its straight top should align with the candle top, and its rounded drops should point toward the embroidery. Pin or clip it temporarily into place. Sew around the lower scalloped edge using small cream stitches, then secure the upper edge with a running stitch. Keep the cap flat rather than stuffing each drop.
A blanket stitch can outline the lower edge: bring the needle through near the edge, leave a small thread loop, then pass the needle through that loop before tightening gently.
Space the stitches evenly enough to define the curve. Use the simpler running stitch if you’re more comfortable with it; the felt shape still provides the wax detail.
4 Assemble the Flame and Hanging Loop
Put the two gold flame pieces together. Sew around their teardrop outline with gold or cream thread, leaving the bottom tabs unjoined. Keep the flame flat. Fold the ribbon in half to form a loop, with the cut ends together. Place those ends on the wrong side of the front panel, overlapping its top edge by about half an inch.
Set the flame above the candle with its bottom tabs overlapping the panel by about a quarter inch. Position the ribbon behind it so the loop rises above the flame. Secure both ribbon ends and the flame tabs to the felt-backed panel with several small firm stitches. Avoid relying on the final decorative edge stitching alone to hold the hanging loop.
Lay the plain back panel over the wrong side to check that it covers the anchors without pushing the flame off center. Adjust now if needed, then lift it away until you’re ready to join the body.
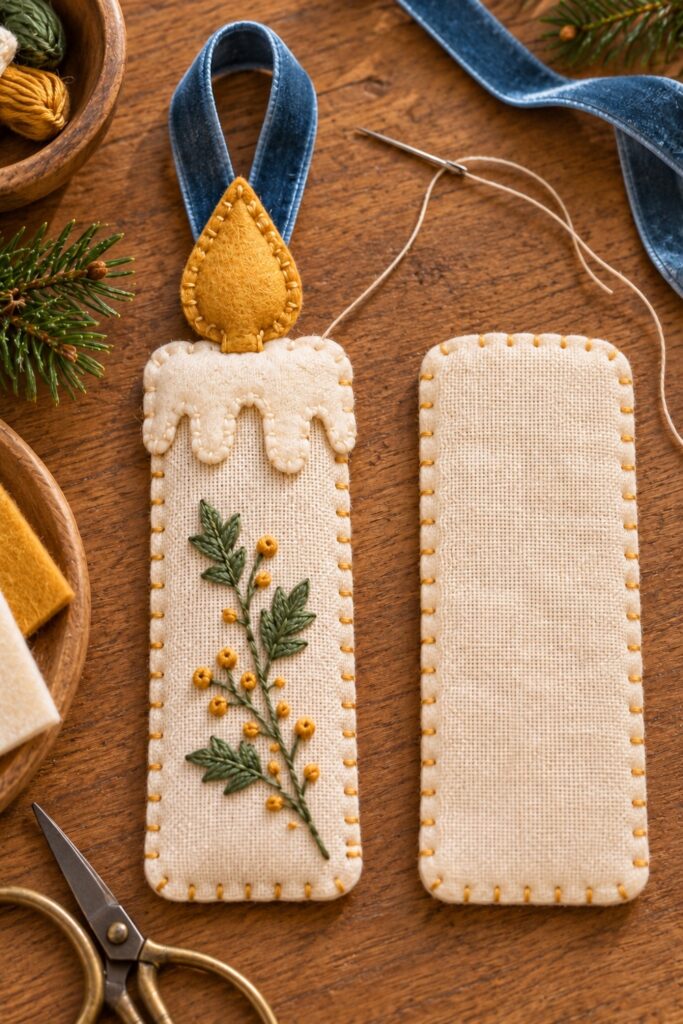
5 Join the Body and Leave a Stuffing Gap
Place the backed front and back together with the fabric faces outward. Clip the sides so their edges match.
Blanket stitch around the body through all the layers, using cream floss and a needle that passes comfortably through the fabric. At the top, stitch around the anchors without catching the ribbon loop shut or bending the flame.
Leave approximately 1 inch unstitched halfway along one side. Keep the gap below the drip cap so it will be easy to reach with stuffing. Don’t pull the stitches tightly enough to curl the edges. The final body should remain a narrow candle shape with a soft padded center.
6 Add Light Padding and Close the Gap
Push small tufts of fiberfill through the opening with your fingers or a blunt tool. Work a little into the lower corners first, then distribute it along the center. Stop before the body becomes firm or round. Light padding gives the fabric some depth while preserving the practical flat silhouette used in this tutorial.
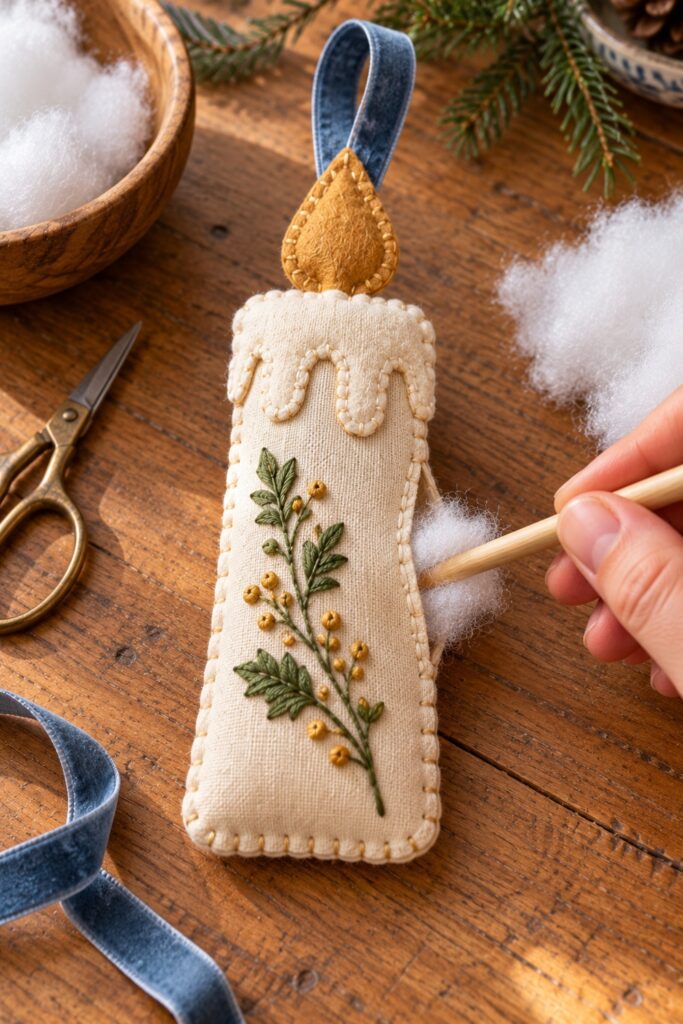
Close the remaining gap with matching stitches. Secure and bury the thread end inside the body. Check the entire seam for openings, then give the ribbon a gentle test tug while supporting the ornament. Restitch an insecure anchor before hanging it.
Tips for Getting the Finished Look
Keep the flame gold and the wax cap cream across the collection. Vary the fronts with plain linen, narrow blue stripes, or a different small sprig. The common upper details will connect them. Make one taller candle only after the first size hangs well, and retain enough width for its body to stay recognizable.
Use visible stitches as part of the design. They can be a little individual without leaving loose seams. Avoid adding hard beads or heavy ornaments just to increase detail. Thread, fabric texture, and a clear scalloped cap already carry the inspiration’s tactile quality.
Easy Ways to Customize It
Try a gold star instead of a botanical sprig, or use a muted sage ribbon on one ornament. A shorter body can suit a smaller tree branch, but scale the cap and flame with it. Keep the flame tab and ribbon overlap large enough for secure stitching when changing the decorative proportions.
Displaying the Finished Ornaments
Hang them from sturdy indoor branches or display them on a decorative hook rail. Keep them away from real candles, heaters, and hot lights. These are decorations rather than toys, and ribbon loops should remain out of reach of young children and pets. Store them dry and loosely wrapped so the felt flames aren’t crushed.
A Small Detail to Finish With
Before making the next candle, hang the first one and check the cap, flame, and loop from across the room. Adjust those recognizable shapes first. The smaller embroidery can vary, and that little difference is part of the appeal of a coordinated handmade collection.