*This post may contain affiliate links for which I earn commissions.*
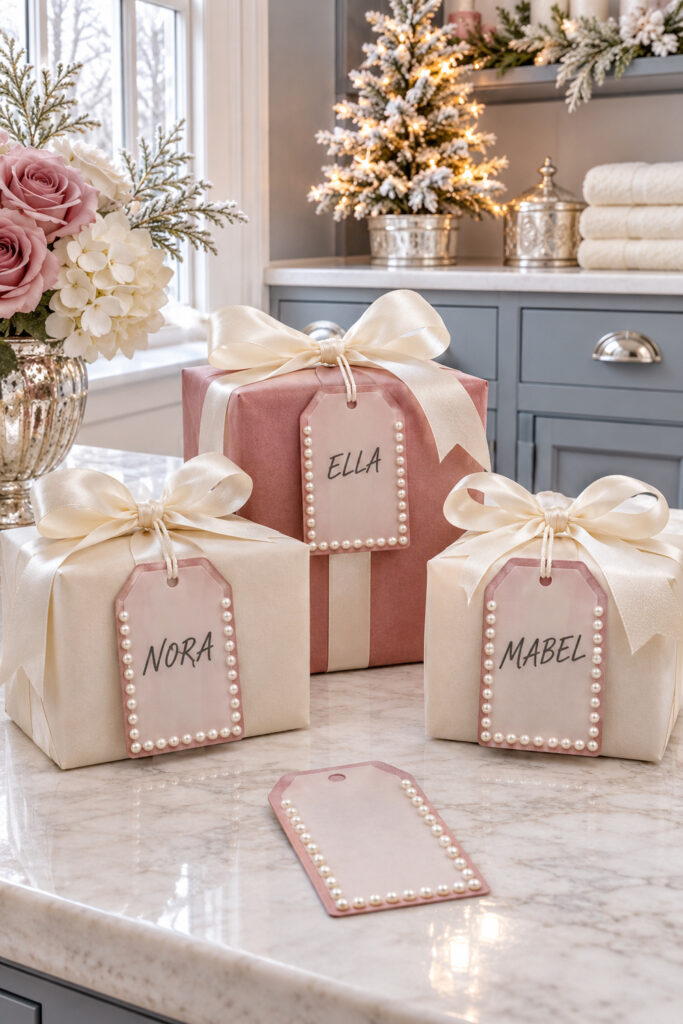
A translucent layer softens the rose backing on these Christmas tags, while tiny pearls frame the names along three sides. The clipped upper corners and simple cord keep the familiar gift-tag shape clear. Against ivory ribbon and pale wrapping, the pearl edges feel dressed up without needing glitter across the whole package.
The version below uses cardstock, a smaller vellum layer, and flat-backed craft pearls. A few concealed adhesive points hold the layers while a punched hole and cord secure the top. Make one sample before preparing a set, since vellum, ink, and adhesives behave differently between products.
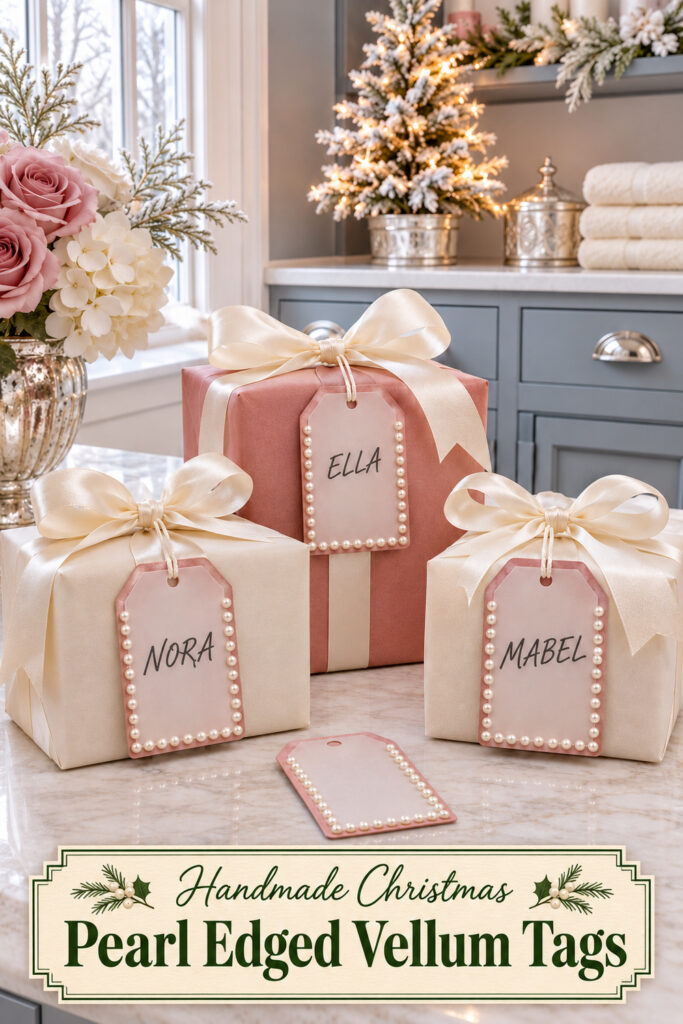
The inspiration and instructional images were generated with AI. This tutorial proposes a practical adaptation and does not document a physically tested project.
Plan a tag that still bends like paper
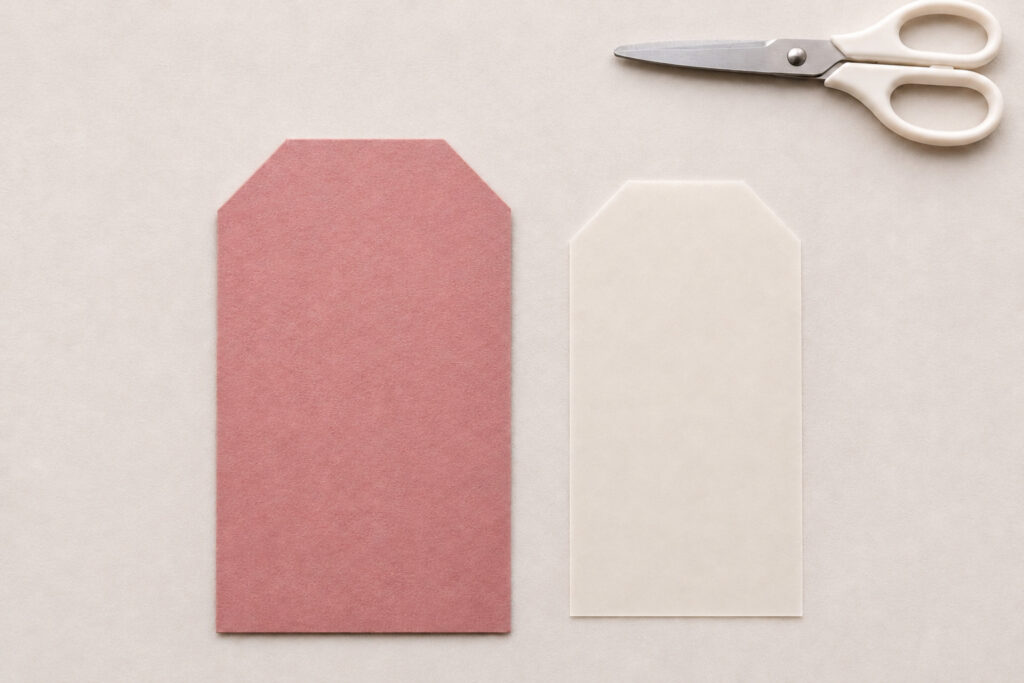
Use a rose cardstock backing with an inset ivory vellum face. The backing provides strength and a visible border. The vellum supplies the cloudy finish, while the pearls run down both straight sides and across the bottom. Leave the clipped shoulders and top edge plain.
As a proposed starting size, cut the backing about 2 by 3½ inches and the vellum about 1¾ by 3¼ inches. These are suggested craft dimensions, not measurements taken from the image. Check the proportions on your actual package before cutting a batch.
Materials and tools
- Dusty rose cardstock, sturdy enough to hold a punched tie hole.
- Translucent ivory craft vellum, suitable for your chosen writing or printing method.
- Small ivory flat-backed craft pearls, approximately 3 to 4 millimeters across as a starting choice, with enough for three borders per tag.
- Vellum-suitable adhesive dots or another adhesive recommended for your actual paper and embellishments.
- Thin ivory cord, narrow enough to pass easily through the punched hole.
- A ruler, pencil, paper scissors or a paper trimmer, and a small single-hole punch.
- A dark pen suitable for vellum, plus scrap paper for an ink test.
- Optional fine tweezers, for positioning the smallest pearls.
Choose individual flat-backed pearls rather than round drilled beads. If using self-adhesive pearl strips, check that their spacing suits the tag and that the adhesive bonds properly to your vellum. Keep small embellishments away from young children while working.
Cut and check the two layers
Step 1 Make a backing template
Cut one cardstock rectangle, then clip its two upper corners equally to form short sloping shoulders. A suggested clip is about ¼ inch from each corner along the top and side edges. Mark both cuts first so the finished shape remains balanced.
Lay the sample against a wrapped box. Leave enough clear center for the name and enough room at the top for a tie hole. Once the shape works, use it to trace the remaining backings. Don’t cut several thick layers at once if that makes the edges uneven.
Step 2 Cut the inset vellum face
Cut the smaller rectangle and clip its upper corners to follow the backing’s shape. Center it on the rose card, leaving a narrow border visible all around. Trim a little at a time if one edge looks too wide. Keep the layers flat and separate at this stage.
Add the name and pearl border
Step 3 Test the lettering before assembly
Write on a vellum offcut first and let the ink dry according to its directions. Rub a spare corner gently to check for smearing before handling a finished name. Some inks sit on the surface rather than soaking in, so the paper that looks right may need a different pen.
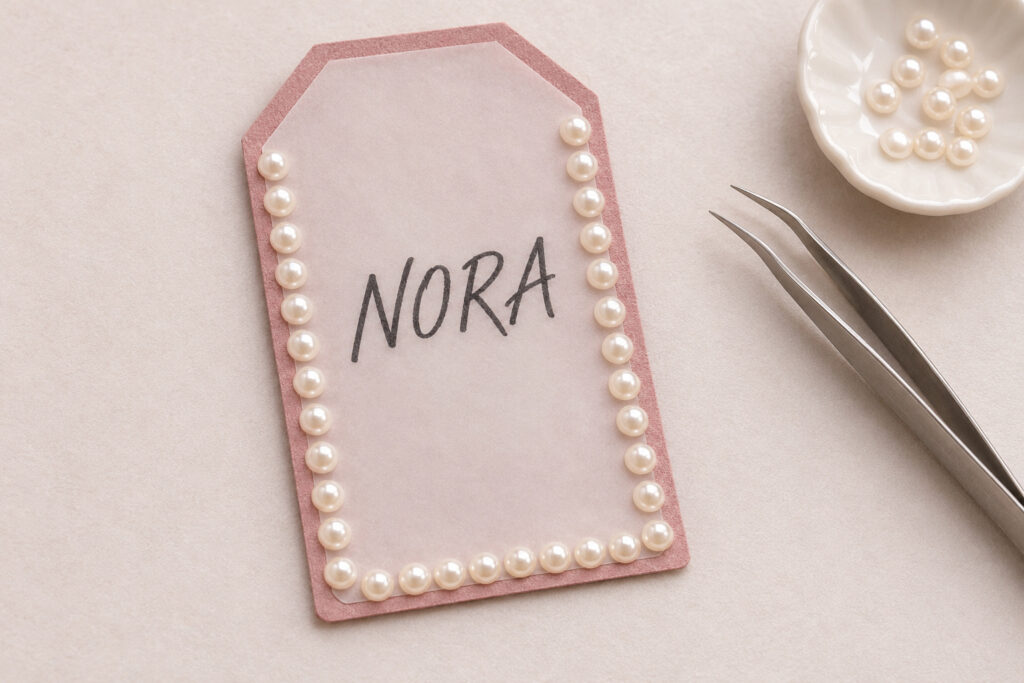
Write the name in the center of the vellum layer, leaving space for the pearl border and the hole above. The example names are decorative samples; use your own recipients. Keep a test layout beneath the vellum as a guide if straight placement is difficult, then remove it before assembly.
Step 4 Hold the layers and place the pearls
Dry-fit the vellum again and lightly mark pearl positions on a scrap guide, not across the visible face. Start with the bottom row, then work up the sides. Leave small even gaps or let the pearls sit close together, using one approach consistently.
Place tiny compatible adhesive points between the vellum and cardstock near the lower corners, where pearls will cover them. Follow the adhesive directions and check the result on scrap first. Add the pearl border with adhesive suited to those embellishments, keeping excess off the visible paper. Press gently without denting the vellum and let the bonds set as directed.
Make the tie point
Step 5 Punch through both layers
Once the adhesive is set, mark one hole near the top center. As a proposed position, place its center about ⅜ inch below the backing’s top edge, checking that the punch will pass through both layers and leave sound paper above it. Use a hole size suited to the cord.
Hold the layers aligned and punch cleanly through both together. Test the cord without forcing it. If the hole is too close to an edge or the cardstock tears, remake the tag rather than trying to hide the weakness under a bow.
Step 6 Tie the tag to the package
Pass thin cord through the hole and attach it to the parcel ribbon with a loose, secure knot or bow. Leave enough movement that the tag can lie flat against the box. Keep the cord from pulling the top forward into a sharp crease.
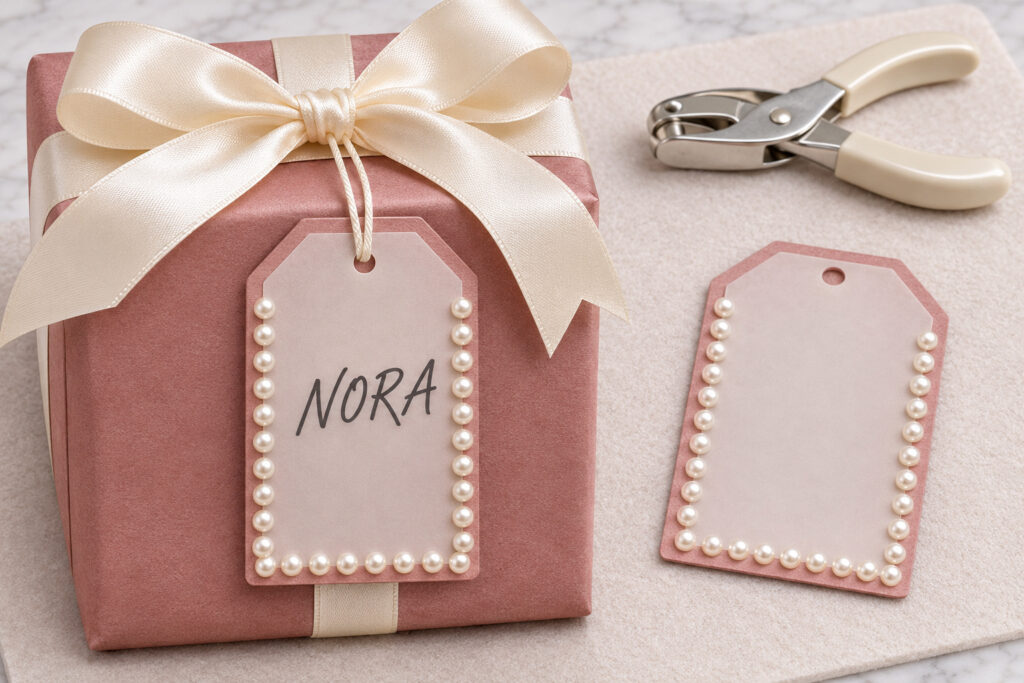
Keep the finished pearl border inside the cardstock outline. A pearl that overhangs the edge is more likely to catch when the package moves. Lay out an entire side before fixing it, then compare the two sides so their starting points sit at similar heights. The spacing can be approximate, but the plain center should remain balanced.
For a batch of names, cut and test the layers first, then complete one tag before lettering all the others. This checks how the finished vellum changes the backing color and how much space the pearls actually occupy. Keep dry ink samples and spare layers away from wet adhesive. Write the recipient on the back of the cardstock too if you want a useful second label after the decorative face is removed.
Correct curling or visible glue
If the vellum curls, use smaller adhesive points and check compatibility on scrap before starting again. Excess wet adhesive can distort thin paper. Don’t try to flatten a newly glued tag by stacking heavy objects directly onto the pearls.
A visible adhesive spot can sometimes sit beneath a pearl, but don’t keep adding embellishments to cover a spreading mark. Remake the small vellum face if the center is spoiled. The plain translucent area is part of the appeal and needs room to show.
If a pearl slides, let the correct adhesive set fully before moving the tag. Self-adhesive pieces may need different handling or a compatible additional bond. Follow their actual directions rather than assuming every sticker pearl will hold the same way.
Keep the variations controlled
Change the backing color while keeping the vellum pale and the lettering dark. Blue, sage, or burgundy can work with the same method. Test the name over the chosen card, since a darker backing changes how the writing appears through the translucent face.
For a smaller tag, use smaller pearls or fewer widely spaced pieces. Preserve a readable center and a strong top hole. A larger embellishment needs more edge space; simply adding bigger pearls can overwhelm a narrow paper border.
Handle and store the finished tags
Use the tags on dry indoor packages. Keep them away from damp greenery, wet flowers, and surfaces where the cord could catch. They are decorative paper labels, not washable ornaments or toys.
Store finished tags flat in a shallow box with space above the pearls. Separate their cords so one tie doesn’t catch another border. Prepare spare vellum faces while the template is handy; replacing one label is easier when its matching paper is already cut.
Before tying the full set, check a finished tag from across the table. A readable name, an even rose border, and a simple pearl outline will do more than another row of decoration.