*This post may contain affiliate links for which I earn commissions.*
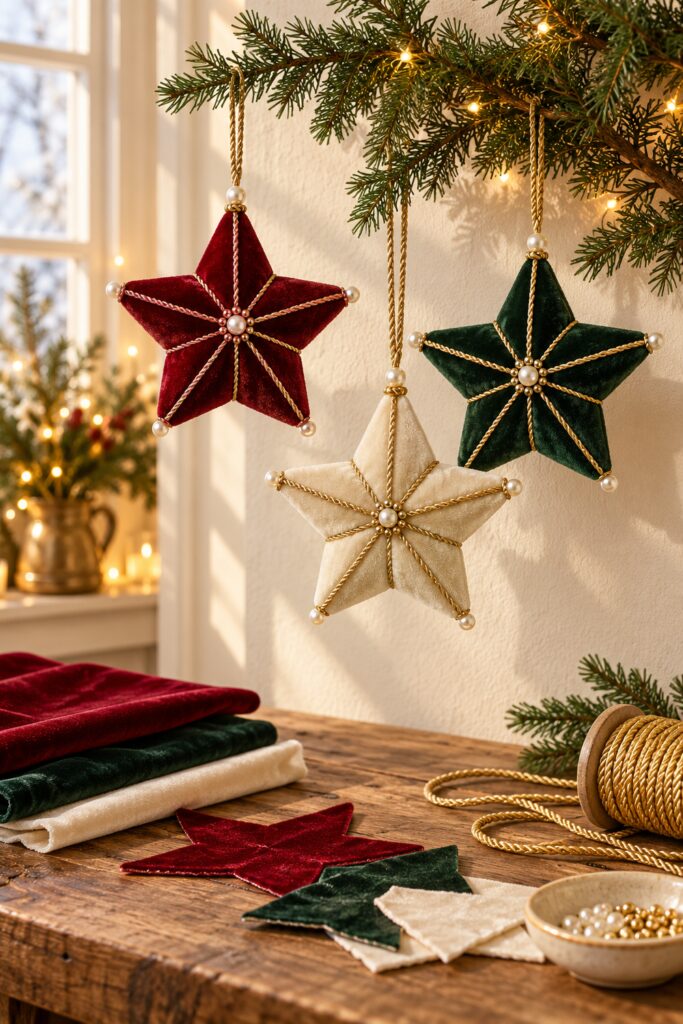
These padded velvet stars translate the rich red green and ivory ornaments in the inspiration image into a practical sewn Christmas project. The finished pieces are soft enough to feel handmade but structured enough to keep a crisp five-point star shape, and the gold cord and pearl accents give them the polished heirloom character that makes the original visual idea stand out.
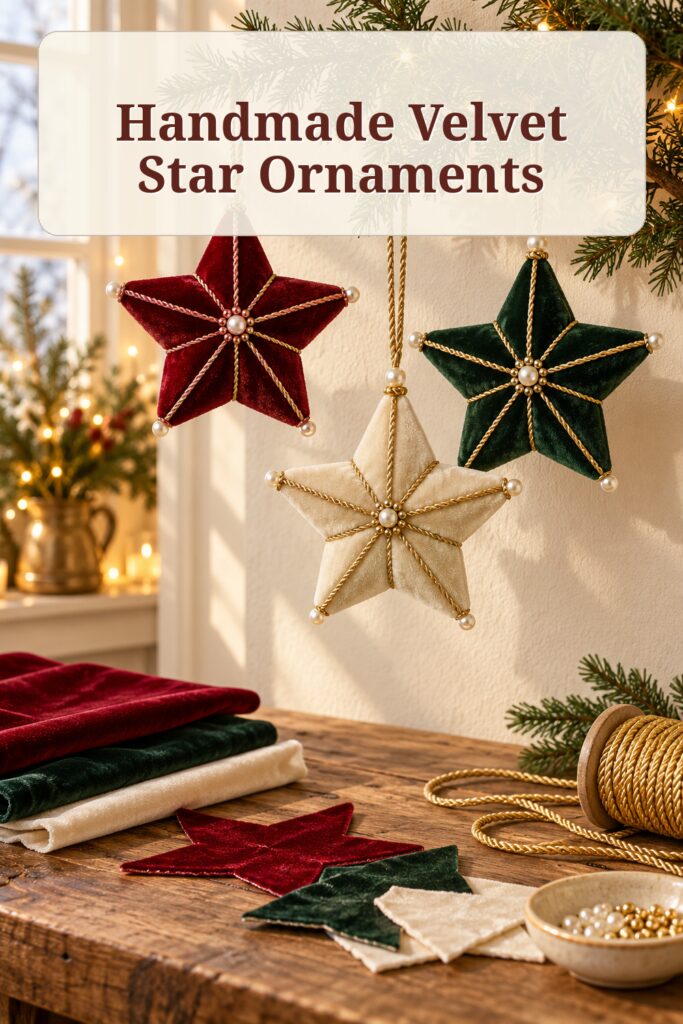
The inspiration image and the instructional demonstration images in this tutorial were created with AI. The written method below translates that visual idea into a practical project you can recreate at home.
What You Are Making
You will make lightly padded five-point velvet stars finished with narrow metallic cord radiating from the center and small pearl beads at the center and outer points.
A finished ornament around 5 to 6 inches across works well on a full-size tree, although the pattern can be reduced for smaller branches. The tutorial uses a stitched fabric shell rather than trying to reproduce every seam and contour exactly as shown in the AI image.
Materials and Supplies
- Velvet fabric in burgundy red, deep evergreen, and ivory or champagne (I linked to a nonstretch velvet fabric that comes in all 3 colors)
- Lightweight woven cotton or fusible interfacing for backing slippery velvet
- Cardstock or a piece of cardboard for a reusable five point star template
- Coordinating all purpose thread
- Polyester fiberfill or small pieces of batting
- Narrow gold twisted cord or metallic soutache style trim
- White pearl beads approximately 8 to 12 mm for the points
- White pearl buttons with gold trim for the centers
- Thin gold cord or ribbon for hanging loops (or you can use the same cord used to trim the stars)
- Hand sewing needle and pins or sewing clips
- Sharp fabric scissors or rotary cutter and cutting mat
- Fabric safe craft glue for securing cord and beads if you prefer not to sew every embellishment
Want to Make These Stars?
I’ve put together a convenient Amazon supply list featuring hand-picked, well-rated products that complement the inspiration or DIY project shown in this post.
See My Hand-Picked Supply ListAs an Amazon Associate I earn from qualifying purchases but this doesn’t increase your price at all!
Before You Start
Make one paper star template first and check the proportions before cutting your velvet. You can find star templates online, print one out, cut around it, and then use that to create a cardstock or cardboard template.
A simple five-point star with broad points is easier to turn right side out and lightly stuff than a very narrow star.
If your velvet stretches or shifts while cutting, back it with lightweight interfacing before tracing. I linked to a nonstretch velvet above in the supply list that might be easier to work with but if you already have material on hand that you want to use, securing some interfacing on the back can make it easier to work with stretchy fabric.
Mark the pattern on the wrong side and add about a quarter inch seam allowance if your template represents the finished size.
Step by Step Velvet Star Tutorial
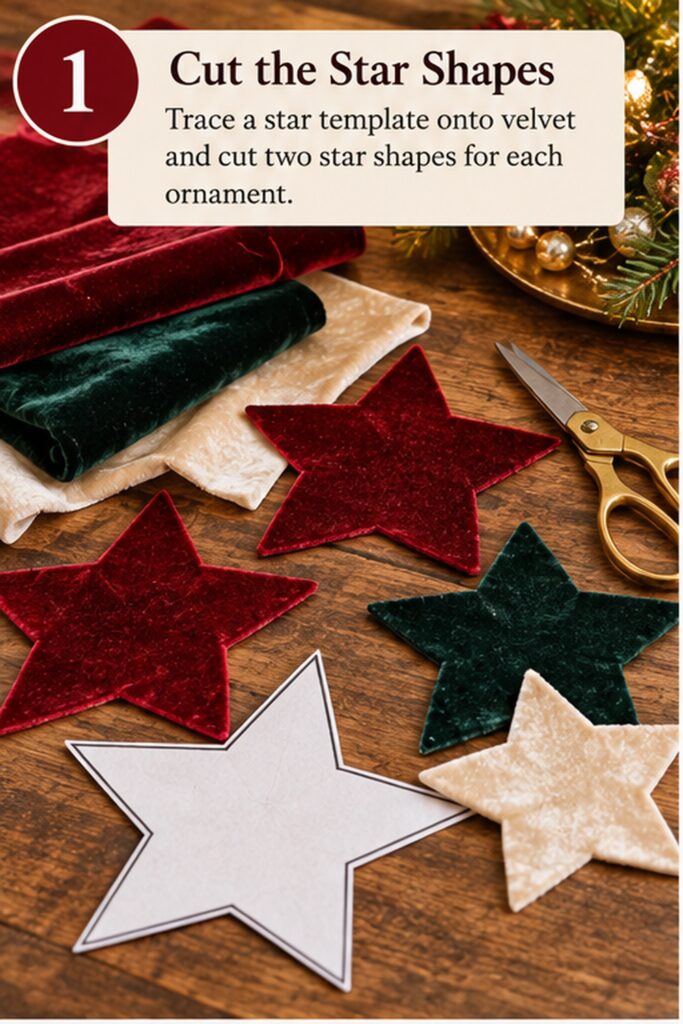
1. Cut Matching Front and Back Stars
For each ornament, cut two matching velvet stars with the nap running in the same direction.
Keep the points aligned and avoid stretching the fabric as you cut. If you want all three colors to feel like one collection, use the same template for every ornament and vary only the velvet color.
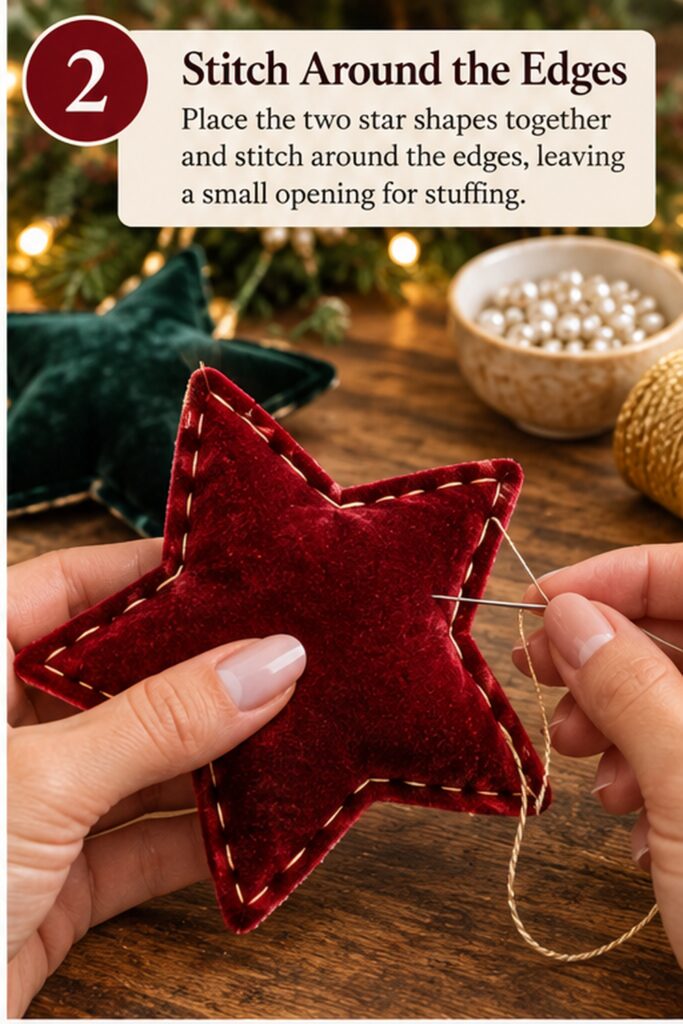
2. Stitch the Perimeter and Leave a Turning Gap
Place each pair right sides together and pin or clip around the edges.
Stitch around the star with a short straight stitch, pivoting carefully at each inner corner and point.
Leave a 2 to 3 inch opening along one of the lower edges so that you can stuff the star before closing it.
Clip the seam allowance close to the outer tips and make small notches toward the inner corners without cutting the stitching. These clips help the star turn cleanly.
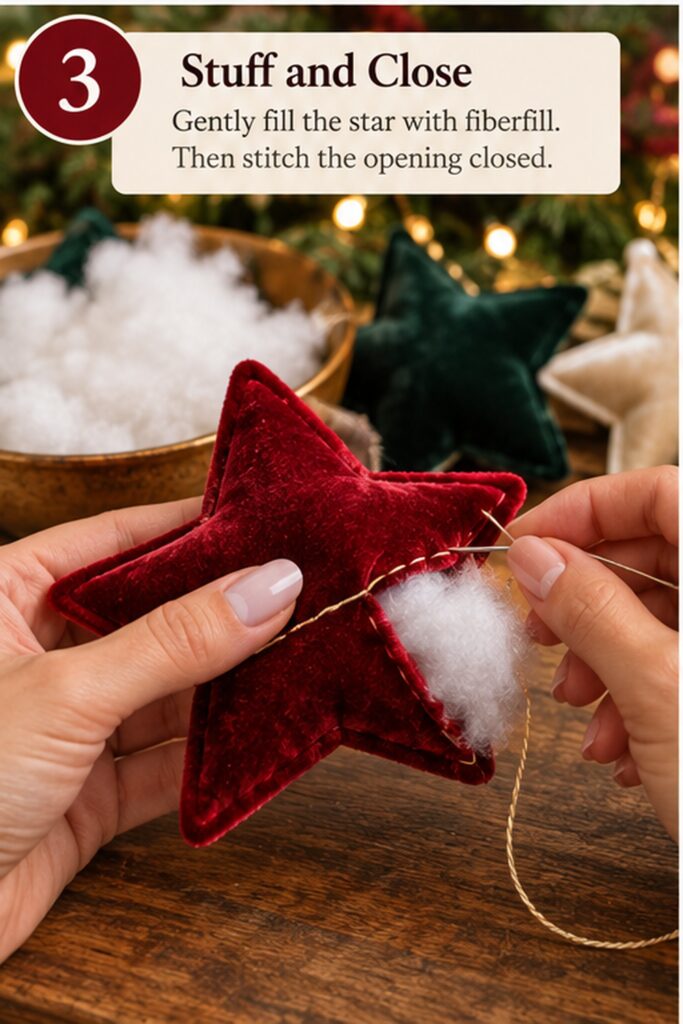
3. Turn, Press Gently, and Add Light Filling
Turn the star right side out through the opening, using a blunt tool to ease out each point.
Avoid pulling hard on the velvet.
Add small amounts of fiberfill a little at a time, pushing it toward the points first and then filling the center. The ornament should look softly padded rather than round and pillow-like. Fold the opening seam allowance inward and close it with a ladder stitch.
4. Add the Gold Cord Structure
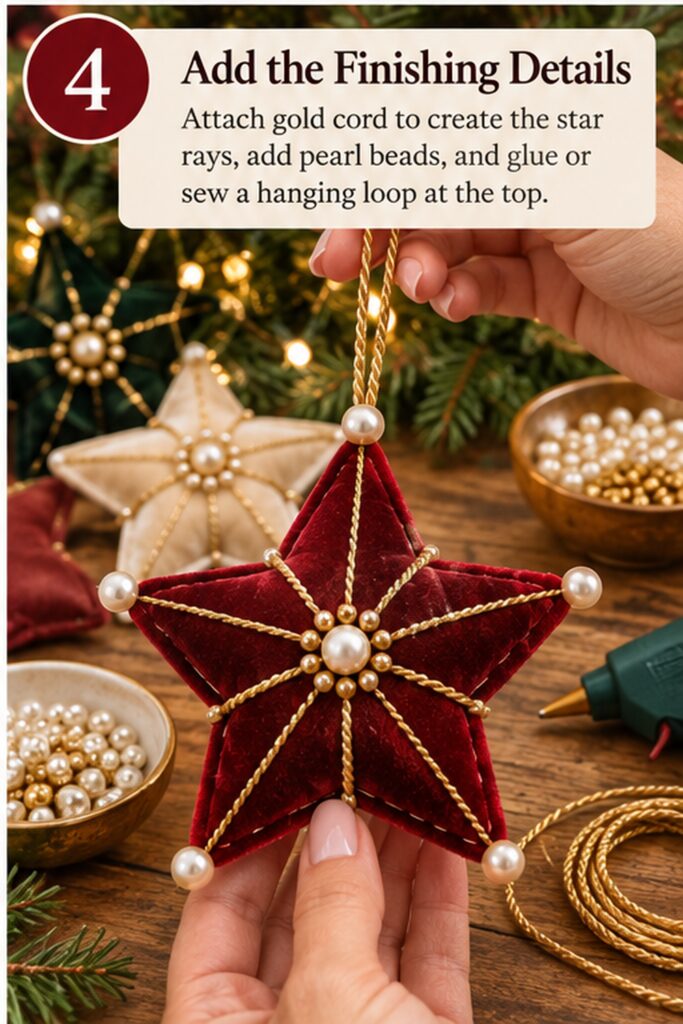
Cut five equal lengths of narrow gold cord long enough to run from the center to each point with a little extra for neat trimming.
Position the cords so they radiate evenly from the middle. Secure them with small hidden hand stitches, tiny dots of fabric-safe glue, or a combination of both.
Keep the tension even so the cord lies flat without pulling the velvet into deep puckers.
5. Finish with Pearls and a Hanging Loop
Sew or glue one pearl button with gold trim at the center where the five gold lines meet.
Add the pearl beads near the outer points if you want the more embellished look shown in the inspiration image.
For the hanger, fold a 7 to 9 inch length of gold cord into a loop and stitch it securely to the top point through the seam allowance. Test the loop with a gentle tug before hanging the ornament.
Tips for Getting the Heirloom Finish
The contrast between plush velvet and crisp metallic trim is what gives these stars their strongest character. Keep the stuffing light so the gold cord can sit flat across the surface.
For the red and green versions, warm gold trim feels especially rich. On ivory velvet, the same trim creates a quieter tone while the pearls become more visible.
If the star points look bulky, reduce the seam allowance at the tips and turn them with a blunt knitting needle or chopstick rather than adding more stuffing.
The cleanest collection will use the same star proportions and the same cord layout on every color. That repetition makes the set feel intentional even when the fabrics vary slightly.
Easy Ways to Customize the Stars
For a simpler version, omit the pearls at the tips and keep only the center pearl. For a more ornate version, add a narrow line of tiny seed beads beside the gold cord or use two slightly different gold trims. You can also make one oversized star as a cabinet knob ornament or package topper and smaller coordinating stars for the tree.
Displaying the Finished Ornaments
Hang the stars where their velvet surface can catch warm tree light without resting directly against hot bulbs. Modern LED string lights stay much cooler than older incandescent sets and are a better choice around fabric ornaments.
Store the stars flat or loosely layered in tissue so the velvet pile and points are not crushed between seasons.
Final Encouragement
The strength of this project is the combination of a simple padded shape with a few carefully placed finishes.
You do not need to duplicate every pearl or cord line from the inspiration image. Consistent star shapes, rich velvet, a controlled amount of gold, and secure hanging loops are enough to create a coordinated handmade set.