*This post may contain affiliate links for which I earn commissions.*
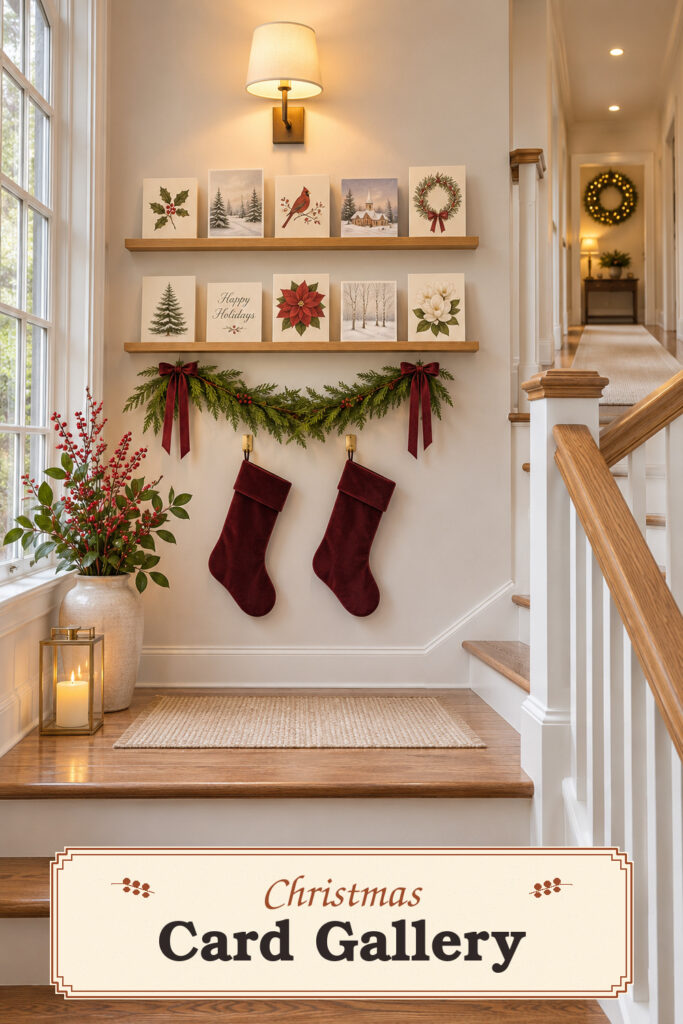
Christmas cards can be some of the prettiest things that come into the house in December, and they’re easy to overlook when they’re standing three deep on a table. Here, two shallow oak ledges give each card a face-out spot at the stair turn.
You can see the cardinal, the little snowy scenes and the wreath illustrations as you come up the stairs. A cedar swag and two garnet stockings tie the display together underneath.
The best part of this arrangement is that there’s room to change it as more cards arrive. A few inches of wall depth can do the work of a whole tabletop.
This image was created with AI as decorating inspiration. Similar pieces can help you recreate the look.
Let the cards provide the pattern
Each row looks orderly because all the bottom edges sit on the same line. The pictures themselves vary quite a bit, and that’s part of the charm.
A large cream card with a wreath sits at the end of the upper ledge, where it balances several smaller cards on the other side. On the bottom row, the poinsettia adds a patch of red between the quieter illustrations. Give the cards different heights and plenty of visible edges. The arrangement will look collected even when none of the designs were made to go together.
Choose a few cards you especially want to see, then set the rest out on a table and see what belongs next to them. Leave an open space in each row for cards that haven’t come yet.
If you have more than will fit, pick a few favorites to leave in place and rotate the others through the display. Even a photograph or a folded card with a handwritten message can have a turn. Open it on the ledge if that’s the part you want to see and it can stand without leaning into the neighboring cards.
Pick a wall where you can stop safely
The stair turn in the inspiration gives the ledges a flat wall and a view from below. At home, start by finding a spot where someone can stand comfortably on a level surface to put up a card. Look beyond the landing if yours is too small. The wall at the top of the stairs, a wide hall wall or the side of an entry nook can give you the same changing view as you approach. Keep the railing clear and the stairs themselves free of anything that sticks into the route.
Look for a shallow picture ledge with a front lip and a usable flat area behind it. The lip keeps the cards from skating forward if there’s a breeze. Hold a stiff envelope or a spare card against a candidate ledge to see how much it can lean before it projects.
If several heavy cards are folded, give them enough depth to rest fully on the shelf. Mount each ledge using hardware suited to the wall and the shelf instructions. The display will feel much steadier when the wall supports the shelves and the cards are just resting on them.
Set the distance between rows by using your tallest card as a sample. You need room above it to lift it in and out. Mark both ledges lightly before fixing either one so you can see the spacing from the bottom of the stairs. If the wall is tall and narrow, two shorter ledges lined up vertically will make more sense than one shelf that runs right up to the casing.
Finish the wall beneath the ledges
The cedar swag makes a soft curve under the straight shelves. Its ends rise toward the two red bows, and the two stockings repeat that red much lower on the wall. Those repeats do the work of a whole garland wrapped up the stair rail. The card faces can stay the most detailed part of the picture.
A premade evergreen swag works if it’s shallow enough for the wall. You can also tie a few faux cedar stems into a single sweep and hang it independently of the shelves. Keep the tips pointed inward so the swag stays out of the walking line. Clip the ends of the ribbon once you’ve seen the display from below. Long tails look lovely on a flat wall, but they shouldn’t catch a sleeve or brush a railing. On a narrow landing I’d leave out the stockings and tie short garnet bows at the ends of the greenery instead. You still get the color repeat and the lower wall stays clear.
The sconce lights the wall softly and lets you see the paper surfaces. If the light in your hall comes from farther away, see how much it already does before adding anything. A battery picture light can help on an especially dim wall if it can be securely mounted. Try it after dark and make sure the light lands on both shelves. A shiny card that turns into a patch of glare is a good one to shift a few inches sideways.
Fit the display to a shorter wall
A single shelf can hold a surprising number of cards if you stagger their heights. Put the largest card off-center and step down toward both ends. On a painted wall, a shelf close to the paint color recedes and lets the illustrations lead.
Natural wood makes more sense if you want the ledges to pick up an existing stair tread or handrail. If the shelves will stay up all year, choose a finish that will work with family photographs or a small art print in January.
You can keep the feeling of the lit wreath at the far end without finding another matching wreath. A small lamp farther along the hall will give the display a second point of light and make the approach feel less abrupt. On a landing with a good window, leave that area quiet and let the paper and cedar take advantage of daylight.
Look for a few well-sized pieces
Shallow oak picture ledges
Choose a lip that is high enough to support the cards but low enough to leave the artwork visible. A smooth finish also makes it easier to shift cards without catching their corners.
A slim evergreen swag
Look for a flat-backed profile with pliable tips so the greenery can lie along the wall. A light piece is easier to position independently under the ledges.
Small garnet stockings
The stockings are an accent in this display, so a small pair works well. Look for short hanging loops and a shade of red that relates to the ribbon without needing to match it precisely.
Look at the wall from the lower flight
Once the cards are in, take a few steps down and look up. You’ll notice a card edge or drooping ribbon sooner from here than when you’re standing right beside the ledge. Move the greenery away from any card it overlaps, and turn a sideways card a little until its artwork is visible. Check the wall again after the hall light comes on. The display should be pleasant to pass in either direction.
Final Styling Tip
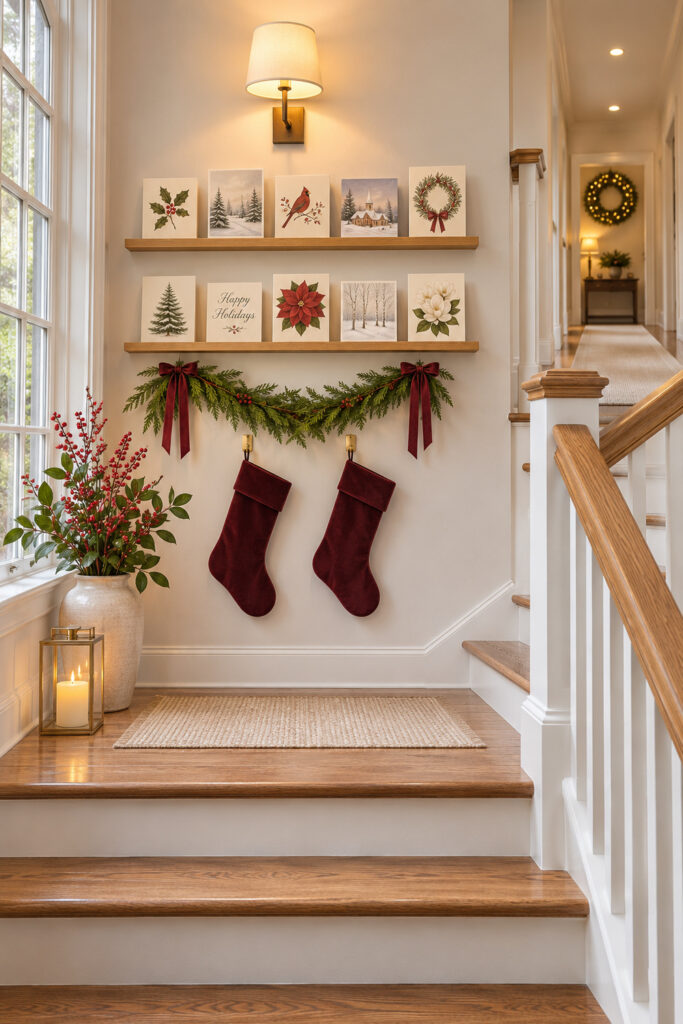
Leave one card-width gap toward an end of each shelf so new cards can join the display without hiding the ones you’ve already arranged.