*This post may contain affiliate links for which I earn commissions.*
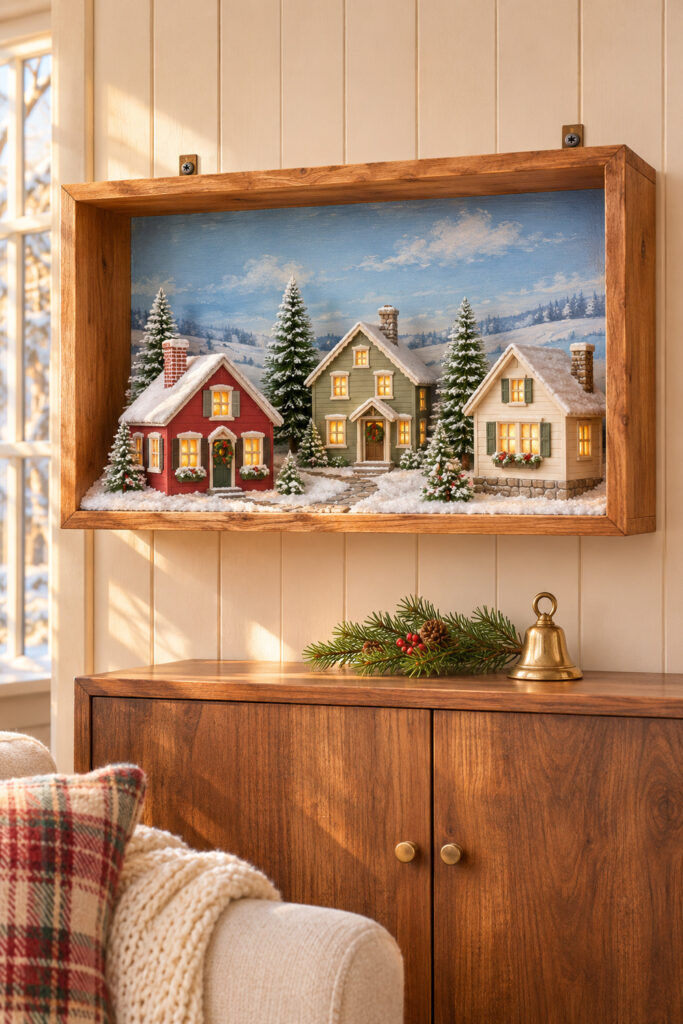
A wooden shadow box turns a miniature Christmas village into wall decor in this inspiration. Red, green, and cream cottages sit on a snowy base, with a painted winter landscape behind them and warm light showing through their windows. The cabinet below stays mostly open.
This arrangement is worth considering when you enjoy village houses but don’t want a whole town spread across your furniture. The frame gives the collection a clear boundary. It also makes the fit of every piece more important, since the houses need to sit comfortably inside a fixed depth.
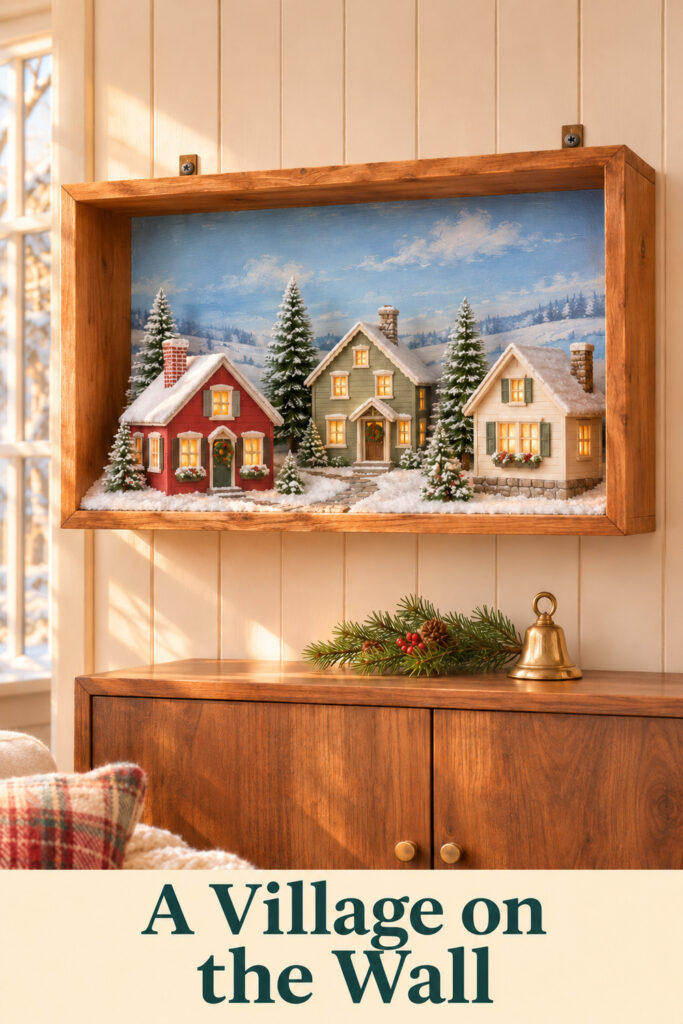
This image was created with AI as decorating inspiration.
What Makes This Framed Village Work
The wood surround acts like a picture frame, but you can see the thickness of the sides and the space behind the houses. That depth separates the arrangement from an ordinary print. The buildings remain three-dimensional objects with their own shadows and rooflines.
The painted backdrop extends the scene without adding more physical pieces. Pale blue sky and distant trees suggest a landscape beyond the little street. Because the background is softer than the buildings, it supports them instead of becoming the main attraction.
Different cottage colors keep the row interesting, while similar doors, windows, and roof proportions make the houses belong together. Snow and evergreens connect their bases. Small wreath details and glowing windows establish Christmas without requiring a large number of extra ornaments.
Find Wooden display shadow boxes
Browse current Amazon options that can help you recreate this look.
Browse Wooden display shadow boxes on Amazon →As an Amazon Associate I earn from qualifying purchases.
Key Pieces for a Wall-Mounted Village
A Properly Constructed Display Box
Choose a box intended to support a dimensional display, with a firm bottom and suitable mounting hardware. Measure its usable depth and opening rather than relying on outside dimensions. An ordinary shallow picture frame won’t provide the same support. The example suggests an open front, which avoids glass reflections but leaves the contents accessible to dust.
Coordinated Miniature Houses
Check each building’s full footprint, including steps, roof overhangs, and attached decorations. Similar scale matters more than matching paint colors. A doorway on one house shouldn’t dwarf the neighboring building. Arrange the houses outside the box first so you can compare them without working around the frame.
A Recessed Winter Backdrop
A painted or printed scenic panel can give the display depth without consuming much shelf space. Keep its strongest details away from the rooflines. If a dark tree in the backdrop merges with a chimney, move the building or choose a quieter background rather than adding more decoration in front.
A Firm Snow-Covered Insert
The buildings should rest on a rigid base, with a thin decorative snow treatment over or around it. Loose scenery alone can’t support a house securely. A removable insert can also make the collection easier to arrange before it goes into the box, provided the insert itself fits and is supported properly.
Small Evergreen Trees
Use miniature trees that suit the buildings and remain below the upper frame. Their job is to fill selected gaps, not conceal every side wall. A few different heights create more depth than a row of identical trees. Leave enough space around windows for the lighting to remain visible.
Compatible Village Lighting
Use existing lighting intended for the buildings, with wiring routed where it won’t be pinched or damaged. Check access to switches and battery packs before mounting the display. Warm LEDs can provide the soft window glow shown here without introducing open flames near scenery.
Plan the Display at Table Height First
Set the empty box on a protected work surface and test the houses inside it. Start with the tallest building, then check whether the others leave room for trees and a short path. If the roofs almost touch the top, the box may be too small for the collection.
View the arrangement from slightly below as well as straight ahead. A wall display is often seen from a different angle than one resting on a console. The lower frame shouldn’t hide all the details near the front doors. Adjust the proposed mounting height or choose shorter scenery where necessary.
Place the background behind the houses and compare their outlines. A pale area behind a dark roof can help it stand out. The opposite may work for a cream building. You don’t need a perfectly detailed landscape; a little separation does more than another tiny painted tree.
Add the trees after the buildings are settled. Keep the path visible from the front and leave small gaps between the house edges. The village should look connected, but the buildings shouldn’t become one solid block.
Test the lights while you can reach everything easily. Make sure the power arrangement stays accessible and follows the equipment’s instructions. Only then should you add the finishing scenery and prepare the completed display for its wall position.
Choose a Wall That Suits the Display
A living room wall above a cabinet gives the scene an obvious place to belong. Check the total loaded weight and use mounting appropriate to both the wall and the display structure. This inspiration doesn’t establish a load rating or mounting method for any particular box.
Keep the display away from locations where someone could knock into its projecting sides. A narrow passage may be better suited to flat artwork. The fact that decoration is on the wall doesn’t automatically mean it takes up no usable space.
For a smaller version, use fewer buildings rather than squeezing tiny gaps between them. One or two cottages with a clear background can preserve the framed-village idea. Leave the proportions comfortable enough that the wooden surround still reads as a frame.
The cabinet below needs very little decoration. In the image, a short evergreen arrangement and a brass bell repeat materials from the village. You can leave the surface bare if the room already has enough seasonal detail elsewhere.
Shop Similar Pieces
Look for Deep Wooden Display Boxes
Compare usable interior measurements, construction, and the intended mounting arrangement. Ask whether the bottom is suitable for the objects you plan to display. A decorative box sold for lightweight collectibles may not suit heavier ceramic buildings.
Shop Similar Miniature Christmas Cottages
Look for buildings with compatible scale and clear measurements. Check whether lighting components are included and how they are accessed. The exact red, green, and cream combination is less important than a group that fits comfortably together.
Add a Quiet Winter Background Panel
Choose a scene with softer contrast than the houses. A simple sky and distant treeline can be enough. Avoid a busy image that makes the real miniature rooflines difficult to distinguish.
Look for Small Model Evergreens
Compare their heights with the cottage doors and roofs before choosing a set. Stable bases are useful even when concealed by scenery. Keep the tallest tree within the box rather than bending it to force a fit.
Final Styling Tip
Check the village with its lights off as well as on. If the houses, path, and frame still read clearly in ordinary room light, the display has a strong arrangement beneath its Christmas glow.