*This post may contain affiliate links for which I earn commissions.*
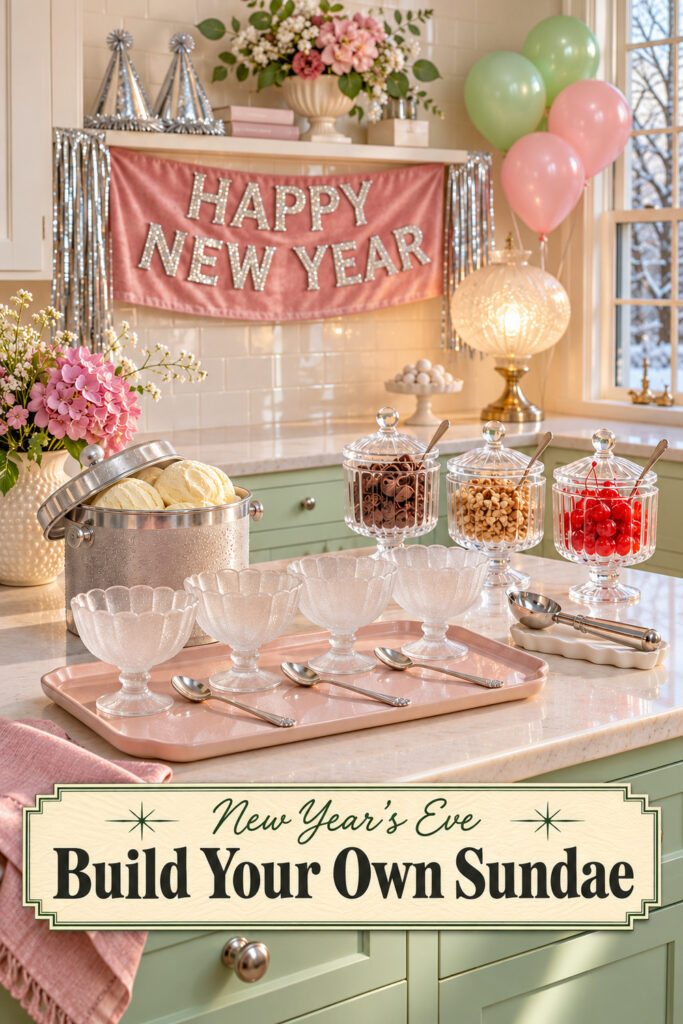
Frosted sundae dishes give this New Year’s Eve counter the feel of a little ice cream parlor. Mint cabinets, rose fabric, and silver party details soften the kitchen without making it look like a birthday table. The greeting overhead settles the occasion, while the empty dishes make the next step obvious: choose a bowl and build a sundae.
The useful decorating idea is the serving order. Bowls and spoons lead into the ice cream, then the toppings, with a separate rest for the scoop. You can borrow that arrangement for a small family celebration or an adult gathering, using the pieces you already own and adding only a few coordinated party details.
This image was generated with AI as decorating inspiration. Similar pieces can help you recreate its effect.
Make the serving route part of the design
Four pale dishes sit together on a rose tray, each with a long spoon nearby. Their repeated shape gives the counter order before anyone starts serving. The topping jars form another group behind them, leaving the ice cream container separate and easy to recognize.
Keep those groups distinct in your version. A guest should be able to take a bowl without reaching over a topping jar or moving a serving spoon. Give the finished sundae somewhere to rest while the person chooses a topping.
The colors do the connecting. Rose appears in the tray, banner, and nearby cloth; mint links the balloons to the cabinetry. Silver spoons and party hats provide the sparkle. A clear arrangement lets these softer colors feel festive without needing a scattering of confetti across the food area.
Choose dishes that are pleasant to hold
Footed glass dishes make the ice cream feel like an occasion. The frosted surface also catches light differently from the clear topping jars, adding texture while keeping the palette pale. Look for dishes intended for food contact, with sound bases and rims comfortable to eat from.
Check the portion size with the actual ice cream scoop you plan to use. A narrow decorative bowl can look generous while leaving little space for toppings. Choose enough room for the whole dessert, not just the first scoop, and keep the weight manageable for guests carrying it away.
Set the dishes on a flat tray with room between the feet. Avoid tightly nesting fragile shapes or balancing a stem against another bowl. If children are taking part, suitable sturdy dessert bowls can provide the same repeated serving pattern without delicate glass.
Long spoons suit the height of the pictured dishes. Test that yours reaches the bottom comfortably without forcing someone to grip the very end. Put clean spoons in one clear group, and give used serving tools a separate place so they don’t drift back among the guest utensils.
Arrange the cold food for actual service
The metal ice cream tub gives the scene a vintage serving detail, but appearance alone can’t establish how well a container keeps food cold. Use an appropriate serving vessel and follow the food’s storage directions. Bring out manageable amounts when guests are ready rather than leaving the entire supply on display all evening.
Keep the scoop on a small clean rest beside the tub. That position catches drips and makes the tool easy to find. Leave room to remove and replace the lid without knocking the glasses or placing it on a food surface.
The three topping jars hold different textures and colors. Chocolate curls, chopped nuts, and red cherries create variety without requiring a long row of containers. Use suitable jars, separate utensils, and clear information for any toppings guests need to identify.
Think about how each topping will come out. A wide opening is useful for a spoonful of nuts, while a sticky topping may need a different dish. Let practical serving needs decide the container, then coordinate the shapes or finishes around that choice. Keep a clean cloth handy outside the main display for quick spills.
Build a New Year’s background above the food
The fabric greeting sits behind the counter, with silver fringe at its sides. It gives the pale colors a clear party identity without putting loose decorations among the ingredients. Hang it from supports suited to the surface and pull the fabric enough that the words remain readable.
Keep fringe, ribbons, and balloons away from the serving tools and food. A balloon group can rise at the far corner, provided its anchor is secure and its full width doesn’t cross the working area. Short, controlled ribbons look finished and are less likely to catch a spoon.
The party hats on the shelf add another New Year’s cue. They can remain decorative or become optional accessories later. Either way, give them their own dry area rather than stacking them beside open ice cream.
A frosted lamp supplies warm light behind the jars. Use ordinary room lighting as well, so guests can see what they’re choosing. Position cords away from wet surfaces and serving routes. The glow should support the celebration while the counter remains a useful place to assemble dessert.
Fit the bar into your own kitchen
On a narrow counter, put out two dishes at a time and refill the tray. Keep extra bowls organized in a nearby cabinet. The serving order will still read clearly, and you won’t have to crowd the toppings against the backsplash.
If you don’t have mint cabinets, use a mint cloth beneath a dry accessory group or choose a few balloons in that color. Keep food containers on stable surfaces. A rose tray and a pale greeting can supply enough of the palette without changing the room itself.
For a group with different dessert needs, provide suitable alternatives in clearly separate containers. Keep their serving tools distinct. The decorative arrangement should help people choose, rather than make every container look so similar that guests can’t tell what is inside.
Keep a second clean scoop rest available if you expect a busy serving period. It lets you replace a sticky dish without stopping the whole station. Set any extra supplies in one organized nearby spot, away from the decorative tray, so replenishing bowls and spoons is straightforward.
Gather the pieces that carry the idea
Start with the dishes, serving container, and tools. The background can be much simpler than the inspiration once those practical pieces are in place. Repeated pale colors and one readable greeting will connect the whole station.
Look for footed glass sundae dishes
Choose a stable base and enough space for toppings. Consider how easily guests can carry the dish from the kitchen to a seat.
Shop similar lidded topping jars
Check the opening against the intended utensil and ingredient. Matching jars can look orderly, but each still needs to work for what it holds.
Look for shallow rose serving trays
A flat interior and a modest rim will show the dishes clearly. Measure the usable area rather than relying on the tray’s outside dimensions.
Try the sequence before the party
Take a bowl, move to the ice cream, and reach for a topping. Notice where your hands and elbows need space. Shift the decoration if it interrupts any of those movements.
Check the route from the counter to the seating area, too. Guests should have somewhere convenient to enjoy their dessert once the sundae is built.
Final Styling Tip
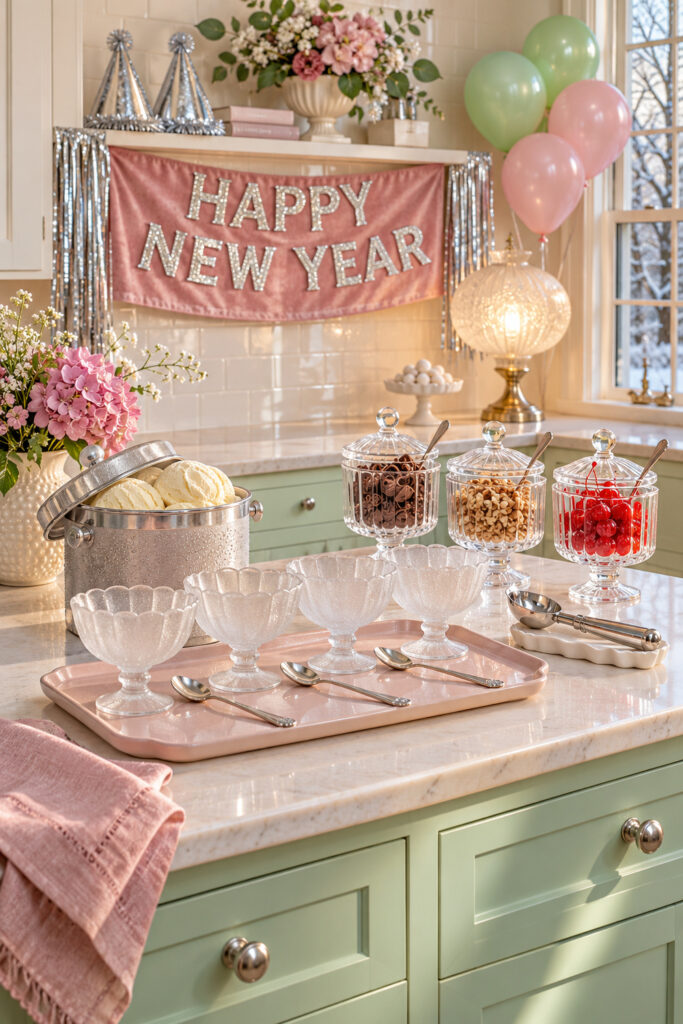
Keep the four empty dishes facing the same direction on the rose tray. That quiet repetition makes the generous party background feel orderly and ready to use.