*This post may contain affiliate links for which I earn commissions.*
The pinecones in this kitchen hang where a centerpiece might usually sit. Suspended from a broad hoop, their white-tipped scales and ivory ribbons bring the Christmas detail upward while leaving most of the island clear. Evergreen branches and warm lights soften the ring without hiding how it hangs.
Below, a low green bowl repeats the fir and red ornaments. The stools, pale wood, and cream ceramics give the whole kitchen a warm background, so the mobile feels connected to a useful room. This is an arrangement to consider over a clear gathering island, where the decoration can be enjoyed without interfering with cooking or everyday work.
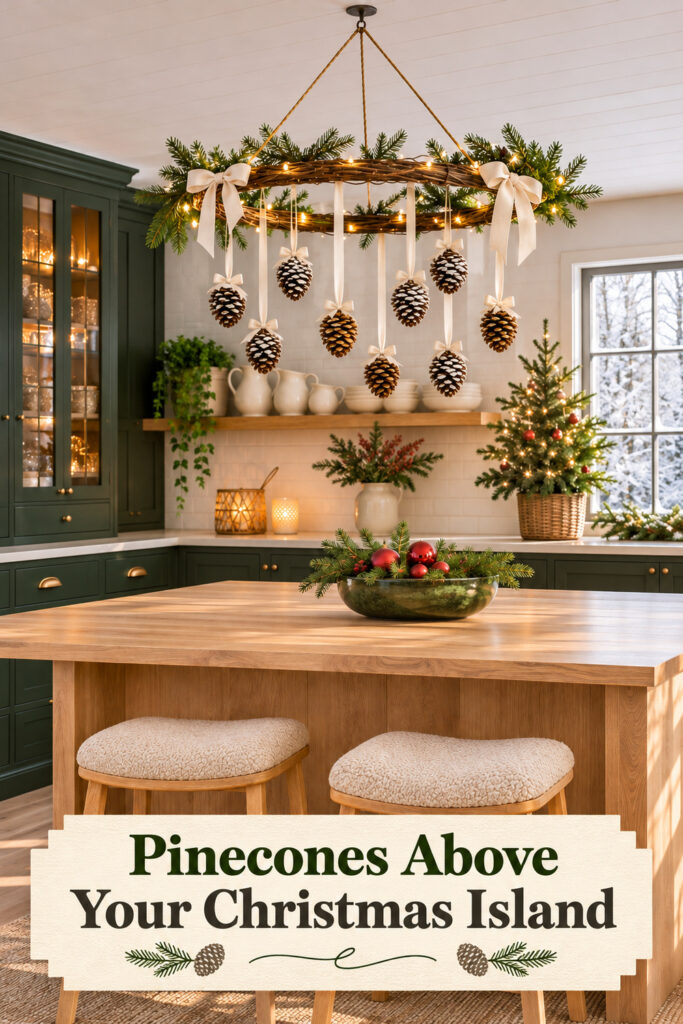
This image was generated with AI as decorating inspiration. Similar pieces can create a related effect with appropriate support.
Begin with the Hoop and Its Hanging Position
The hoop gives the pinecones a shared outline. Without that clear circular shape, the hanging pieces could look like unrelated ornaments attached to the ceiling. A natural twig or willow finish also connects the mobile to the wood island and the brown cones.
Treat the image as a decorating concept, not proof that a particular ring or ceiling hook can carry the finished arrangement. Choose a structure intended for hanging decorations, check its weight with all additions, and use mounting hardware suited to the ceiling construction. Get appropriate installation help when you aren’t sure about the support.
The three upper cords in the inspiration help the ring hang level. Whatever system you use needs to keep the load balanced and the connections secure. A loose ring tied to one convenient branch of a light fixture isn’t a suitable substitute for a proper hanging point.
Place the lowest cone above comfortable head clearance. Check that from the stools as well as while standing, since someone getting up may move into a different part of the space. Keep the whole arrangement clear of fans, sprinklers, heat sources, and any fixture that needs access.
This idea belongs above an island without a cooktop or other activity that would conflict with hanging decor. If your island is your main cooking or preparation area, move a smaller mobile to an unused window corner or choose a low tabletop arrangement instead. The room should keep working after the decorating is finished.
Give the Hanging Cones a Readable Pattern
Vary the Ribbons Without Making a Curtain
The cones hang at different lengths, which makes the lower edge lively. They still remain separate enough to show their shapes. A dense row at one height would look heavier and could hide the ring behind a wall of ribbons.
Choose a few lengths and repeat them rather than cutting every ribbon at random. Lay out the arrangement before hanging it, checking that the lowest pieces don’t all gather on one side. A gentle rise and fall will usually feel more considered than a dramatic point in the middle.
Ivory ribbon keeps the hanging lines visible against the dark cones without adding another strong color. Use a width that suits their size. A very wide ribbon can overwhelm a small cone, while a thin thread may disappear and make the ornaments look unsupported.
Look for cones already prepared as hanging ornaments, or use a construction method that attaches them securely. A ribbon wrapped loosely around the scales may slip when the cone turns. Test each finished connection before placing it overhead.
Keep the Frost on the Tips
The white edges suggest winter without turning the cones into solid white shapes. The darker centers still show, which helps the texture read from the far side of the kitchen. If you choose frosted ornaments, compare how much of the natural surface remains visible.
Artificial cones can work well when you want consistent hanging weight and a finish that doesn’t shed. Natural ones bring variation, but should be clean and dry before use. Keep loose glitter or flaky coatings away from food and preparation surfaces.
A related look could use plain brown cones with pale ribbon. The frost is one part of the picture, not the only way to make the arrangement feel seasonal. The nearby tree, red ornaments, and warm lights provide clear Christmas cues too.
Leave Part of the Ring Exposed
The fir follows the hoop rather than swallowing it. That lets you understand the structure, while the larger bows mark two points around the circle. Leave a little visible twig texture between the greenery groups so the mobile doesn’t become a thick hanging wreath.
Use suitable lightweight decorative lights and follow their directions for hanging and power. Keep wires fastened neatly to the structure, with the control accessible. Don’t let a long loose wire become another dangling line among the ribbons.
The bows can be simpler than those shown if your kitchen already has patterned fabrics. Plain loops with tidy tails will connect the ribbon colors. Check that no tail hides the attachment of a cone directly below it.
Connect the Mobile to the Kitchen Below
The low bowl of fir and red ornaments repeats the upper colors without competing with the hanging shapes. It gives the island a little decoration at hand level, while leaving room around it. Keep that bowl shallow enough that seated guests can see one another.
The background tree and cream pitchers extend the same story through the room. You can make that connection with a small decorated tree on a separate counter or a short shelf arrangement. Keep electrical equipment, outlets, and working surfaces accessible.
The wool stool pads add another soft texture beneath the wood and greenery. Use pads that suit the stools and stay in place during use. They should make the seating more inviting without hanging into the route around the island.
Plan the Setup Before Adding the Final Ribbon
- Choose the location and confirm the hanging support. Measure the lowest acceptable point, including the ring, cords, ribbons, and cones, rather than measuring the ring alone.
- Arrange the hanging ornaments on the ring at a reachable work surface. Balance the weight, test the connections, and check the planned rise and fall before lifting anything overhead.
- Add the greenery, lights, and bows without hiding the ring. Keep the power route tidy and follow the mounting instructions for the actual components.
- Hang the completed piece, check that it sits level, and test the space underneath. Only then add the low island bowl and the smaller supporting details around the room.
For a compact kitchen, reduce the ring diameter and the number of cones together. Keep generous gaps so the smaller version remains airy. Making every ribbon shorter won’t solve a ring that is simply too wide for the island.
Find Similar Parts with Practical Limits
Look for Decorative Hanging Hoops
Check the material, dimensions, and intended use before adding ornaments. The hoop’s own weight matters along with the weight of everything attached to it.
Shop Similar Frosted Pinecone Ornaments
Choose secure hanging points and a coating that stays put. A few well-shaped cones will have more impact than a large number with poorly defined scales.
Look for Ivory Ribbon
Choose a finish that hangs neatly and shows against the cones. Leave enough length for secure attachment and adjustment rather than cutting every strip to its exact visible length.
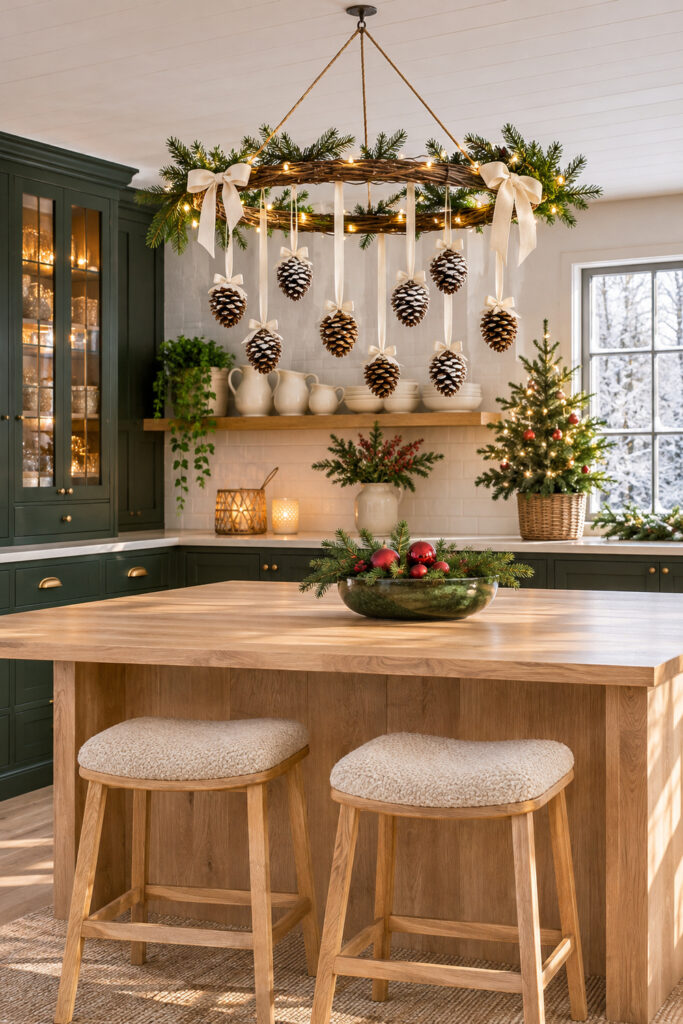
Final Styling Tip
Check the mobile from a stool before the first gathering. The lowest ribbon should feel comfortably above you, and the tabletop beneath it should still look ready to use.