*This post may contain affiliate links for which I earn commissions.*
There’s a practical little gap on the olive sideboard in this Thanksgiving dining room. It’s the space between the roast turkey and the covered dishes, and it’s just where the carving board belongs. The dining table can stay dressed with its linen, glassware and rust-colored mums while someone has room to work behind it. If you’ve ever looked at a set table and wondered where the turkey was supposed to go, that separate surface is the idea to keep. The flowers and neatly repeated place settings make the two areas feel connected, even though they’re doing different jobs.
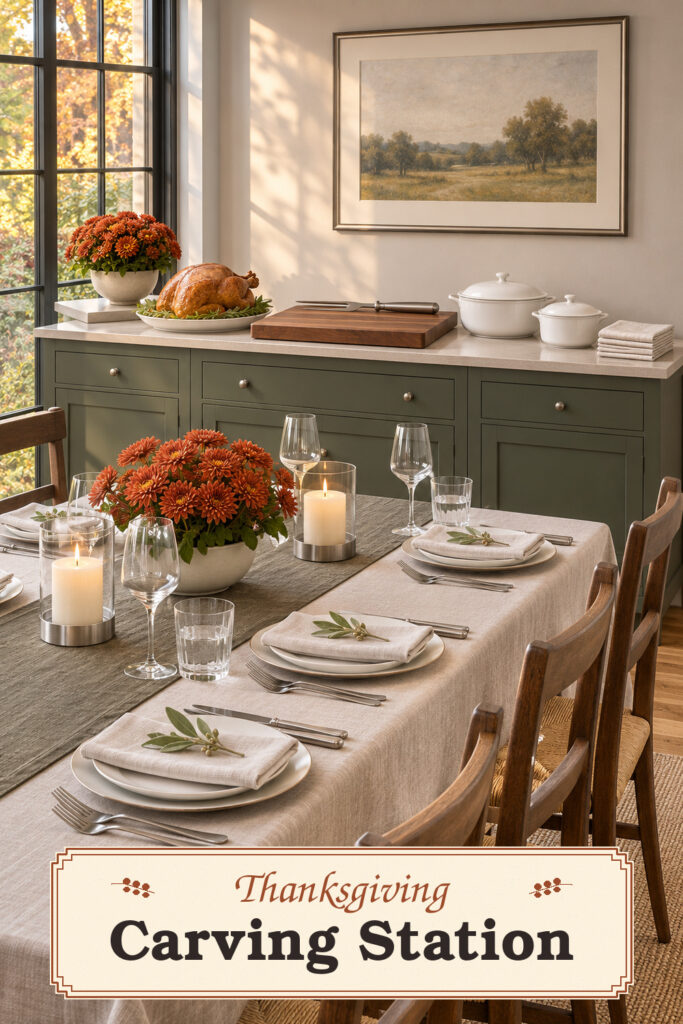
This image was created with AI as decorating inspiration. Similar pieces can help you recreate the look.
Give the carving board a clear stretch of counter
The turkey sits to one side of the board in the picture, which makes the arrangement easier to understand at a glance. The platter has a home of its own. You can lift the roast to the work surface without first moving a flower vase, and there’s a clear direction for the serving dishes to go. The sideboard also has enough depth for the board to sit well back from the front edge.
Try laying out your empty platter and board before setting the table. Put down the actual pieces you plan to use, since the handles and rim of a platter can take up more space than you remember. Place your carving tools where you can reach them from the side you’ll stand on. Leave enough clear surface to put down a dish without having to balance it on a corner. A solid freestanding buffet or a cleared kitchen counter nearby can do the same job as the built-in surface pictured here.
If someone else will be helping, agree on the direction food will travel. A clean serving platter at the end makes a good receiving spot. The folded napkins can stay there until needed, but leave them at the far edge so they don’t share the working space with the carving board. The surface looks calmer when the items you’ll reach for next are already in order.
Let the sideboard and dining table share one color
The muted olive cabinetry is the largest piece of color in this room. Rust mums are much smaller, but they turn up twice. A pot of them by the window draws attention toward the turkey. A second low arrangement on the table picks up the same shade and puts it close to the guests. The pale dishes, light cloth and clear glasses leave enough room for both colors to register.
You don’t need olive furniture to use the idea. A sage runner across a cream cloth can carry the green, and you could add a small sprig at each setting if you already have a suitable stem to cut. For a darker sideboard, light dishes and a natural wood board will stand out well against the finish. Look for mums with a reddish brown cast if your dining room already has warm wood. A more orange bloom can work in a cooler room where it has some contrast.
Keep the taller flowers away from the place where you’ll lift the platter. The lower flowers belong on the dining table, where people can talk across them. A wide, low bowl tends to make a shorter bunch look fuller. If your flowers are already in a tall vase, put that vase at one end of the room and leave the center of the table for candles and shared dishes.
Set the seats before filling the center
The light linen makes the place settings feel close to one another. Each napkin is folded to fit the middle of the plate, with a small green accent on top. The effect comes from the repeated shape more than from any elaborate fold. Use what you already own and match the width of the folds by folding the first napkin as a sample. Set the chairs where they’ll be used before deciding how much room you have for extra glasses.
Clear tumblers and stemware give the table sparkle without changing the palette. If the table is tight, use one glass per setting and keep extras on a surface away from the carving tools. Likewise, two low candle holders along the runner can be plenty. The tall clear holders pictured add a clean vertical line. For an active table with sleeves and serving spoons reaching in from both sides, flameless pillars give a similar look without an open flame next to linens.
Adjust the arrangement for the room you have
A narrow room may work better with the sideboard across from the end of the table. That way the person working doesn’t have to stand behind a row of chairs. Pull out the closest chair before you decide where the roast should sit. If that chair and the person at the board would share the same space, move the board toward one end or use the next counter over. It’s worth setting up the two areas with the chairs in their occupied positions.
On a smaller sideboard, give the carving board and the roast priority. Put the covered side dishes somewhere else and bring them over as needed. If you’re working with a wall shelf or a serving cart, reserve it for dishes and napkins and use a sturdy counter for carving. You can connect the two surfaces with matching dishes or a small repeat of the mum color, even if they aren’t side by side.
Choose a few useful pieces
A broad wooden carving board
Look for a stable board with enough room around the roast to set down the fork and turn the platter. A juice groove can help contain drips. Take your sideboard depth into account, especially if the surface has an overhang or raised back edge.
A shallow oval platter
A white or warm ivory platter gives the roast and greens a clean edge. Check the usable flat area inside the rim and leave room for both hands to carry it. A wide lip is handy if you plan to move the platter from the kitchen.
Low vessels for chrysanthemums
A rounded bowl with a broad base works well for a table bunch, while a taller pot can sit at the outer end of the sideboard. The two vessels can be different sizes and finishes. Repeat the bloom color to connect them.
Check the dinner route with empty dishes
Walk from the kitchen to the carving station with the empty platter, then from the station to the dining table with a plate. That quick rehearsal will tell you where flowers or glasses might get in the way. Move any loose napkin ends back from the counter edge. Once the route feels comfortable, sit at the place closest to the arrangement and check that you can still see the person opposite.
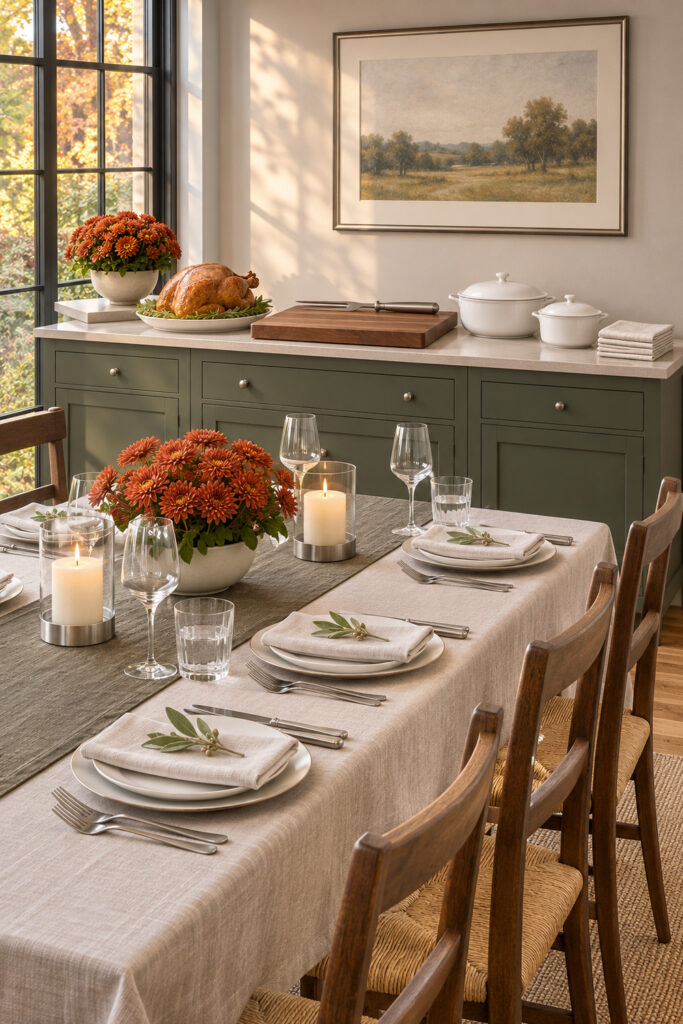
Final Styling Tip
Leave a full hand’s width between the board and the first covered dish so there’s a clear place to rest the carving fork when serving begins.