*This post may contain affiliate links for which I earn commissions.*
Large red and ivory tree shapes give this Christmas tree a different rhythm from a tree covered entirely in small baubles. Striped round ornaments sit between them, with shiny red balls and warm lights filling the smaller spaces. A deep blue planter gives the whole arrangement a strong base.
The glass conservatory adds winter light and a patterned floor, but the ornament idea can work beside an ordinary living room window. The useful starting point is the contrast between a few clear shapes and the finer texture of evergreen branches.
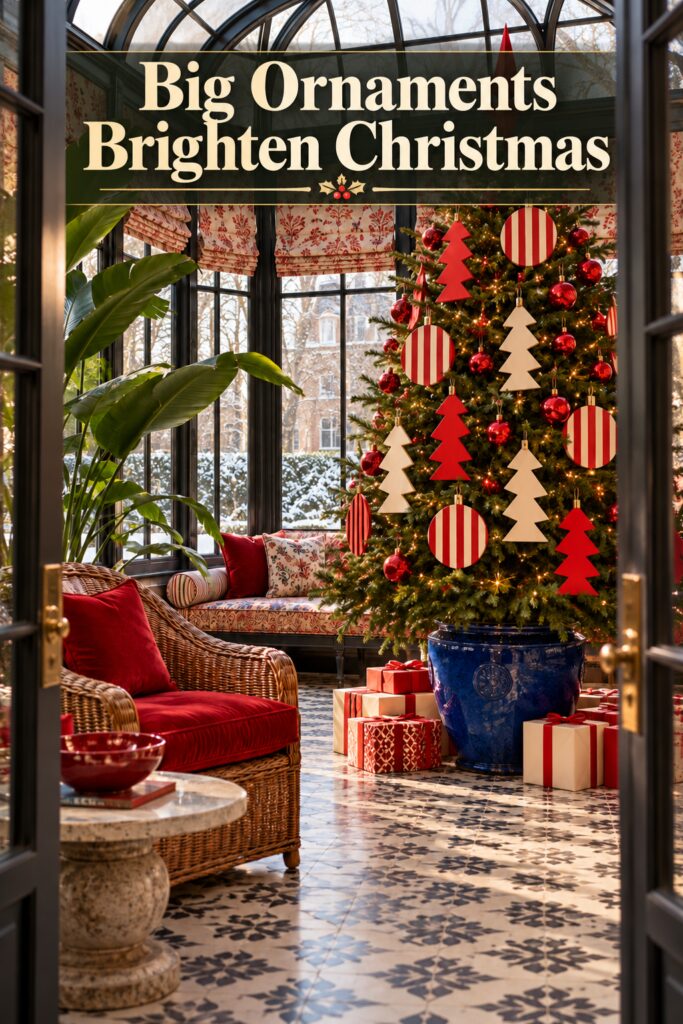
This inspiration image was created with AI and shows an imagined Christmas display rather than verified ornaments or a real decorated room.
What Makes the Graphic Tree Work
The large ornaments are simple enough to recognize from across the room. Their straight tree edges and round striped disks stand out against the irregular needles, while the limited red and ivory palette keeps those different shapes connected. The branches remain visible between them, which stops the tree from looking like a wall of decorations.
Smaller red baubles bring shine around the flatter ornaments. This difference in finish matters: if every piece were matte and equally large, the tree would lose the little highlights that help its depth show. Warm lights sit farther into the branches as well as near their tips.
The rest of the room repeats colors without copying the tree. Red chair cushions, pale patterned window shades, and the blue planter connect it to the furniture and floor. You can use nearby pieces you already own for that support rather than adding a second set of seasonal decorations around the tree.
This is the kind of information that helps me make bolder decorating decisions around my own home. I know what I like when I see it but I’m not good at understanding why and combining colors and patterns has long been my own weakness. Seeing this combination helped me better see how some mixed prints and colors can come together. I think a lot has to do with large blocks of solid colors that help balance and provide a background to the busier pieces.
Find Tree Shaped Christmas Ornaments
Browse current Amazon options that can help you recreate this look.
Browse Tree Shaped Christmas Ornaments on Amazon →As an Amazon Associate I earn from qualifying purchases.
Key Pieces for the Christmas Tree
Lightweight Tree Silhouettes
Look for flat tree-shaped ornaments with clean edges and reliable hanging points. The inspiration’s scale is exaggerated, so compare their size with your tree before choosing them. Lightweight pieces are easier to distribute without pulling branch tips downward or needing to be hidden deep inside the foliage.
A simple handmade silhouette can be a useful substitute when an exact finished ornament isn’t available. Use an original shape and a material suitable for the display, keeping it clear of light bulbs and following the lighting manufacturer’s instructions. This is a decorating concept, so you can choose ordinary smaller ornaments with the same outline.
Red and Ivory Striped Disks
The striped circles interrupt the pointed tree shapes and make the palette feel playful. Keep the stripe direction mostly vertical if you want a related look, but don’t worry about every disk hanging at an identical angle. A little variation is natural once ornaments settle among real branches.
Choose a stripe broad enough to read at a distance. Tiny stripes may look like a pink blur from the doorway. You can use a smaller number of larger disks on the front and sides, then continue the color with plain ornaments where the tree faces a wall or corner.
Smaller Glossy Red Baubles
Plain red balls fill the gaps between the graphic ornaments without introducing another motif. Vary their positions and apparent depth, placing some closer to the trunk. This helps the whole tree feel decorated rather than concentrating all the color on the outermost branch tips.
Check the attachment loops and the suitability of the material for your household. Lightweight, less breakable pieces may be practical in a busy room. Avoid grouping all the biggest balls at the bottom; spreading a few through the middle helps connect the larger flat shapes to the finer branches around them.
Warm White Tree Lights
The warm points of light make the red baubles sparkle and give the green foliage depth. Test the lights before decorating, then arrange them so the cords don’t cut visibly across the pale ornaments. Follow the tree and light instructions for placement, loading, and indoor use.
Check the tree with the room lights on and again in the evening. If a bright cluster sits directly behind an ivory ornament, move the ornament a little rather than adding more lights everywhere. The aim is a readable pattern of shapes with a gentle glow between them.
A Blue Planter or Base Cover
The cobalt container makes the base feel finished and repeats the cool colors in the room. Treat it as an outer decorative cover, not an automatic substitute for a stable tree stand. Check the tree’s support, water access if needed, and the dimensions of the cover separately.
If a large ceramic container is impractical, use a blue fabric collar or another suitable base treatment. The exact glazed finish isn’t essential. What matters is a clear blue shape below the green branches, with enough space around it to keep the tree stable and accessible.
Red Seating Accents
The wicker chair and nearby window seat make the conservatory feel furnished rather than staged only for the tree. Their red cushions carry its color into the seating area. One existing red pillow can make that connection in a smaller room without filling every seat with seasonal textiles.
Keep the chair far enough from the lower branches that someone can sit comfortably. If the tree takes up the corner where you normally read, adjust the furniture before decorating it. It’s much easier to move an undecorated tree than to rearrange one carrying a set of wide ornaments.
Hang the Ornaments in a Useful Order
Begin with a stable tree, working lights, and a clear route around the base. Put the largest tree silhouettes on first, stepping back between placements. Spread them through different heights and leave green visible around their edges. Don’t try to fill every empty space during this first pass.
Add the striped disks next, using their round shapes between the pointed silhouettes. Check both the doorway view and the view from your main chair. A flat ornament can disappear when turned sideways, so rotate a few hanging points until their faces are visible from the angles you use most.
Bring in the smaller baubles last. Use them to connect gaps, especially near the trunk and between two large pale shapes. If the tree looks heavy on one side, move a bold ornament before adding more decorations. More objects won’t necessarily correct an uneven arrangement.
For a smaller tree, reduce the number of oversized pieces while keeping both silhouettes and stripes. A few shapes repeated clearly will feel closer to the inspiration than a crowded collection of unrelated novelty ornaments. Let the available branch strength guide the final size and position of each piece.
Shop Similar Pieces
Look for Flat Tree Shaped Ornaments
Compare weight, full dimensions, hanging loops, and edge finish. Choose shapes that remain clear against your particular tree rather than relying on close-up product photographs alone.
Shop Similar Striped Disks and Red Baubles
Keep the red tones reasonably compatible and use the shiny balls as supporting detail. You can reuse plain ornaments while adding only a small group of graphic pieces.
Add a Cobalt Tree Base Cover
Measure around the actual stand and allow for its normal use. A decorative cover should finish the arrangement while leaving the tree’s support and any water access practical.
Final Styling Tip
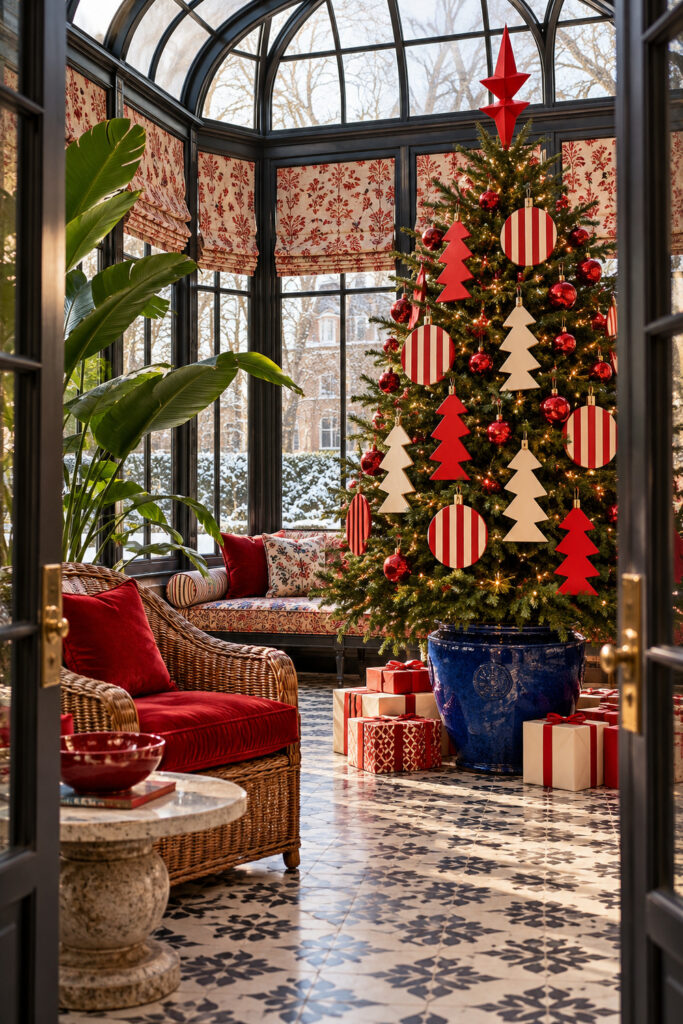
Squint at the tree from across the room. If the red and ivory shapes remain distinct with green showing between them, stop there and let the smaller baubles provide the sparkle.