*This post may contain affiliate links for which I earn commissions.*
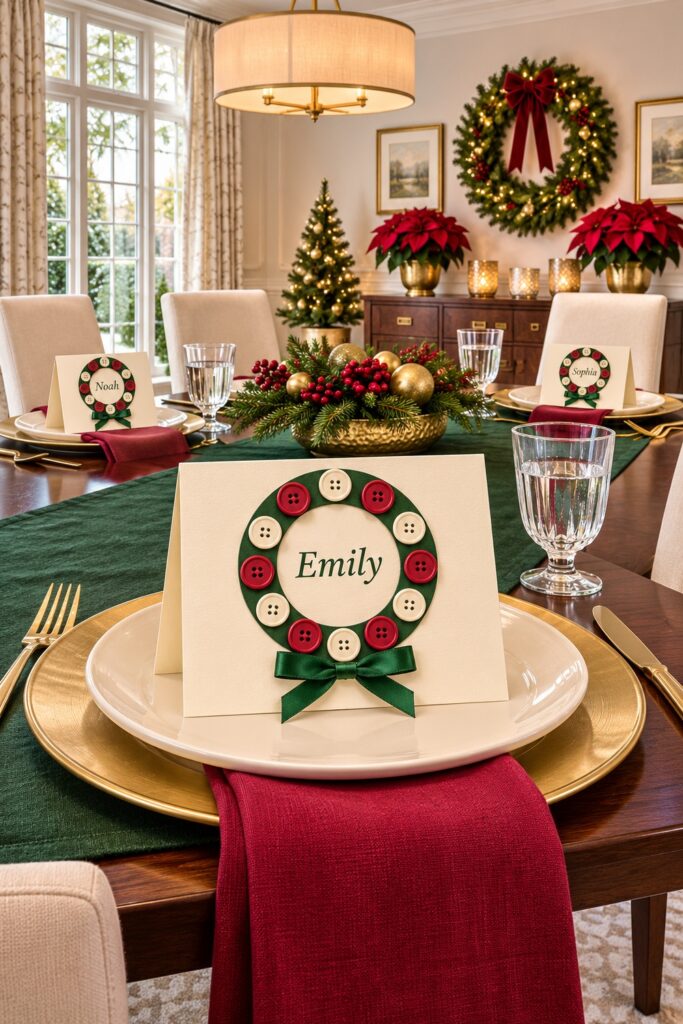
A ring of red and ivory buttons turns a folded place card into a small Christmas wreath. Dark green cardstock sits beneath the buttons, and a little satin bow finishes the lower edge. The center stays open for a guest’s name. This proposed version uses flat layers attached to a sturdy card, keeping the finished piece light enough for a dinner setting.
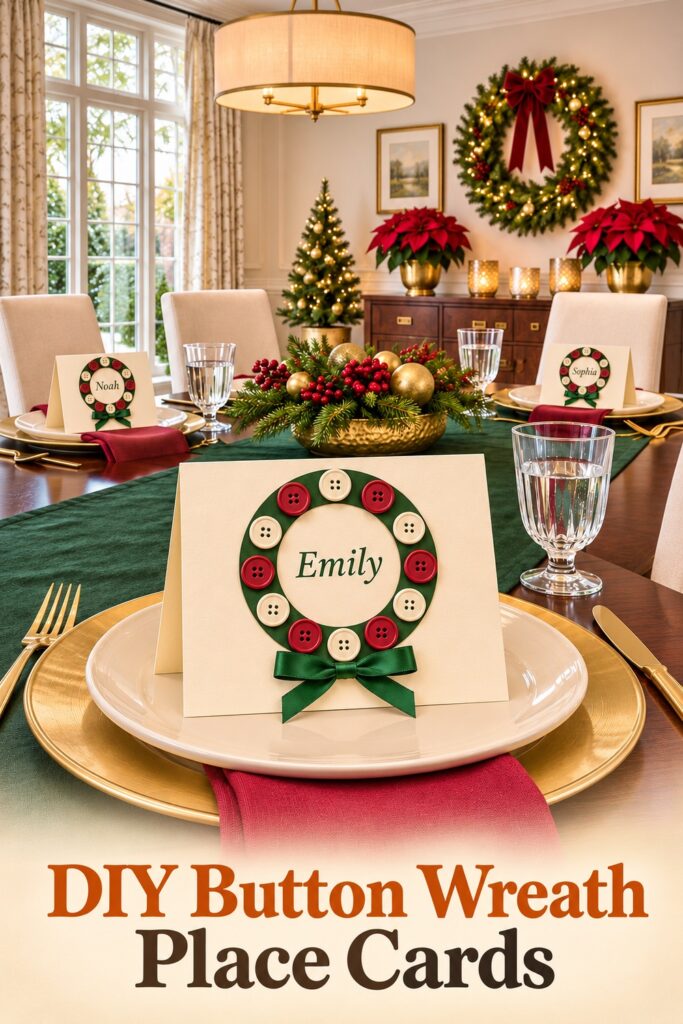
The inspiration and instructional images were created with AI. This tutorial proposes a practical adaptation rather than documenting a physically tested project. Check your actual cardstock, buttons, and adhesive together before making a complete set.
Choose the Supplies for One Card First
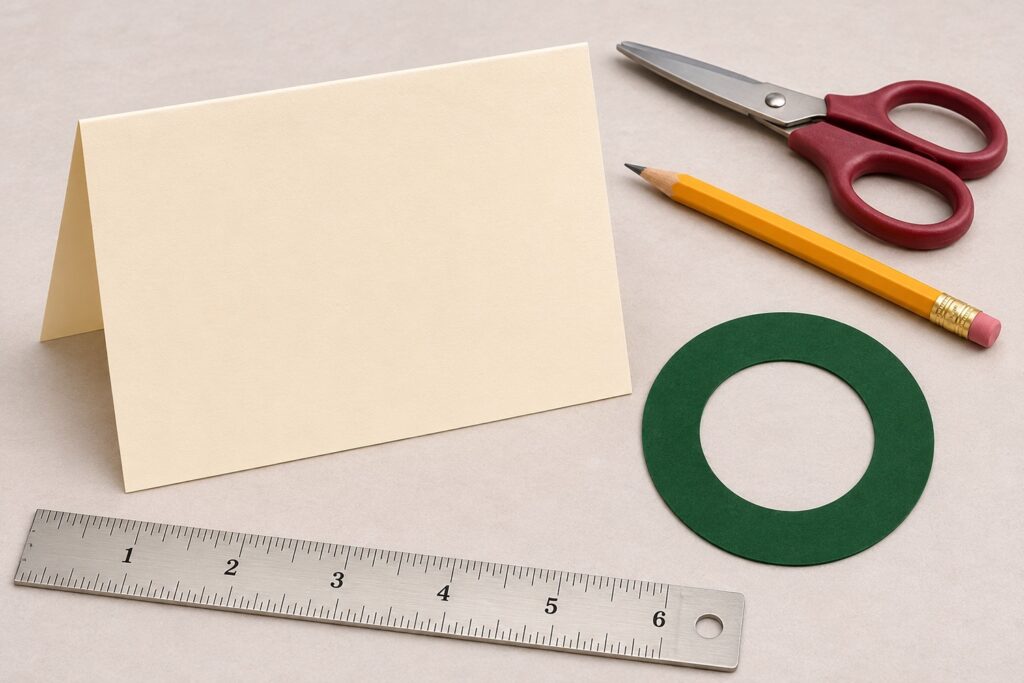
For a starting size, use a five-by-seven-inch piece of ivory cardstock folded to make a five-inch-wide card with a three-and-a-half-inch front. A suggested wreath backing has a two-and-a-half-inch outside diameter and a one-and-a-half-inch open center. These are planning measurements, not dimensions established from the image. Test the layout with your guest names before cutting a full set.
- Sturdy ivory cardstock, one suggested five-by-seven-inch rectangle per place card.
- Dark green cardstock for a flat ring backing, one per card.
- Twelve small flat sewing buttons per wreath, six red and six ivory, sized for the ring you cut.
- Narrow green satin ribbon for one small bow below each wreath.
- Adhesive suitable for the actual button material and paper, plus a ribbon-compatible adhesive if needed.
- A ruler, pencil, circle templates, scissors, a scoring tool with a suitable surface, and a dark writing pen.
Choose buttons with flat backs rather than raised shanks. Their size controls how many fit around the ring. The pictured wreath uses twelve alternating buttons, so begin with a small set and adjust the ring or button diameter before repeating the project. Keep small loose components away from anyone for whom they are unsuitable.
Build and Check the Place Card
Step 1: Fold the Card and Cut the Ring
Mark the halfway point along the seven-inch side of the ivory rectangle. Score across that line using the tool’s directions, then fold with the five-inch edges aligned. Test the empty tent on a flat surface. Its two panels should open evenly enough to stand without curling or rocking.
Draw the suggested outer and inner circles on green cardstock with a shared center. Cut the outside first, then carefully cut out the center to create one flat ring. Scissors are suitable if you can make a controlled starter opening; use any sharp cutting tool only with appropriate handling and surface protection. Keep the ring even all the way around.
Step 2: Dry-Fit the Button Circle
Lay the green ring flat on the work surface. Arrange twelve buttons in one row around it, alternating red and ivory. Keep the holes facing upward and the outer edges within a tidy circle. Small intervals are fine; the green backing is meant to remain visible between the buttons.
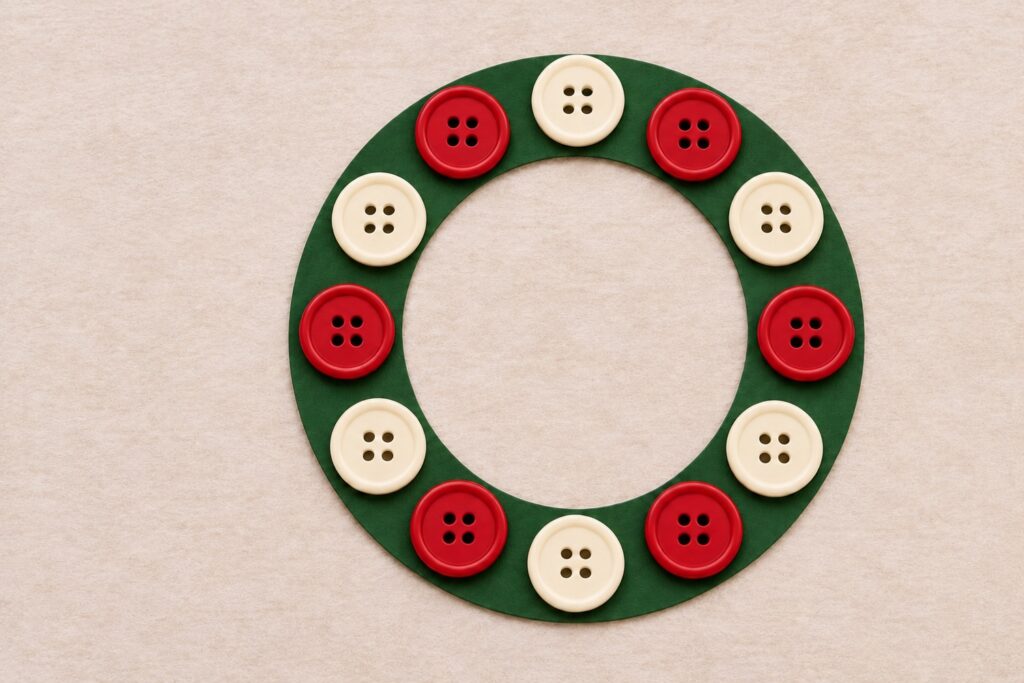
If the last button does not fit, change the spacing before gluing. If the whole row overlaps, choose smaller buttons or make a larger backing and check it against the card again. Do not force a second layer into the wreath, since that adds weight and changes the flat construction.
Step 3: Attach the Buttons to the Backing
Lift one button at a time and apply a modest amount of suitable adhesive to its back. Return it to the planned position and continue around the ring without losing the alternating sequence. Follow the adhesive directions for pressure and setting time. Avoid filling the button holes with visible glue.
Let the assembly set fully before lifting it. Check each button with gentle handling rather than tugging on it. Reattach any loose piece using the product guidance, then wait as directed again. Testing one ring now is more useful than finding the same bonding problem across a whole batch later.
Step 4: Add the Name and Mount the Wreath
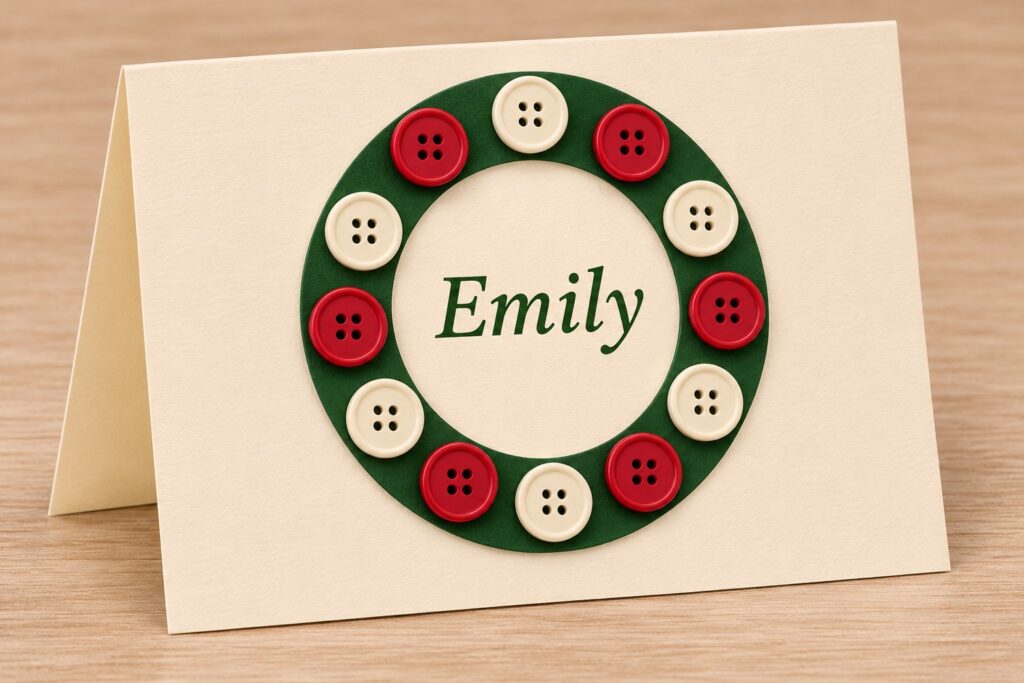
Lay the finished ring on the card front without glue and center it horizontally, leaving space beneath for the bow. Lightly mark the position with a suitable removable planning mark. Write the name within the open center area on the ivory card, checking that long names stay clear of the ring.
Let the writing dry, then attach the paper backing to the card with an adhesive suitable for cardstock. Keep glue controlled so it does not spread into the name opening. Allow it to set as directed while the front panel lies flat. Open the tent afterward to check that the decoration has not distorted the fold.
Step 5: Finish with a Small Green Bow
Tie a compact satin bow and trim its tails evenly enough to stay within the card front. Position it below the button circle, keeping all twelve buttons visible and the name unobstructed. Attach the knot area with a ribbon-compatible adhesive and let it set according to the directions.
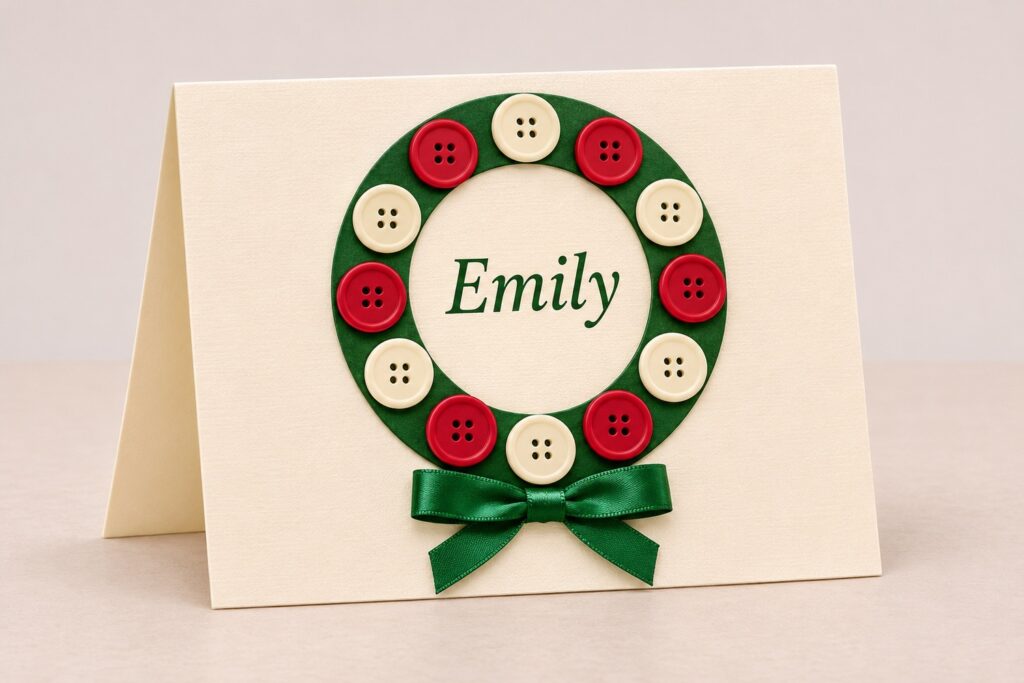
Stand the card on the actual plate or table surface you plan to use. If the front-heavy card leans, review the cardstock strength and tent opening before making more. A sturdier card or smaller, lighter buttons can help; do not hide a stability problem by leaning it against glassware.
Keep the Finishing Choices Simple
The red, ivory, and green combination works with the low fir and gold accents in the inspiration. For a different table, keep the same flat method and use two button colors that already appear in the napkins. Check the contrast around the name opening before choosing a darker card base.
You can also use a plain ring without a bow if the card feels crowded. A longer name may need a wider opening or a smaller writing style, so make one complete sample for the longest name first. Keep the buttons in a single row rather than reducing the center until the lettering becomes hard to read.
Place the Cards Where Guests Can Read Them
Set each card facing its own chair, with room around the plate for normal dining. These are decorative place markers, not food-contact pieces. Move them aside before serving if needed, and keep them clear of damp dishes, hot serving pieces, and any flame or heat source.
Store completed cards where the fronts and bows will not be crushed. Before the meal, check the button bonds once more and straighten each tent. Starting with one fully finished card makes it easier to repeat the same scale and spacing for the rest of the table.