*This post may contain affiliate links for which I earn commissions.*
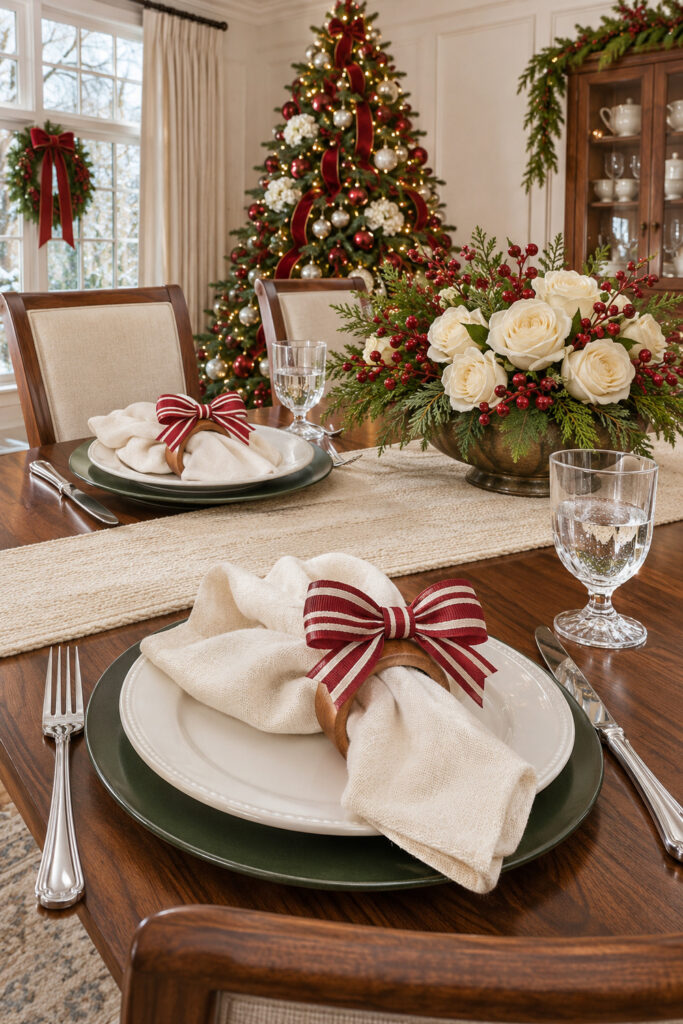
Cranberry and ivory striped bows sit on plain wooden napkin rings in this Christmas table inspiration. The raised weave of the ribbon adds detail beside soft ivory napkins, while the green plates and full winter flowers keep the setting festive. The bows are small enough to leave most of each napkin visible.
The practical version below uses a glued ribbon loop, a separate tail piece, and a narrow center band. Make one sample first to check the proportions and the adhesive’s hold on your chosen ribbon and wood. Then use that sample as the guide for the rest of the set.
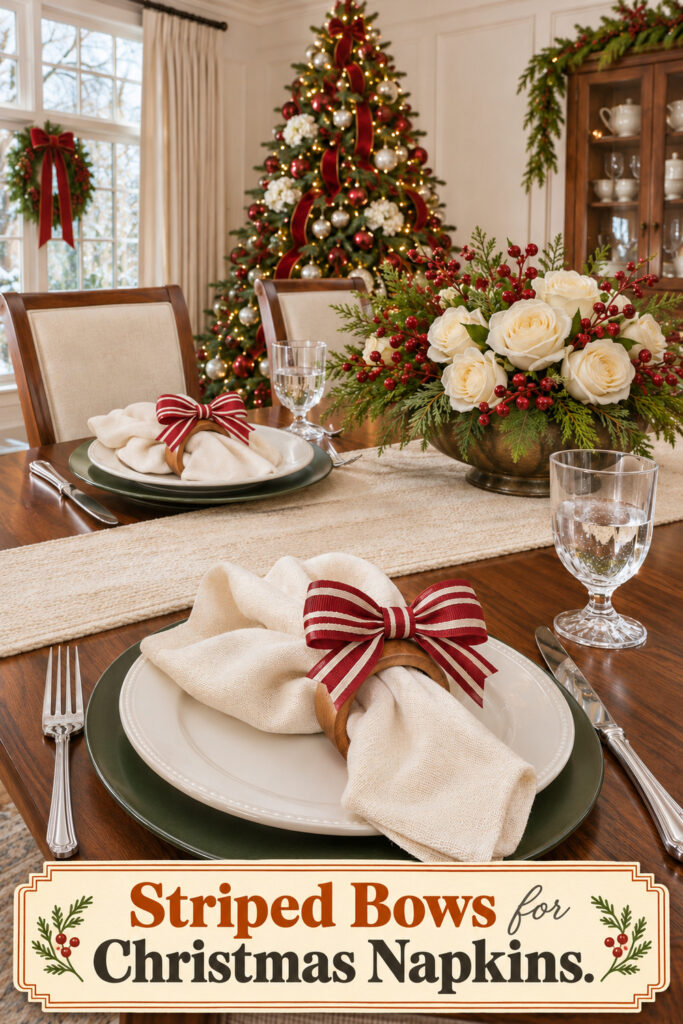
The inspiration and instructional images were generated with AI. This tutorial proposes a practical construction method rather than documenting a tested project.
Plan a Bow That Fits the Plate
Use a smooth wooden ring with an opening that suits your napkin. A roughly two inch opening is a suggested starting size, not a measurement taken from the image. The bow sits on the outside curve, with the join underneath its center. The inspiration has short angled tails; this version uses small V notches at their tips so both ends can be cut alike. The ring still does the job of holding the fabric.
For one sample, start with ten inches of ribbon for the loop, seven inches for the tails, and about three inches of narrow ribbon for the center. The main ribbon can be about one and a half inches wide, with a three eighths inch center band. These are suggested cutting lengths; adjust them after checking your first bow against an actual place setting.
Materials and Tools
- Smooth natural wooden napkin rings sized for your napkins
- Cranberry and ivory striped grosgrain ribbon about one and a half inches wide
- Coordinating narrow striped or plain cranberry grosgrain ribbon about three eighths inch wide
- Clear drying adhesive specifically suitable for both the chosen ribbon and finished wood
- Strong matching sewing thread for holding the pinched center
- Sharp ribbon or fabric scissors and a ruler
- Small clips with smooth jaws and a protected flat work surface
- Optional small scrap of clean ribbon for testing the adhesive
Choose an adhesive whose instructions cover the actual surfaces. Some wood finishes and ribbon coatings need different products. Test for staining and stiffness on a scrap, and follow the label for ventilation, application, setting, and full curing. The finished ring is a decorative napkin accessory, not a food contact surface or a washable textile project.
Form the Loop and Tails
1 Cut One Sample Set
Measure the wide ribbon twice before cutting the ten inch loop strip and seven inch tail strip. Cut the loop ends straight across. Cut a shallow centered V notch into each tail end, using two small diagonal cuts and keeping both notches alike. Cut a separate narrow center strip about three inches long.
Keep the stripes facing the same way on all visible pieces. If the ribbon has a clear front and back, mark the reverse lightly on your sample scraps rather than on the visible bow. Put the remaining roll away so it doesn’t pull across the adhesive while you work.
2 Close the Wide Ribbon Loop
Lay the ten inch strip face down. Bring the ends together with about half an inch of overlap to make one flat loop, keeping the ribbon untwisted. Apply a small amount of suitable adhesive only within the overlap and clip it as directed. Keep adhesive away from the exposed edges so it won’t squeeze onto the finished face.
Let that join set according to the product directions before bending the loop. Then flatten it with the join centered on the back. The result should have two equal folded ends and one concealed overlap.
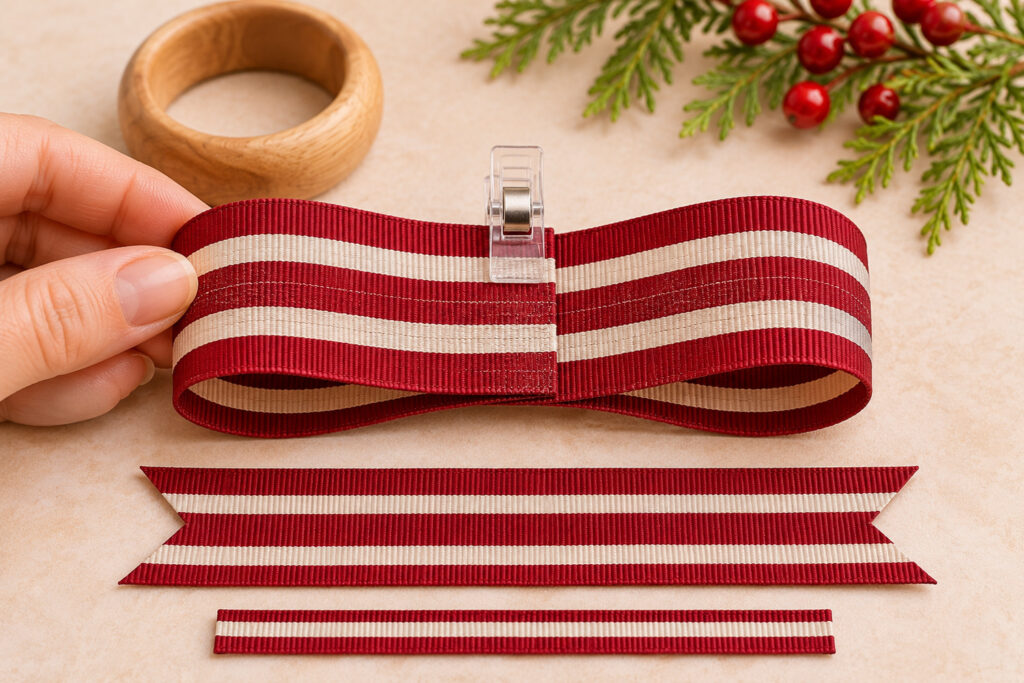
3 Pinch the Center and Add the Tails
Pinch the loop at its middle into a few shallow folds. Keep both sides roughly equal rather than flattening one loop more than the other. Fold the seven inch tail strip at its midpoint into a shallow downward V and place that midpoint behind the pinched loop. Both loose tail ends should point below the bow.
Wrap matching thread around the combined center a few times and tie it securely on the back. The thread holds the shape while you cover it; it shouldn’t cut deeply into the ribbon. Trim the thread ends close enough to hide beneath the center band.
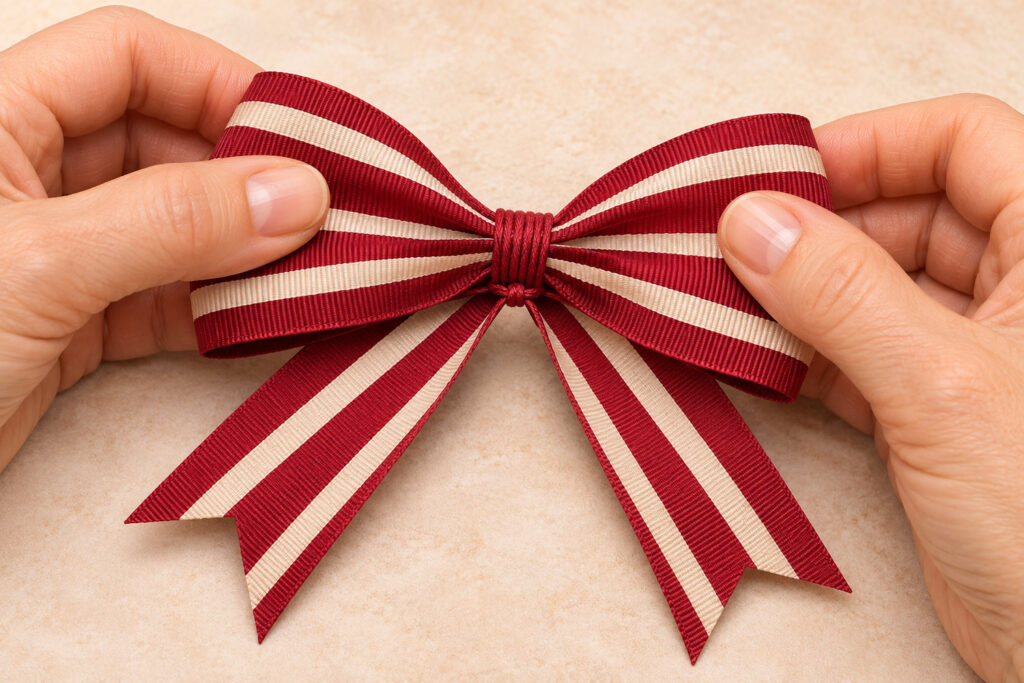
Finish the Bow and Attach the Ring
4 Cover the Thread with the Narrow Band
Place the middle of the narrow ribbon across the front pinch. Bring its ends around the back of the loop and tail midpoint, checking the face before gluing the overlap. Trim the narrow strip if needed so the join stays compact and hidden. Use a small amount of adhesive and hold it according to the label.
Keep the center snug enough to conceal the thread, but avoid crushing the two wide loops into hard folds. Let the adhesive set before shaping the ends. Check the notched tail tips and trim any loose fibers, keeping both tails visible beneath the loops. Don’t heat seal ribbon unless its maker specifically directs that method; clean scissors are enough for this proposed version.
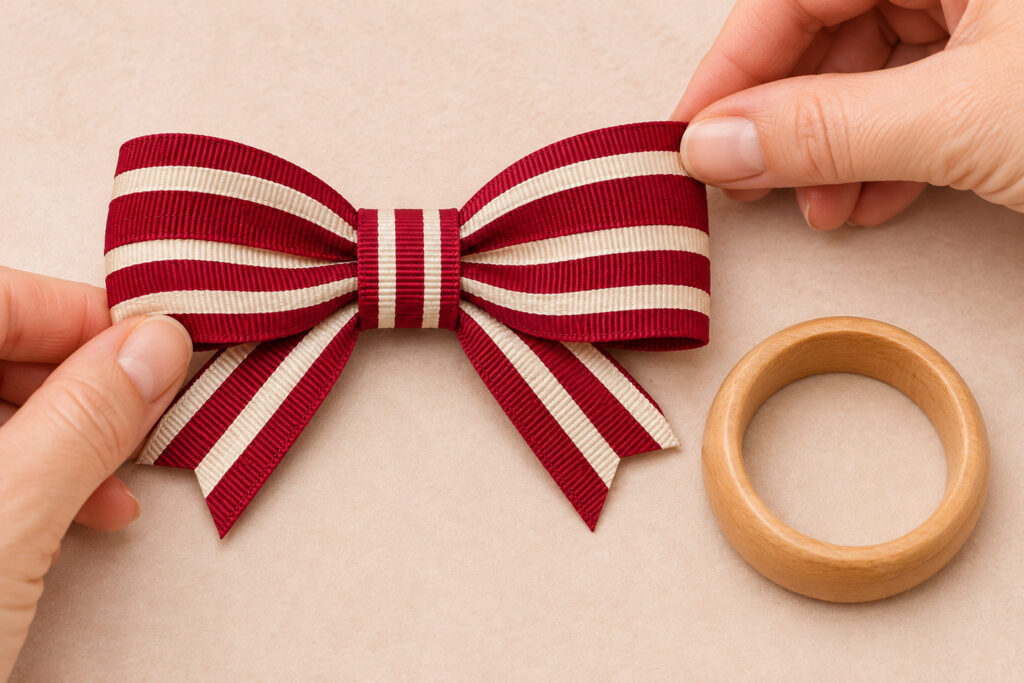
5 Fix the Bow to the Outside of the Ring
Rest the wooden ring securely on the protected surface with its outer curve facing up. Dry fit the back of the bow center against that curve. Check that the bow’s loops spread across the ring and the tails point toward the plate when the napkin is threaded through.
Apply the compatible adhesive at the small contact area between the center back and the wood. Keep glue outside the ring opening. Support the bow and ring without pressing a clip against the visible loops, then leave the assembly undisturbed for the adhesive’s full curing period. Follow the product label instead of guessing from a dry looking surface.
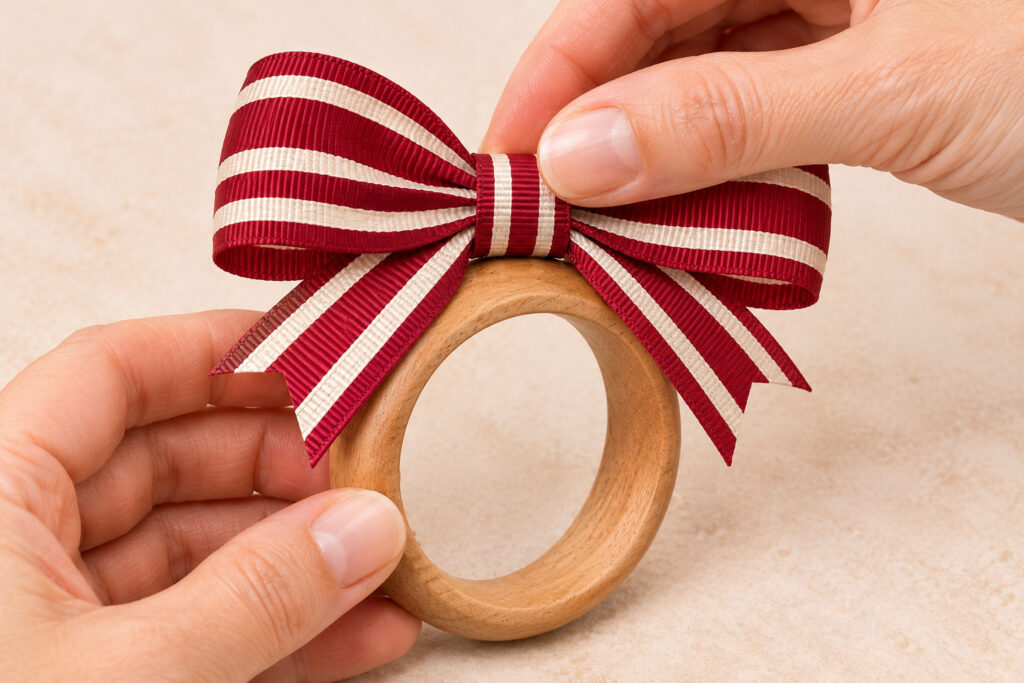
6 Check the Sample Before Repeating It
After full curing, handle the bow gently and check the join without pulling hard on the tails. Thread an ivory napkin through the ring and set it on a plate. Adjust the napkin until the bow faces upward and both tails show. If the bow rotates or the join lifts, revise the fit or adhesive choice before making the full set.
Correct the Shape While It Is Still a Sample
Unequal loops usually come from an overlap that wasn’t centered before pinching. Open the folds gently and compare the distances to each end. If the join has already cured in the wrong place, make another loop rather than forcing a permanent crease into the ribbon.
A bulky center can come from too much overlap or excess adhesive. Trim the narrow band to fit and keep its join on the back. If glue marks the face, test a different compatible product on a scrap. More adhesive can make a small problem much more visible.
Keep the Set Consistent
Use the finished sample beside each new bow. Compare loop width, tail length, and stripe direction before attaching the rings. Small natural variations are fine, but a common outline helps the set look deliberate around the table. Plain cranberry ribbon can replace stripes with the same construction method.
Dress the Napkins and Store the Rings
Pull each napkin through without dragging it against the bow join. Keep the ribbon away from food and spills, and remove the ring before using the napkin. Wipe or care for the wood only as its finish allows; don’t soak the glued assembly or assume it can go through a wash.
Store the rings in a shallow box with room around the loops. Set them down so the bows aren’t carrying the weight of other pieces. At the table, turn each bow toward its own chair, then smooth the napkin below it. That final orientation makes the striped details feel welcoming from every seat.