*This post may contain affiliate links for which I earn commissions.*
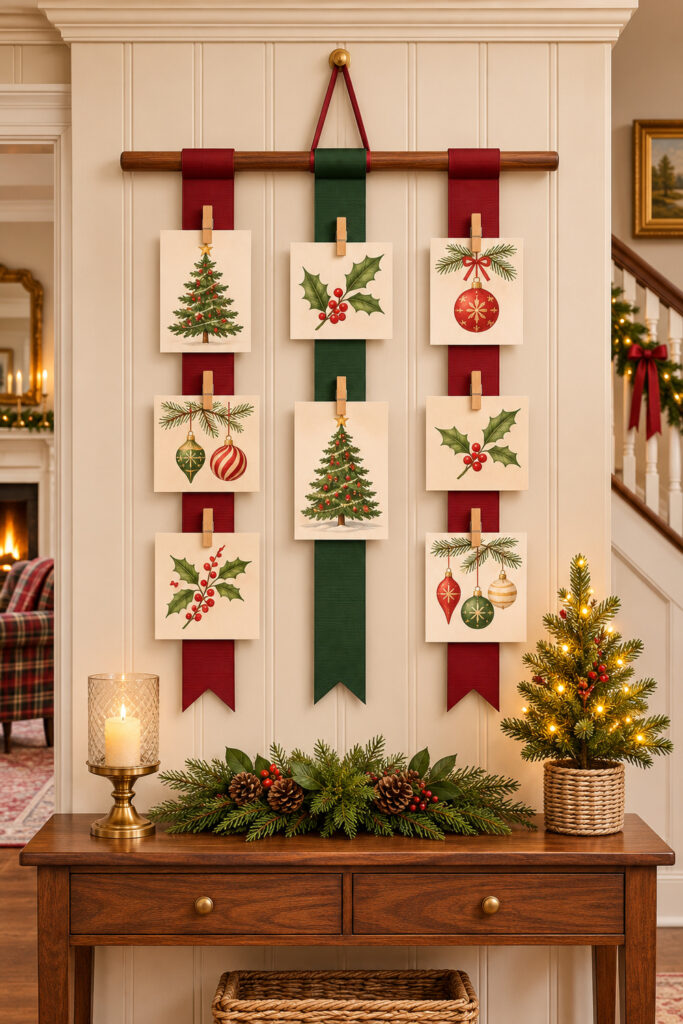
Christmas cards can make a lovely wall display when there’s a place to add each new one. In this inspiration, two cranberry ribbons and one green ribbon hang from a wood dowel. Small clothespins hold the cards, leaving the ribbons free to fall in long straight lines. I’d put a holder like this over a console or on a short stretch of wall where the cards can be seen up close.
The version below uses stitched loops on the back of the ribbons and a separate narrow ribbon to hang the dowel. The long strips can slide a little on the rod while you set the spacing. You can use small illustrated cards to match the picture or size the whole project around the cards you receive.
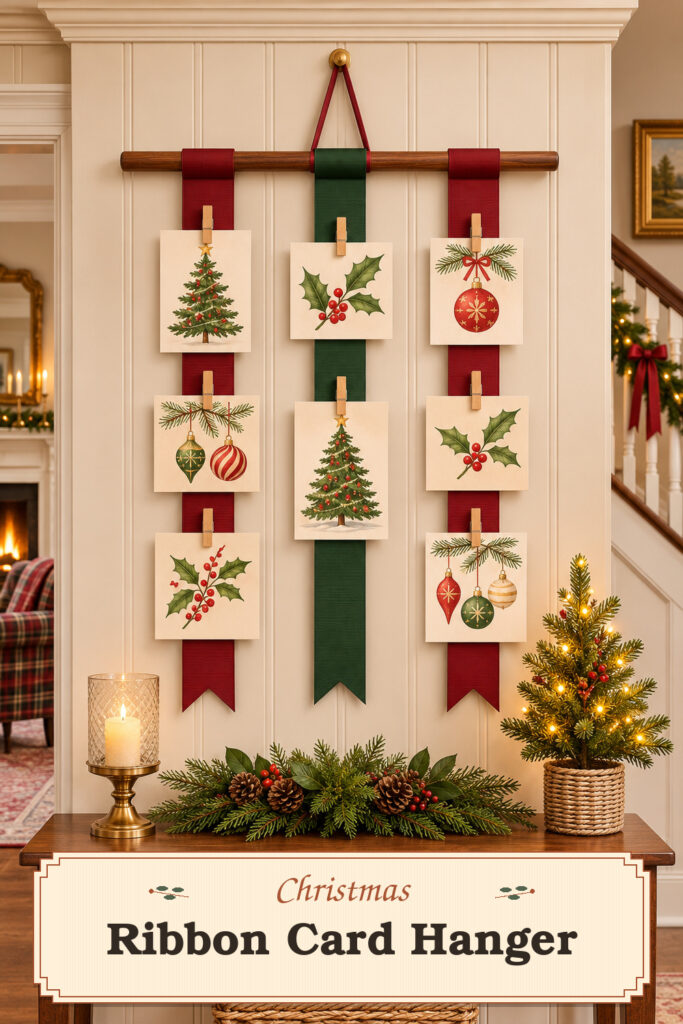
The inspiration and instructional images were created with AI. The tutorial describes a practical way to make a similar holder.
How the holder goes together
Each wide ribbon wraps around the dowel and is stitched back onto itself. That makes a sleeve, a little like the pocket at the top of a curtain. A thin ribbon tied to the dowel on either side holds the display up. The card clips are separate, so you can move them and change the cards without taking the dowel down.
Materials and tools
- A smooth wood dowel. An 18-inch rod about 3/8 to 1/2 inch thick is a suggested starting point for three columns of light cards.
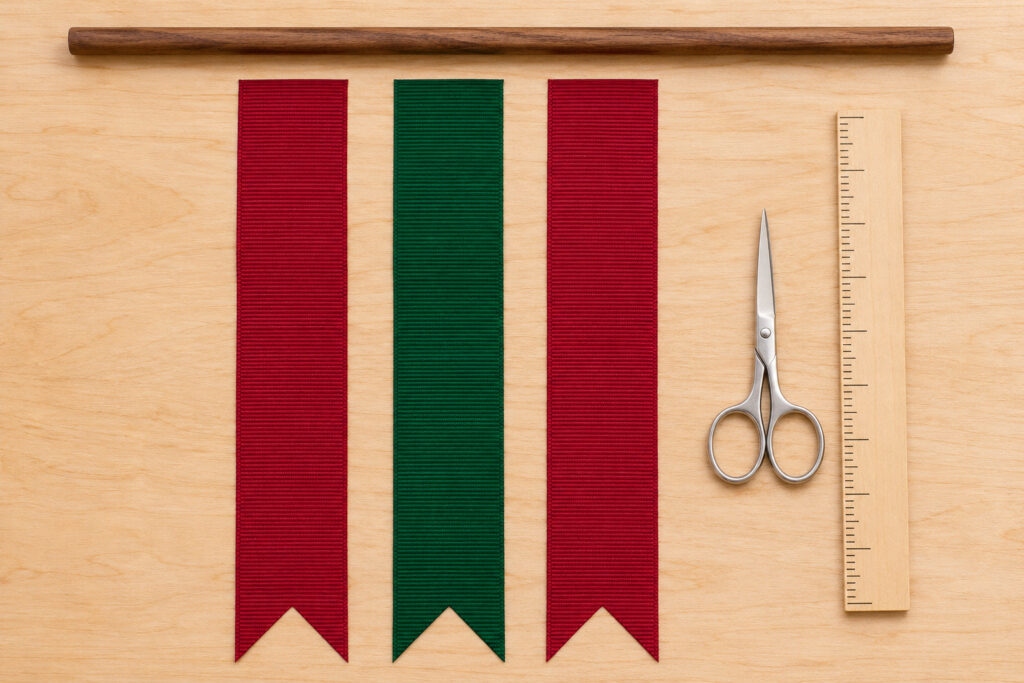
- Two colors of 2-inch-wide grosgrain ribbon. Grosgrain has small ridges that help it hang straight. Allow enough for two cranberry strips and one forest green strip about 20 to 24 inches long before folding.
- Narrow matching ribbon or strong decorative cord for the hanger.
- Small spring clothespins and a few lightweight cards for testing the fit.
- Sharp scissors, a ruler or tape measure, a hand-sewing needle, and strong thread to match the two ribbon colors.
- Straight pins or sewing clips, a pencil, and an indoor wall hook rated for the finished display and suitable for your wall.
- Optional liquid fabric edge sealant, if a test scrap of your ribbon frays.
Measure with the cards you plan to hang
Spread three of your cards across the table as you want them to look on the wall. The widest card will tell you how much space to leave between ribbons. Allow a gap between neighboring cards, then check that the dowel still extends beyond the outer ribbons. You need an exposed spot on each side for the hanging ties. If you’re using wide folded cards, choose a longer rod before you cut the ribbon.
Test one clip now by sliding its back jaw behind a scrap of ribbon and its front jaw over a card. A spring clip needs to grip both layers. If it pinches the ribbon but slips off the card, try one with a deeper opening. Use light cards while you check the holder. Thick cards with ornaments glued to them may pull one strip forward.
Step 1 Cut the three ribbon strips
Cut one cranberry strip to the length you want, adding about 2 inches for the top fold. Use that piece to measure the other two. Leave the top of each strip square. At the bottom, mark the center a short distance above the edge. Cut from each bottom corner to that point. The small triangle comes out, leaving two outer points and a V in the center. Use the first strip as a pattern for the other two so the cuts match.
If the cut edge sheds threads, test a small amount of fabric edge sealant on a leftover piece and let it dry. Some products darken the ribbon. Apply it sparingly if you like the result. Leave the cut ends flat while they dry.
Step 2 Sew the loops around the dowel
Lay the ribbons face down in red, green, red order, with their square ends lined up. Place the dowel across them near those ends. Fold the first square end around the rod and back onto its own strip. Hold the overlap together with a sewing clip. The sleeve should be close enough to lie neatly against the rod and loose enough for the ribbon to slide.
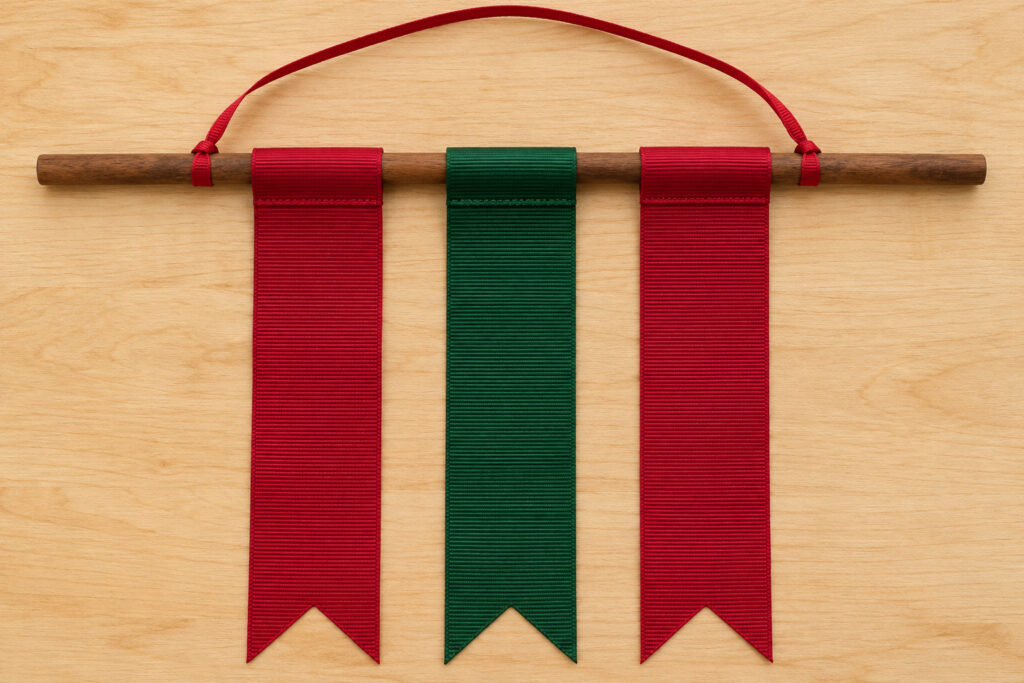
Slip the dowel out if that makes stitching easier. Sew across the overlap with short, even stitches, going through both layers of ribbon. Keep the row just below where the rod will sit. Knot the thread on the back. Repeat for the other two strips, using the first finished sleeve to match the depth. Slide all three back onto the rod and straighten the bottom ends.
Tie one end of the narrow hanging ribbon around the dowel just outside a wide strip. Tie the other end at the same distance from the opposite end of the rod. Leave a little slack between the ties so the ribbon can rise to a centered point on the hook. Lift it by the middle while the holder is empty and tighten both knots once the rod sits level.
Step 3 Clip the cards onto the ribbons
Lay the display face up. Start with one card on each strip so you can see the spacing clearly. Put each card in front of its ribbon, center its upper edge, and slide the open clip over the card and fabric together. Keep the clip upright if you want the tidy look in the inspiration. Give the card a gentle tug before you move on.
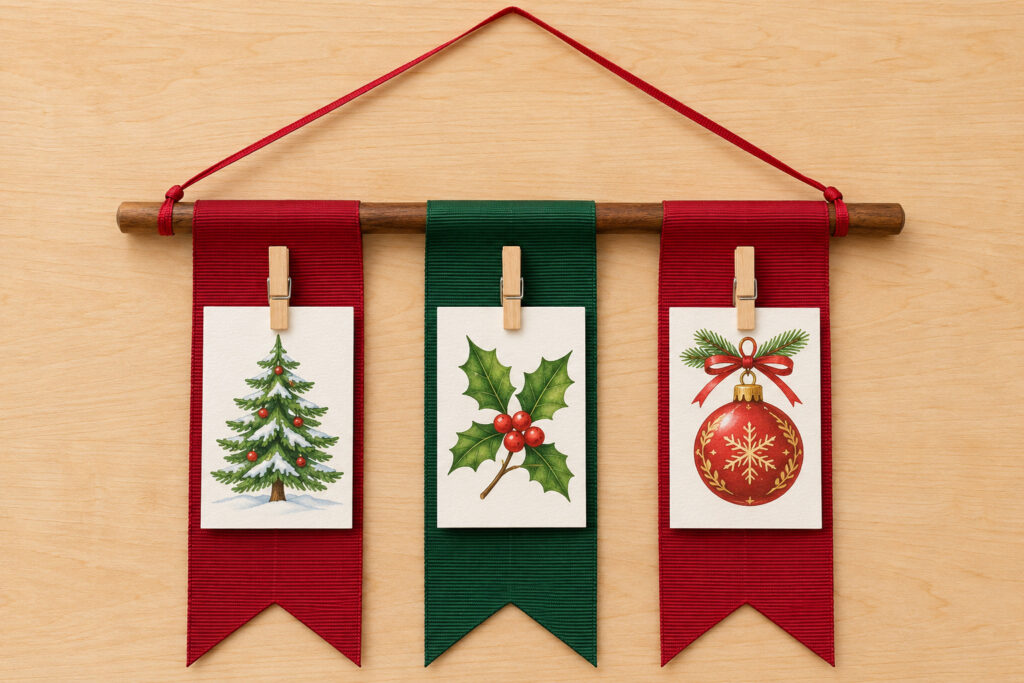
To add a second row, check the height of the tallest card in the first row. Leave some open ribbon below it before attaching the next card. Varying the height of the cards works well when your cards are different shapes. Leave a clear stretch at the bottom so the three V cuts stay visible.
Hang and style the card display
Use a hook suited to your wall and the combined weight of the hanger and cards. Lift the display by the narrow ribbon and check the rod from a few steps back. If one end dips, slide the top of the hanging ribbon a little on the hook or shift one wide strip inward. Add the rest of the cards gradually, working from the middle toward the outer strips to keep the weight spread out.
The picture uses cream cards with fir trees, holly, and ornaments. You can give mixed cards a similar look by starting with one repeat, such as a white border or a red illustration, and placing those cards at eye level. Set a low line of greenery on the console beneath the ribbons. If you’d like a glow nearby, use a battery candle and leave plenty of open space around the cards.
If the bottom ends curl after you unpack the ribbon, lay the strips flat under a clean book before you hang them. Check the ribbons again after you add the cards. You can slide a clip up or down so its weight helps the strip hang straight.
Leave room for the next card
Start with just a few favorites. A spare clip on the back of each ribbon gives you somewhere to reach when another card comes in. When the season is over, unclip the cards and roll the ribbons loosely around the rod so the ends keep their shape for next Christmas.