*This post may contain affiliate links for which I earn commissions.*
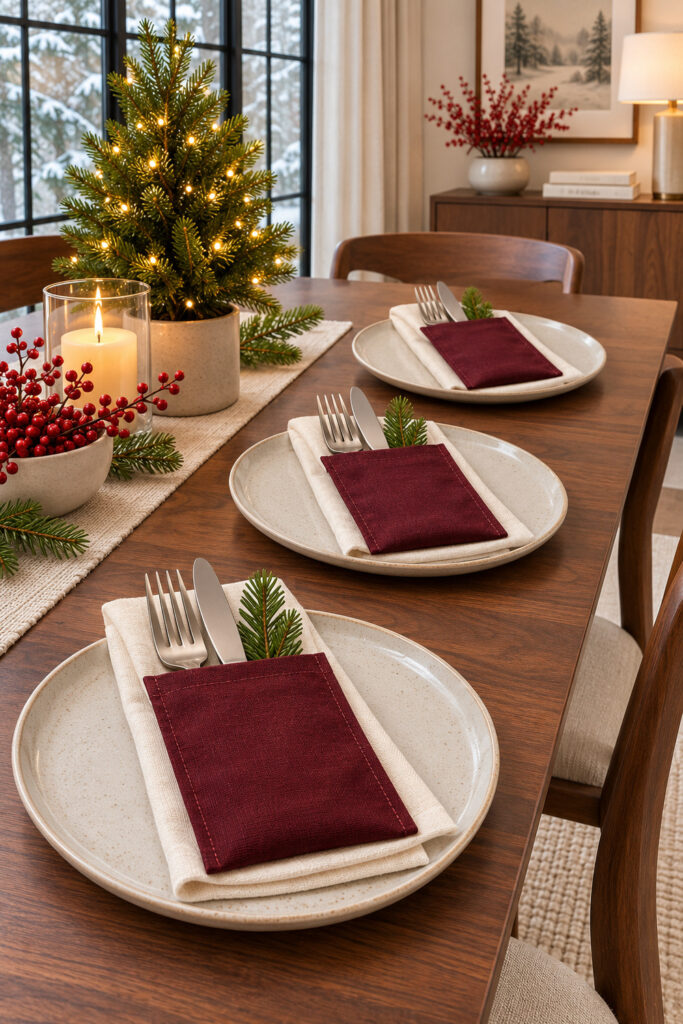
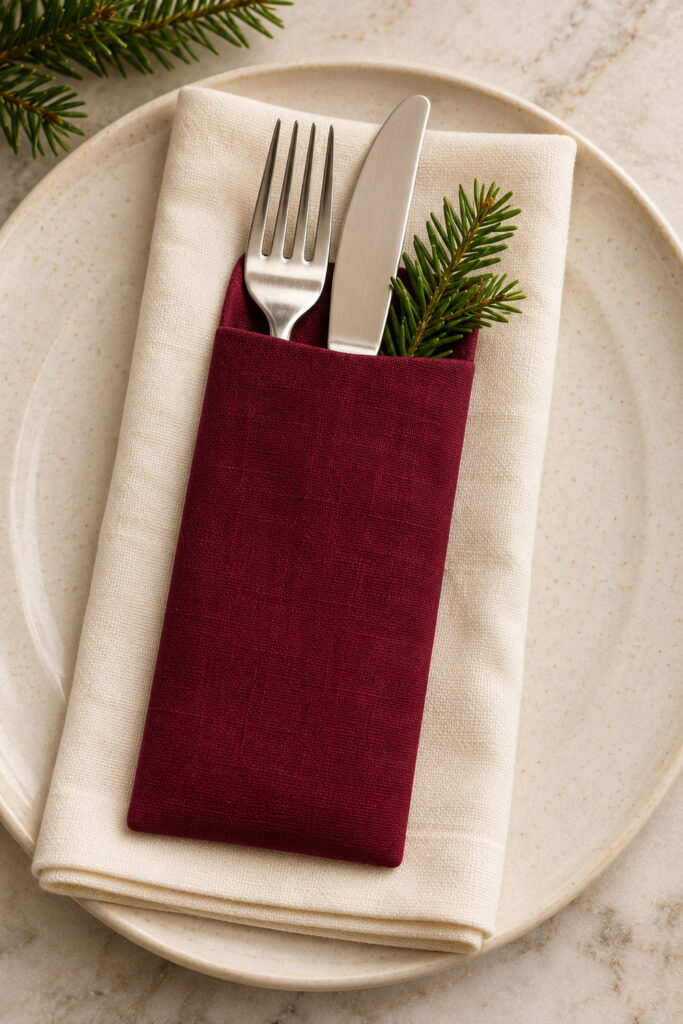
The little garnet pockets in this Christmas table setting do the job of a place setting and a decoration at the same time. A knife and fork slide in at the top with a short sprig of greenery, and the pale napkin underneath gives the dark fabric a clear edge. The version here is a separate sleeve made from two pieces of linen. You can wash or replace the napkin without having to rebuild the sleeve. It’s worth making one sample before you cut the rest, especially if the flatware you use for the holidays is a different size from your everyday set.
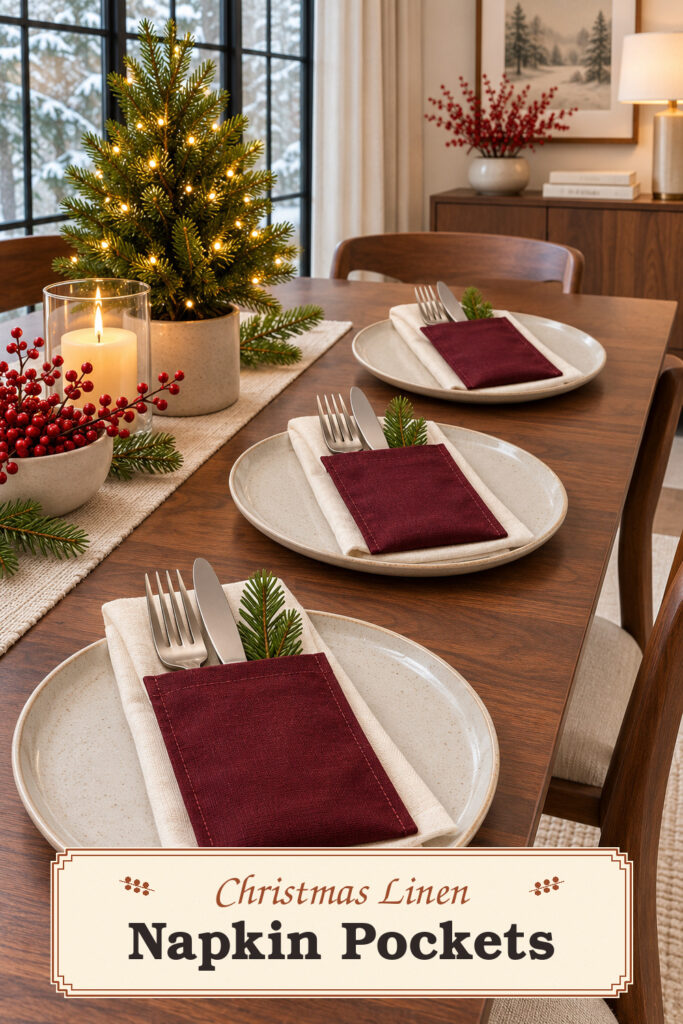
The inspiration and step illustrations were created with AI. The tutorial proposes a practical sewn adaptation.
Make a sleeve that suits your plates
The sleeve needs to cover some of the utensil handles and leave enough showing for a guest to lift them. Lay the actual fork and knife on a dinner plate and put a folded napkin underneath. Slide a piece of paper over the lower part of the handles until you like the proportions. There should be room beside the handles for the sprig. If the paper runs into the rim of the plate, shorten it or fold the napkin a little narrower.
A finished pocket about three inches wide and four to five inches tall is a useful starting point, depending on your flatware. For a finished three-by-four-inch sleeve, cut two rectangles about three and three-quarter inches wide and four and seven-eighths inches tall. The width includes a three-eighths-inch seam on each side. The height includes a half inch for the top hem and three-eighths of an inch for the bottom seam. Try the paper model with both utensils together before committing to those dimensions. Broad handles may need a little more width, even when their length looks right.
Gather the materials
- Medium-weight garnet linen or linen blend, enough for two matching rectangles per sleeve plus a sample.
- Matching all-purpose thread and a sharp hand-sewing needle or a sewing machine.
- Paper, pencil, ruler, fabric shears, straight pins or sewing clips, and an iron.
- One folded cream napkin and your chosen flatware for each setting.
- Short faux fir sprigs for styling. Choose clean pieces with smooth ends and put them where they can be lifted out before eating.
Look for a cloth that folds crisply but feels soft enough to turn through a small opening. A very open weave can fray while you turn the corners. Prewash the fabric according to its care instructions if you intend to wash the finished pockets later, and press it flat before measuring. Matching the thread to the fabric is helpful when the hems show, even if the two reds are a little different in daylight.
Cut and hem the openings
1. Cut two matching rectangles for each sleeve
Use the sample dimensions you checked on the plate. Cut one rectangle and lay it on the fabric to check the second before cutting. Keep the top and bottom edges square so the finished opening won’t slope. If the fabric has a visible grain, cut the long edges along it. A paper template is more reliable than using the first cloth rectangle to trace all the others because the fabric can stretch a little as you move it.
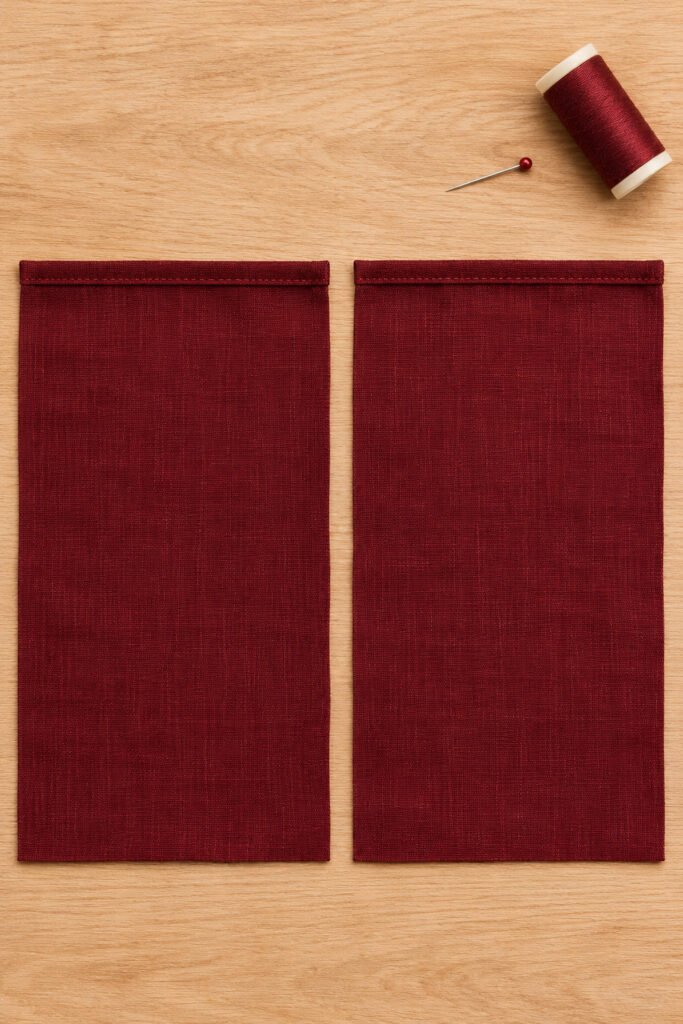
2. Finish the two short top edges separately
Put one rectangle wrong side up. Turn the top edge down a quarter inch and press, then turn it again a quarter inch so the cut edge is enclosed. Stitch close to the inner fold. Do the same with the second rectangle. Press both pieces and set them beside each other to check that their finished top edges and overall heights match. The other three edges stay raw for now. You’ll hide them inside the sleeve in the next phase.
Sew the pocket and turn it out
3. Match the finished tops and stitch three sides
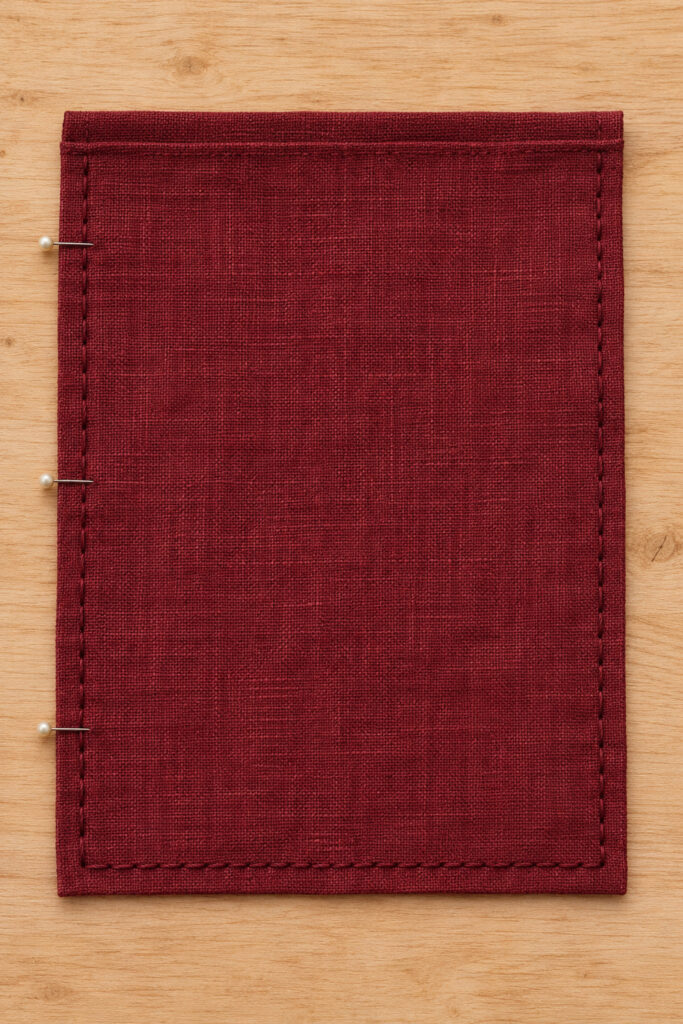
Put the pieces right sides together with their two hemmed edges aligned at the top. Pin or clip the sides and bottom. Stitch with a three-eighths-inch seam allowance down one long edge, across the bottom and up the second edge. Use a small backstitch if you’re sewing by hand. Leave the entire hemmed top unstitched so the sleeve can open. Reinforce the ends of the seam near the opening with a couple of extra stitches. That’s where the seam will get pulled when someone slips in the utensils.
4. Trim the bottom corners and press
Trim across each bottom seam allowance at a diagonal, taking care to leave the stitching intact. Turn the sleeve right side out through the open top. Use a blunt point to ease each corner into shape rather than poking hard enough to pull threads through the fabric. Roll the side seams gently between your fingers until they sit at the edges, then press according to the fabric’s care directions. Check the width with both utensils before making the rest of the set. A pocket that feels tight will be harder to use once you add a sprig.
5. Try the pocket on a plate
Fold the cream napkin slightly wider than the pocket and set it down the middle of the plate. Slip the handle ends of the clean utensils inside so the upper ends remain easy to grasp. Add a short fir sprig at one side of the opening. Keep it apart from the eating ends and remove it when the setting is used. If it leans too far to the side, shorten the stem or use a smaller tip rather than filling the pocket with extra foliage.
Fix a crooked opening or bulky corner
If one edge of the opening is higher, look at the hems first. A deeper fold on one rectangle can make it shorter before you sew. Unpick and adjust that hem on your sample if the difference is noticeable. For the next sleeves, press the folds with the same ruler or paper gauge. Match the finished top edges before pinning the sides and let any tiny difference fall at the bottom where you can correct it within the seam allowance.
Corners that feel rounded and thick usually have too much fabric packed inside. Turn the pocket back out and check the seam allowance before cutting anything. Trim only the extra fabric at the bottom corners and leave the thread intact. A soft corner can look quite good with linen, so stop as soon as it holds a tidy shape. If the opening stretches when you insert the handles, use a wider paper template for the next sleeve instead of trying to pull the stitched pocket wider.
Style the finished set
Center the sleeves on the pale napkins and repeat the same amount of fabric at the bottom of each plate. The garnet looks especially good against a clear stretch of cream. A fir sprig gives the red some contrast, while a small tree or a few evergreen stems elsewhere in the room are enough to connect the settings. If you want a quieter palette, use the same method in pine green with a flax napkin. Keep one color consistent across the set if your plates are already patterned.
Continue the red around your table with our DIY chair cuffs adorned with small bells.
Remove the sprigs and flatware before clearing the fabric. Launder the sleeves only as appropriate for the cloth and thread, and press them flat before storing. Leave one finished pocket with your paper template so you can check its dimensions when you make extras. The sample you fitted to your own plate will be more useful next year than a general size written down on a scrap of paper.