*This post may contain affiliate links for which I earn commissions.*
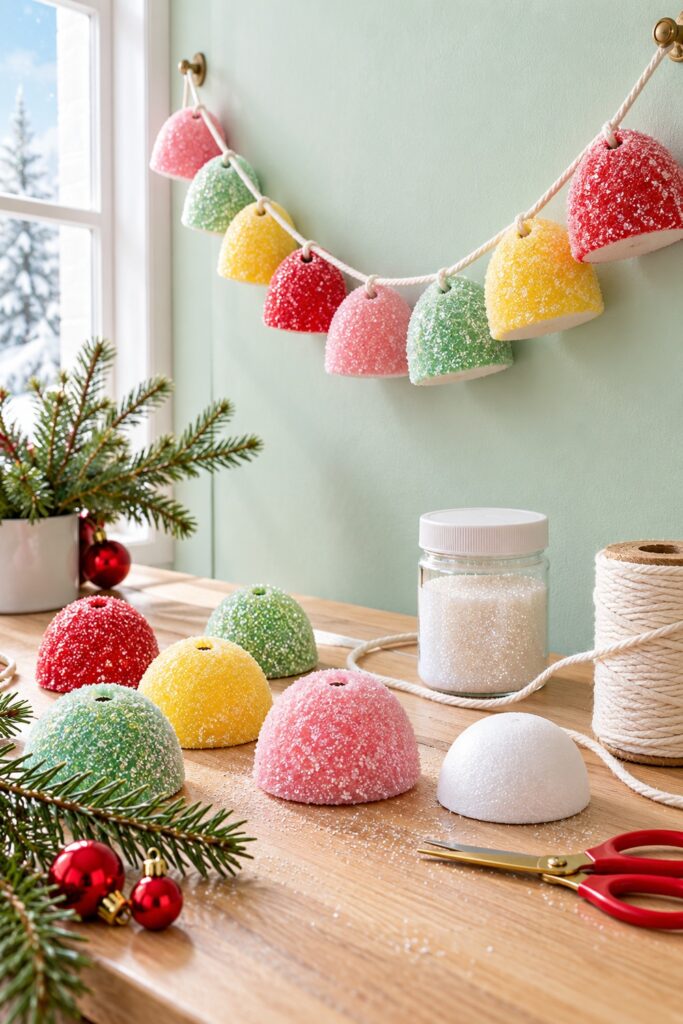
The candy colors are appealing, but the sugar-like surface is what makes this garland interesting. Rounded pink, mint, yellow, and red pieces hang along a cream cord, looking almost ready for a sweet shop window. This version uses lightweight foam, paint, and craft glitter instead of food.
The method below adapts the inspiration into a manageable indoor decoration. Rather than copying its top openings, you’ll thread the cord through a horizontal channel in each foam dome. That gives the cord a continuous path and avoids relying on tiny screw eyes pushed into soft foam.
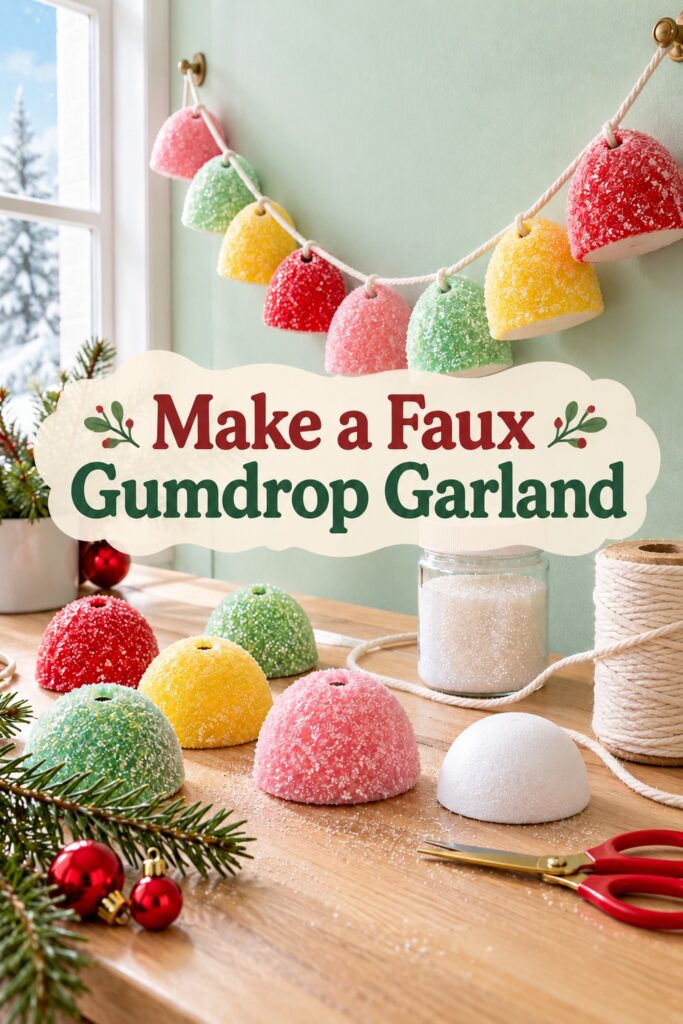
The inspiration and instructional images were created with AI and illustrate a proposed DIY method rather than document a physically completed project.
What You’re Making
You’ll make a strand of flat-bottomed foam hemispheres with rounded tops, candy-colored paint, and a sparkling coating. The shapes are more rounded than traditional gumdrops, but their color and sugared texture carry the idea. The white flat bases can remain unpainted, as a small contrasting edge.
For a first strand, eight pieces about 6 cm wide are a suggested starting point, not measurements taken from the image. Adjust the quantity to your display space. Preformed foam hemispheres keep the shaping simple and avoid cutting whole balls in half.
Materials and Supplies
Materials
- White expanded polystyrene foam hemispheres with flat bases and solid rounded tops (if you want slightly longer gum drops you can buy foam eggs and cut them to the height you want)
- Water-based acrylic craft paint in candy pink, mint green, yellow, and red
- Water-based clear-drying craft glue labeled suitable for polystyrene foam
- Clear or white iridescent 1-1.5mm craft glitter for the sugar-like surface
- Cream cotton cord thin enough to pass through your chosen holes
- Hanging supports suitable for the wall surface and finished strand
Tools
- Blunt skewer or similar straight hand tool for making the threading channels
- Small flat paintbrush and a separate brush for glue
- Scissors for cutting the cord
- Ruler and pencil for marking hole positions
- Shallow catch tray and protective covering for the worktable
Optional Finishing Supplies
- Water-based clear craft finish explicitly suitable for foam and painted surfaces
- A short piece of tape to stiffen the cord end for threading
Want to Make the Gumdrop Garland?
I’ve put together a convenient Amazon supply list that includes the foam, paint, glitter, cord, and glue that you’d need to save you time.
See My Hand-Picked Supply ListAs an Amazon Associate I earn from qualifying purchases but this doesn’t increase your price at all!
Before You Start
Test the paint and glue on one spare piece or a hidden area before preparing the whole batch. Use products labeled compatible with polystyrene foam. Solvent-based coatings can damage some foams, so don’t substitute a spray product simply because it dries clear.
Check that your cord passes through the channel without a hard pull. A thin cotton cord around 2 mm is a suggested starting size; the actual fit depends on the foam and tool. Choose the channel size to suit the cord while leaving plenty of intact material above it.
Lay a length of spare string across your intended display area to estimate the strand length and curve. Include extra cord at both ends for hanging loops and for the small knots used to control spacing. Keep the span short for the first attempt so you can assess how the pieces hang.
Step-by-Step Tutorial
Step 1: Prepare the Side-to-Side Threading Channels
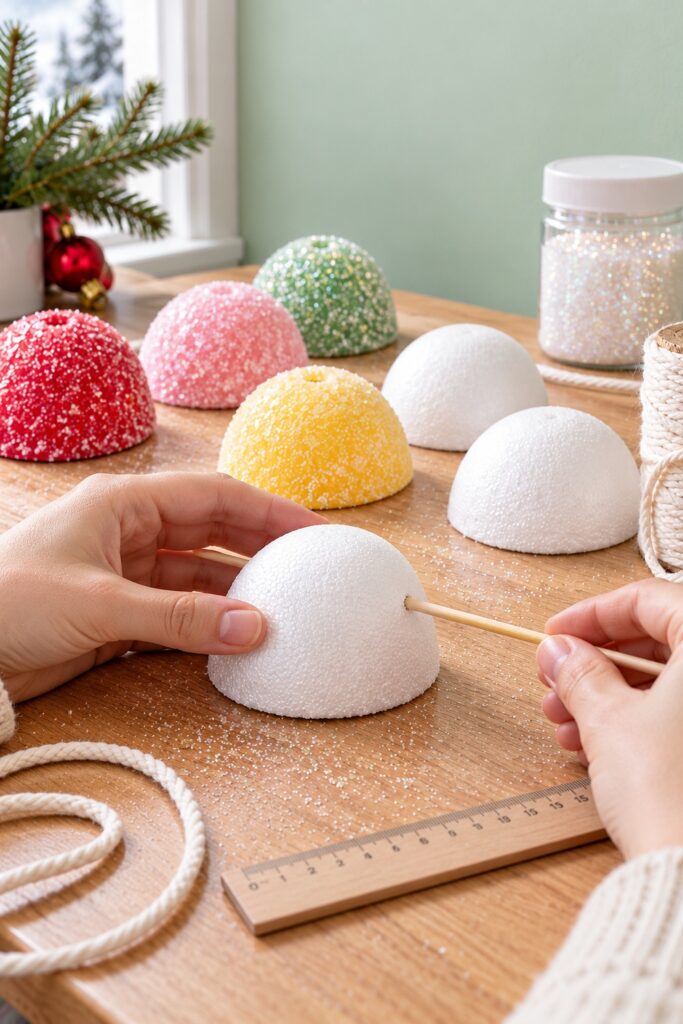
Set a hemisphere flat side down. Mark two opposite side points at the same height, in its upper third but with at least about 1 cm of intact foam above the proposed channel on a 6 cm piece. This is a suggested placement; move the channel lower if your shape leaves too little material above it.
Support the dome on the table and gently push a blunt skewer horizontally from one mark toward the other. Keep your hand out of its path and work slowly so you don’t split the foam. The channel goes across the piece, not down through the top or out through the flat base.
Test a short length of cord, then withdraw it. If the dome cracks, crumbles around the opening, or tears when lightly supported by the cord, replace it and adjust the channel lower or use a more suitable foam form. Prepare the remaining pieces only after this sample behaves reasonably.
Step 2: Paint the Rounded Surfaces
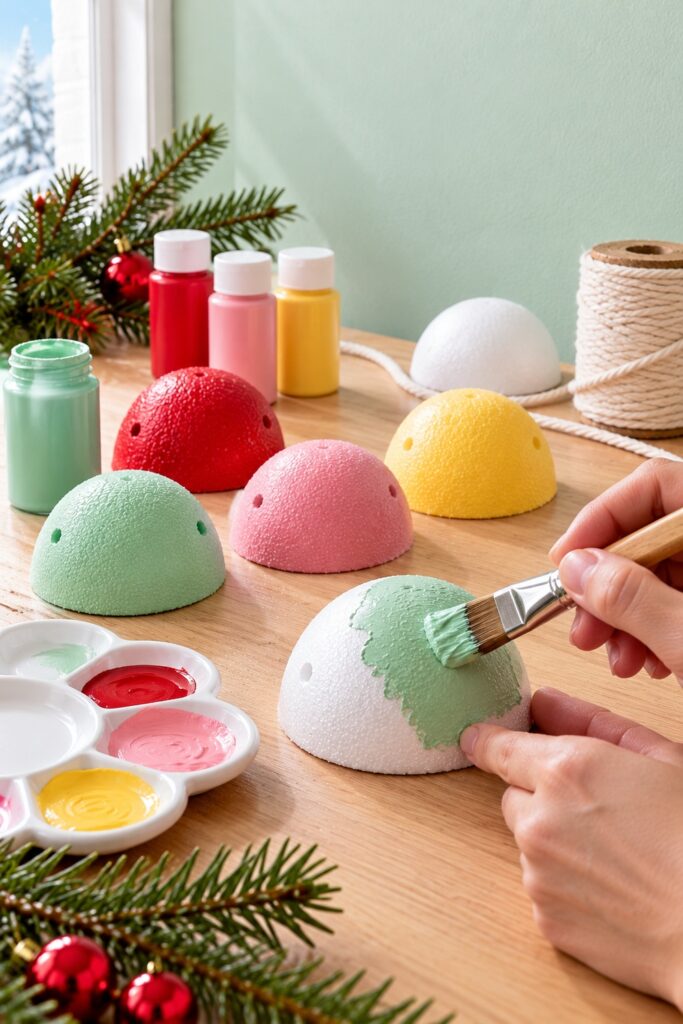
Brush a thin layer of water-based acrylic paint over the curved surface, keeping the flat base white if you like the contrasting edge. Avoid packing paint into the two side openings. Set the piece flat side down to dry on your protected table.
Paint the other pieces in your selected colors. A repeating pink, mint, yellow, and red sequence is easy to arrange, but you can change the order. Apply another thin coat if the white foam still shows through more than you want, following the paint label’s drying guidance between coats.
Check the channels while the paint is still workable and clear any blocked opening gently. Don’t thread the final cord through wet paint, which can stain it and make the piece difficult to move later.
Step 3: Add the Sugared Texture
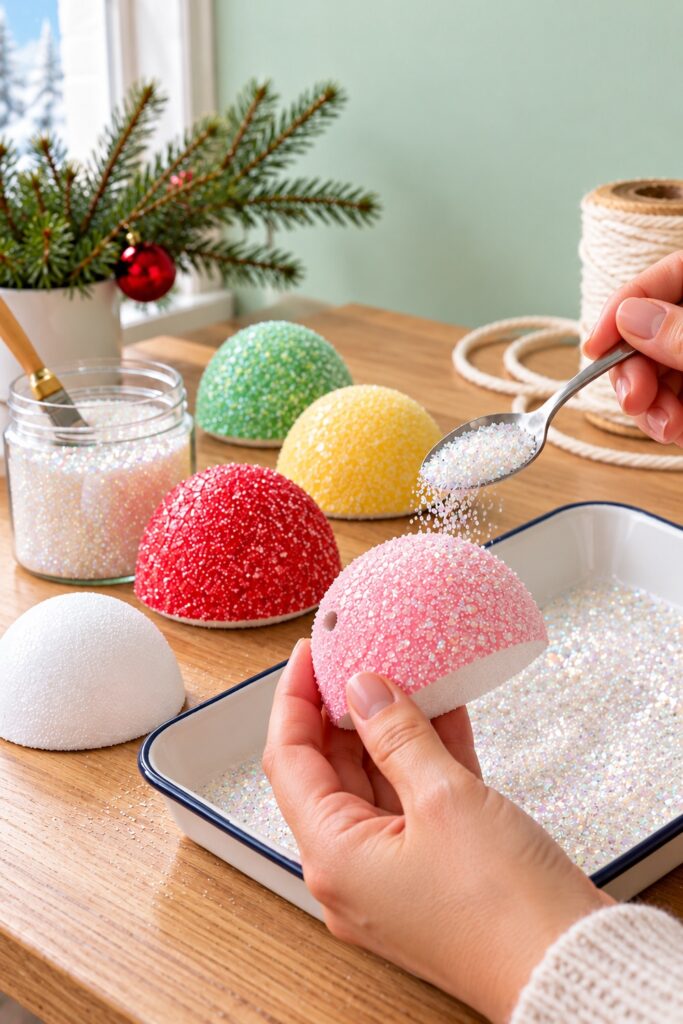
Once the paint is dry, hold a piece by its flat base over the catch tray. Brush a thin, even layer of foam-compatible clear-drying glue over the painted curve. Leave the channel entrances clear and keep glue off the flat base where it rests on the table.
Sprinkle iridescent glitter onto the wet glue, turning the piece gently so the surface receives coverage. Clear glitter allows the paint color to remain visible; opaque white glitter gives a heavier frosted effect. Tap lightly over the tray to release the loose excess without rubbing the wet coating.
Set the piece aside and allow the adhesive to dry fully according to its instructions. Repeat with the other colors. If a bare patch remains, add a little glue and glitter only to that spot after the first layer has dried.
Step 4: Check the Finish and Lay Out the Colors
Brush away loose glitter gently over the tray once the pieces are dry. If you want an additional clear finish, test it on a spare piece first and use only one labeled for the materials. A coating can reduce the sparkle or change the texture, and it won’t guarantee a completely shed-free surface.
Lay the domes in their intended order with flat bases down. Keep neighboring colors distinct so each piece is easy to see. Check the side openings again and clear them gently if necessary; trying to force a thickened cord end through a blocked channel can damage the foam.
Step 5: Thread and Space the Gumdrops
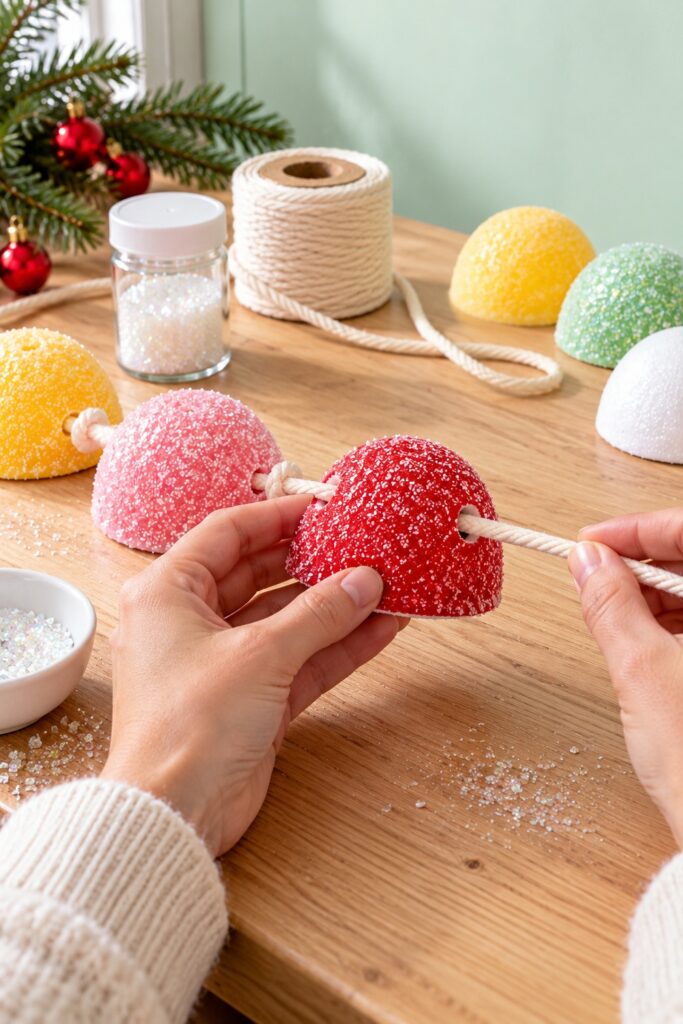
Cut the cord to your planned length, including the extra needed for hanging and knots. Stiffen the end with a small piece of tape if it frays. Feed it into one side opening and out of the opposite side, supporting the dome rather than tugging it by the coating.
Slide the first piece into position. Tie a small stopper knot beside it, then add the next dome and another knot as needed to preserve a little space. A knot before and after a piece can limit sliding; check that the knots are large enough to stop at the opening without pushing into the foam.
Keep the cord relaxed while arranging the sequence on the table. Don’t cinch knots against the domes or pull the strand taut, since that puts unnecessary pressure on the channels. The rounded pieces should remain separate enough to show their individual colors.
Step 6: Hang a Gentle Swag
Make a loop at each cord end and use supports suitable for your wall and the strand’s weight. Lift both ends together and let the garland settle into a gentle curve. If the pieces slide too much, take it down and adjust the stopper knots on the table.
Inspect each channel after hanging. Lower the display and replace any piece that begins to tear. This is a light decorative strand, so keep it out of reach of pulling hands and don’t use it as a support for additional ornaments.
Tips for Getting the Finished Look
Keep the colors clear beneath the glitter. A thin coating usually preserves the candy effect better than repeated heavy layers that turn every piece white. The pale cord ties the colors together and stands out against a mint or other lightly colored wall.
Leave a modest gap between the domes. Crowding them together makes the garland look more like a solid chain and can hide the rounded outlines. Stand back while adjusting the curve to check that the middle pieces remain visible.
Easy Ways to Customize It
Use red and white for a peppermint direction, or pink and mint for a softer palette. Change the quantity before changing the attachment method; a shorter strand is easier to fit above a small craft shelf. Larger forms need their own channel placement and hanging assessment rather than simply enlarged holes near the top.
Displaying or Using the Finished Project
Use the garland indoors in a dry location away from heat, flames, food preparation, children, and pets who could mistake it for candy or pull the cord. The glittered foam is decorative and not edible. Keep loose glitter contained while working, and store the dry strand in a box where the coating won’t rub against heavy ornaments.
Final Encouragement
Make one sample gumdrop first and check the channel, paint, and glitter before preparing the rest. Once those details work with your supplies, you can repeat the process in your favorite candy colors and fit the strand to your own display.