*This post may contain affiliate links for which I earn commissions.*
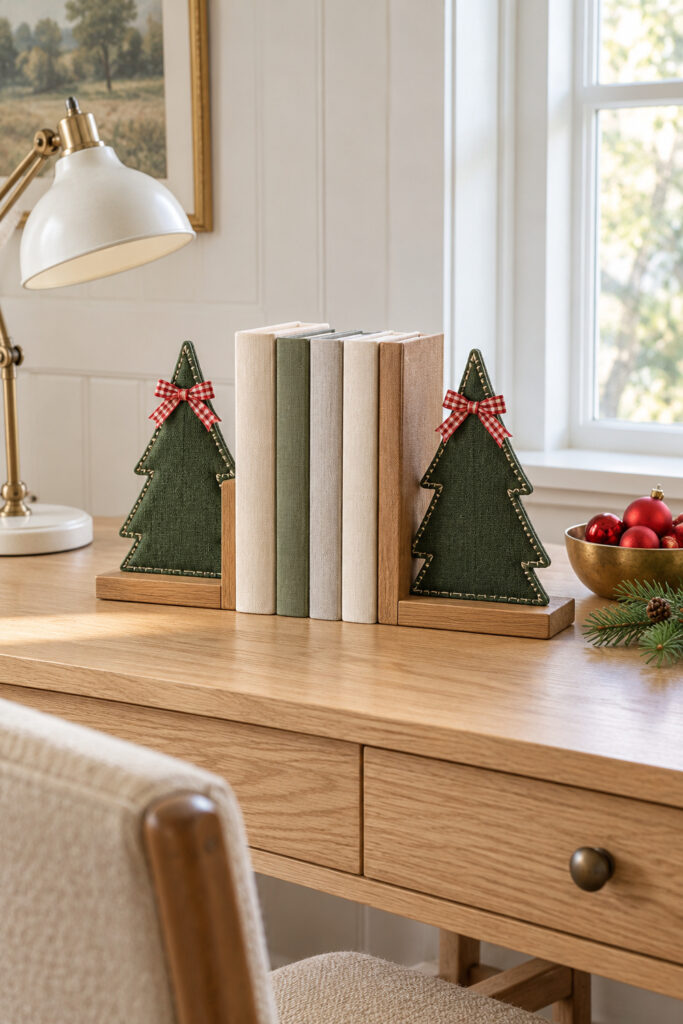
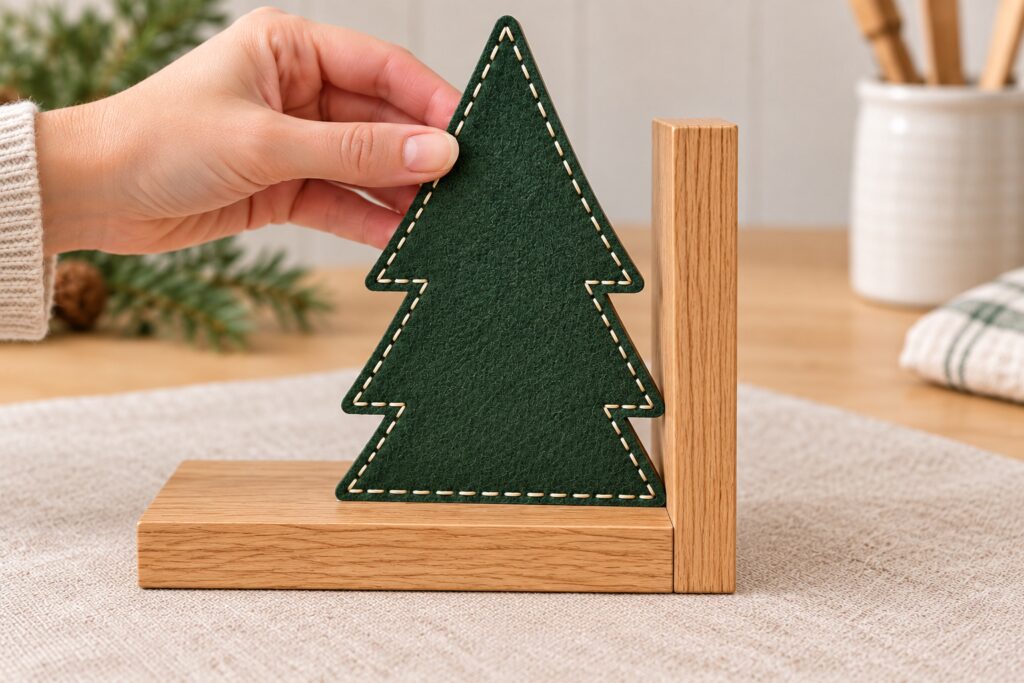
Green fabric trees and little gingham bows turn a practical pair of bookends into Christmas decorations for a desk. The inspiration pairs dark green trees with light wood, cream edge stitching, and a short row of neutral books. The tree outlines stay simple enough that the fabric and bows can do the work.
For a workable version, decorate rigid wooden tree blanks and attach them to the outside faces of ready-made wooden bookends. The bookends provide the support; the trees provide the Christmas detail. Use a pair whose horizontal feet extend inward beneath the books. That is a practical change from the outward-looking platforms suggested by the inspiration.
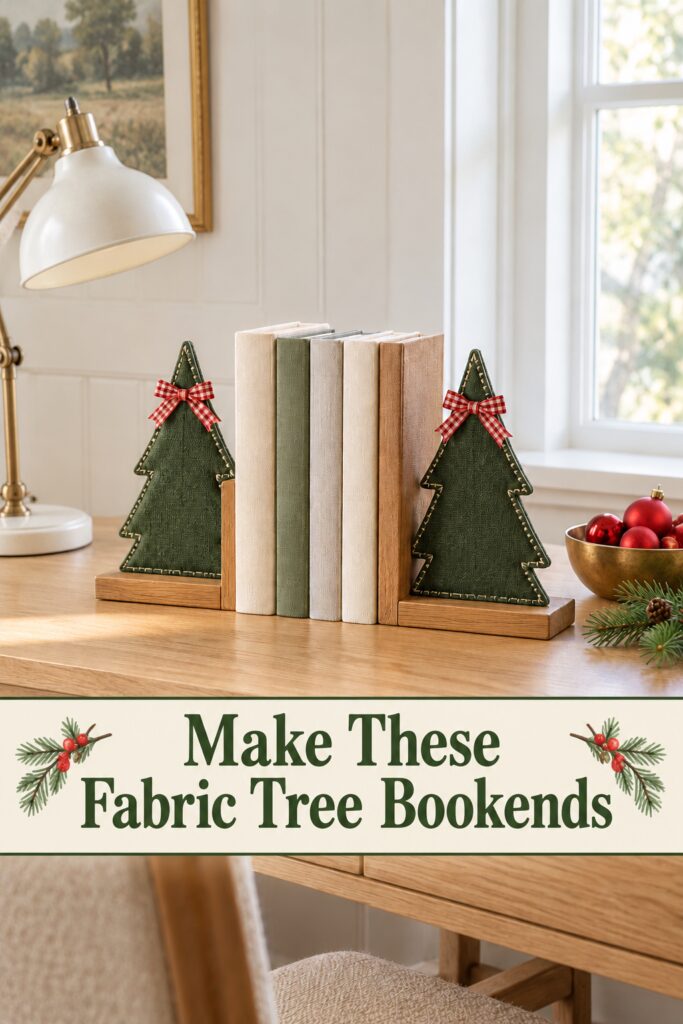
The inspiration and instructional illustrations were generated with AI. This tutorial proposes a practical adaptation and does not document a tested project.
Gather the wooden supports and felt details
Choose the bookends before buying tree blanks. As a suggested starting size, use wooden bookends with uprights about 6 inches tall and rigid tree blanks about 8 inches tall and 5 inches wide. These are proposed dimensions, not measurements taken from the image. Check that each tree’s flat bottom can rest on the bookend base and that its lower center overlaps the upright for a substantial glue contact area.
The inward feet must fit under your chosen books. Check the bookends’ stated intended use and avoid a lightweight decorative pair for heavy volumes. This project adds decoration rather than increasing their holding strength.
Materials:
- One pair of ready-made, sturdy wooden bookends with inward-facing feet.
- Two matching, flat wooden tree blanks with simple branch outlines and flat bottoms.
- Dark green craft felt for four tree-shaped panels, allowing a little extra around each template.
- Cream embroidery thread and a hand-sewing needle suitable for the felt.
- Red and cream gingham ribbon for two small bows.
- Adhesive specifically suitable for felt to wood, plus wood adhesive suitable for the tree-to-upright joint.
- Thin protective pads suitable for your desk, if the bookend bases need them.
Tools include paper, pencil, fabric scissors, small sharp scissors for branch corners, removable fabric marking chalk, a ruler, fine sandpaper, and suitable clamps. Keep a protective sheet over the work surface.
Want to Make the Bookends?
I’ve put together a convenient Amazon supply list featuring hand-picked, well-rated products that match the supply list to save you time.
See My Hand-Picked Supply ListAs an Amazon Associate I earn from qualifying purchases but this doesn’t increase your price at all!
An optional wood finish can change the tone of unfinished blanks, but complete it before covering the trees and leave glue contact areas unfinished as the adhesive requires.
Build the pair and check each join
Step 1: Check the fit and prepare the wooden pieces
You need to prepare the bookends and how you do this depends on the starting set that you chose.
If you purchased a set that have metal inward facing feet, you may want to glue a matching wood base to the bottom of the outward facing side of each bookend so you have a stand on which to secure each tree.
If you purchased a set that already have the outward facing stand, you may only need to sand and finish them if they are unfinished.
Stand the empty bookends with their feet pointing toward each other if they have inward facing feet (a slim base that slides under your books). Hold a tree against the outside face of each upright, with its bottom resting on the base. Check that the trees mirror one another and won’t prevent the books from meeting the inside faces of the supports.
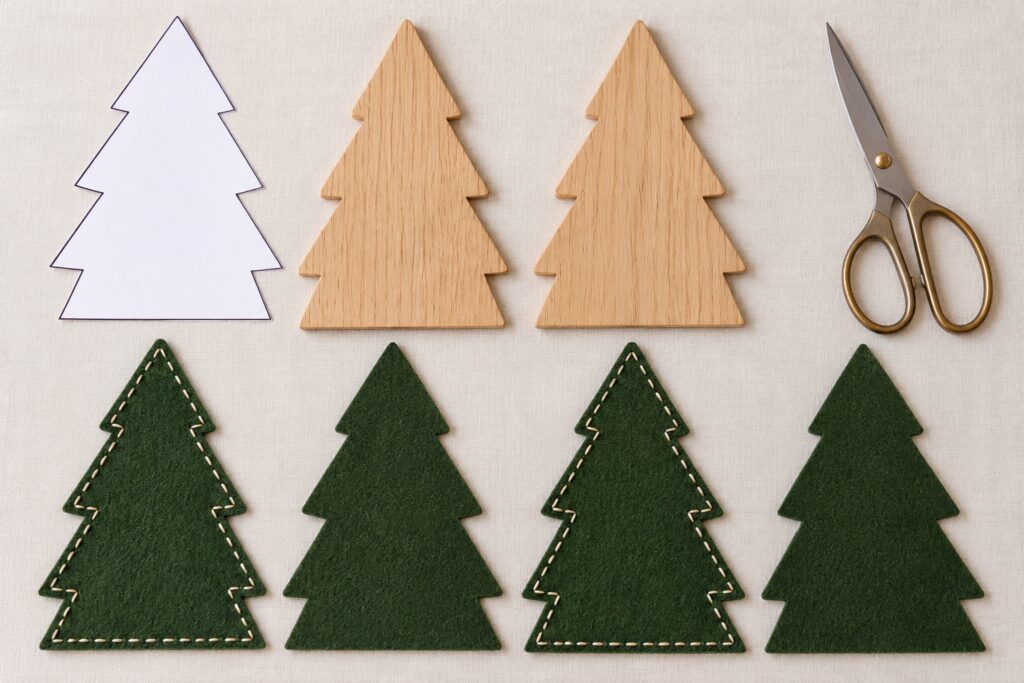
Lightly smooth rough wooden edges and remove the dust. Trace one tree onto paper to make a felt template. Cut four panels to match the outline, with a very small margin if needed to conceal the wood edge. Test one panel against the blank before cutting the remaining three. Avoid wide unsupported felt points that will curl beyond the wood.
Step 2: Add the cream stitches while the felt is flat
On two front panels, mark a faint line just inside the outline. Sew a simple running stitch along it: bring the needle up and down through the felt in evenly spaced short stitches. Work around the branch corners slowly, turning with the outline rather than bridging across the notches.
Keep the thread relaxed so the felt stays flat. If the edge puckers, loosen those stitches before going farther. Secure the ends on the back, where they will be hidden against the wood. Leave the two back panels plain.
Step 3: Cover the rigid tree blanks
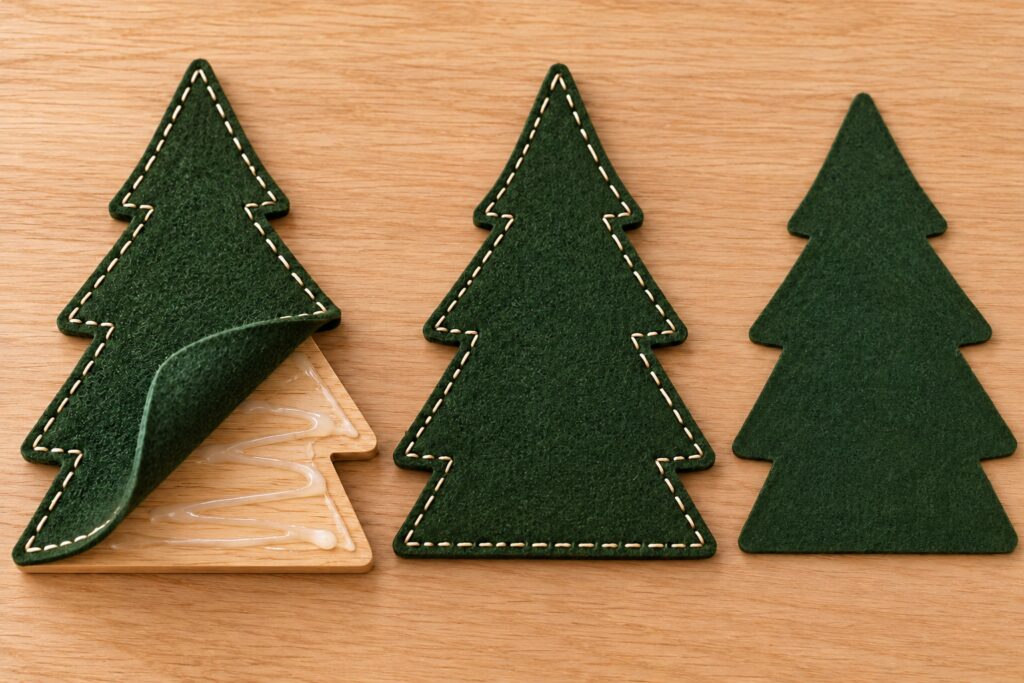
Following the felt adhesive’s directions, apply a thin, even layer to one face of a wooden tree. Position a stitched front panel, matching the tip and lower corners first, then smooth it gently toward the branch points. Avoid soaking the felt or filling the visible stitches with glue.
Apply a plain panel to the back. Trim stray fibers once the adhesive has set as directed, and check that every branch tip lies flat. Repeat with the second tree. These are flat covered wooden shapes, not stuffed fabric trees; keeping that distinction makes their placement much more predictable.
Step 4: Attach the trees to the outer uprights
Leave the portion of each tree’s back that will touch the upright free of felt so the structural joint is wood to wood. To do this, dry fit the covered tree and mark the upright’s contact area on the back panel, then carefully cut away felt from that area without cutting into the blank. Remove adhesive residue as needed for the wood glue’s surface requirements.
Apply wood adhesive to that contact area, align the tree bottom with the base, and clamp using padded blocks to protect the felt front. Keep the inward foot flat on the table while checking that the tree stands straight. Follow the adhesive’s full cure directions before removing support or loading the bookends.
Finish the bows and adjust the color
Tie two small gingham bows before attaching them. Set them against the trees at the same height and compare the loop sizes. A narrow bow leaves the pointed top visible, which helps the pair look like trees even from across the room.
Use a small amount of suitable felt adhesive to attach each bow, following its directions. Keep the bows clear of the books and avoid loose pins. For another color scheme, use cream felt with dark green ribbon, keeping the same rigid blanks and exposed wood contact areas.
Put the finished pair to work on the desk
After every adhesive has fully cured, place the bookends on a level surface and slide their inward feet beneath a modest row of books. Add books gradually and check for sliding or rocking. Follow the original bookends’ load limits, and use stronger supports if the row needs more resistance.
Keep the decorated pair indoors and dry. Check any protective pads on an inconspicuous area of the desk before leaving them in place. Start with the books you actually reach for, then leave enough room beside the trees to lift one out without catching a bow.