*This post may contain affiliate links for which I earn commissions.*
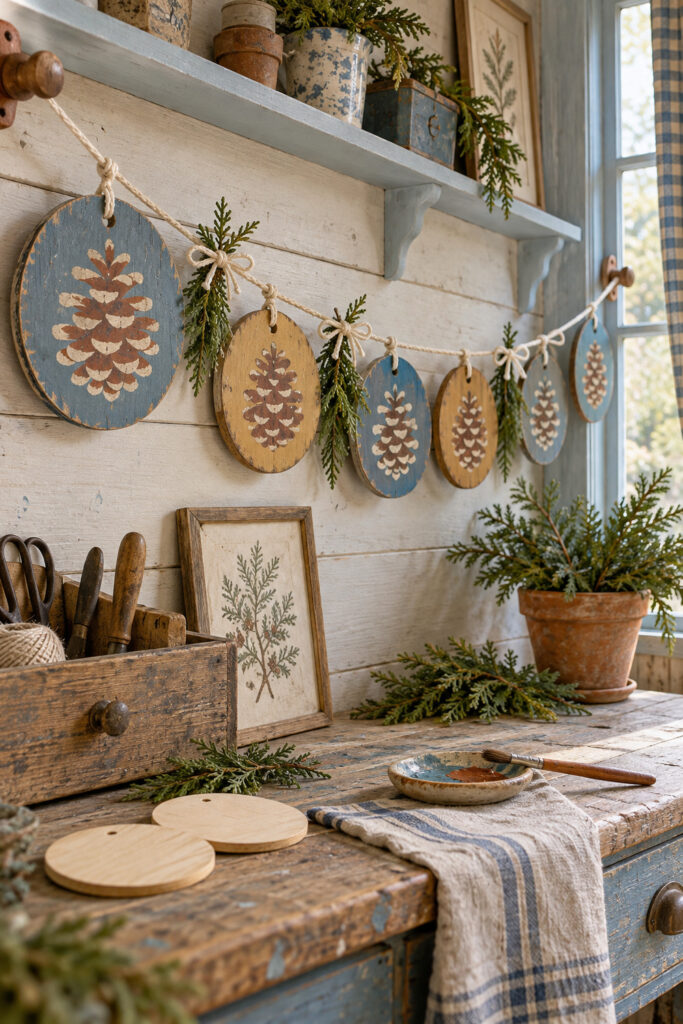
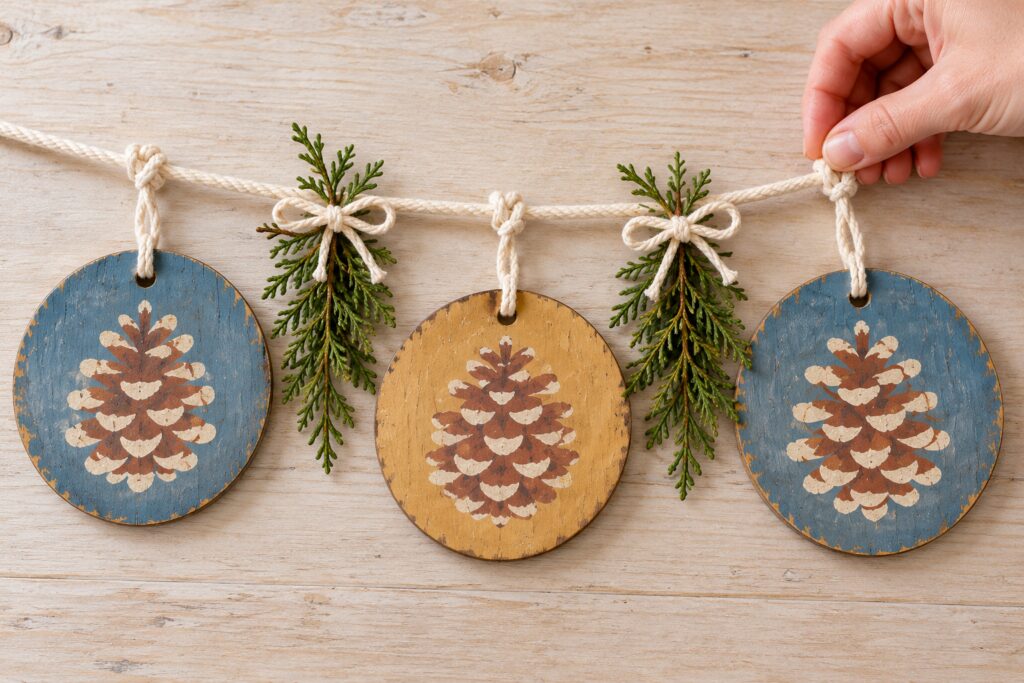
Painted pinecones on little wooden disks make a Christmas garland with a pleasantly handmade look. The inspiration alternates dusty blue and honey ochre backgrounds, then adds cream cotton knots and small sprigs of greenery between the circles.
This version uses smooth predrilled wooden blanks and a simple layered painting method. You’ll hang each disk from its own loop so you can adjust the spacing before tying on the greenery. The slightly uneven brushwork is part of the idea, so you can leave the perfectly identical pinecones to the printing press.
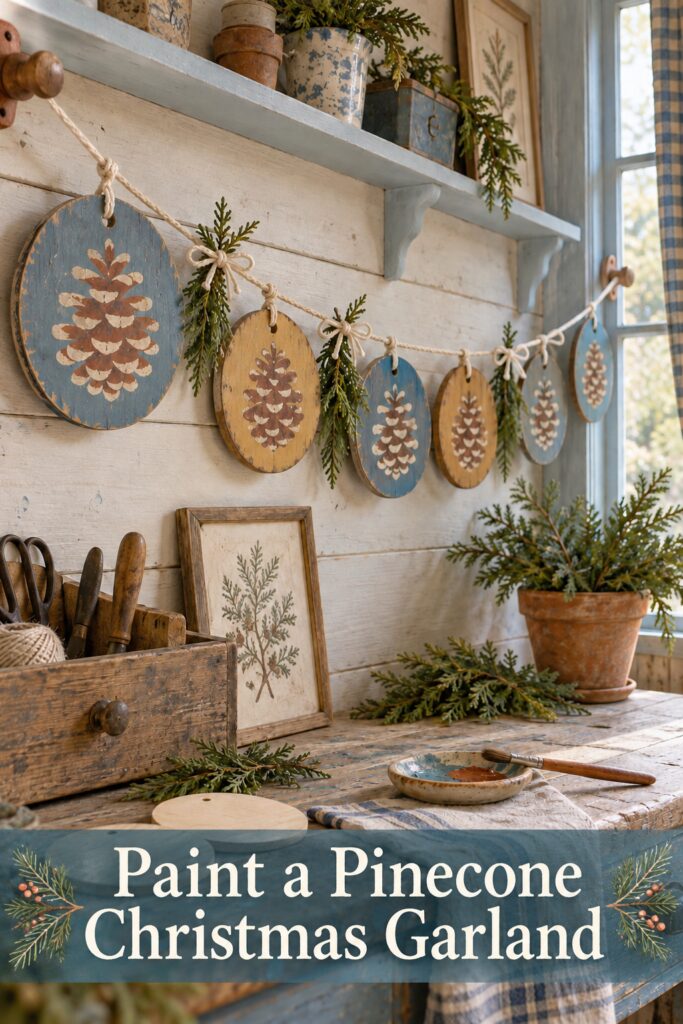
The inspiration and demonstration images were created with AI. This tutorial proposes a practical version of the visual idea and does not document a physically tested project.
What You’re Making
You’ll make a lightweight indoor garland of painted round disks, each with a brown pinecone and small cream scale tips. A thicker cotton cord supports separate thin hanging loops, with short faux cedar sprigs tied between the ornaments. The separate loops make the attachment more predictable than trying to reproduce every knot in the inspiration literally.
For a suggested starting size, use six blanks about 3 to 4 inches across. These are proposed dimensions, not measurements taken from the image. You can make a shorter garland with fewer disks or choose smaller blanks for a narrow shelf.
Materials and Supplies
Materials
- Six smooth unfinished round plywood blanks with a predrilled hanging hole near the top of each
- Matte water based craft acrylic paint in dusty blue, honey ochre, medium brown, and cream
- Cotton cord around 3 mm thick for the main support line
- Thinner cotton string that passes easily through the hanging holes when doubled
- Short faux cedar sprigs with manageable stems
Tools
- A flat paintbrush for the backgrounds (go for a set like this and you’ll have this brush and the one listed below)
- A small round paintbrush for the pinecone shapes and cream tips
- Pencil eraser, scrap paper, ruler, and scissors
- Fine sandpaper if the blanks need smoothing
- A protected work surface and suitable paint cleanup supplies
Optional Finishing Supplies
- A compatible clear matte finish
- A small piece of fine sandpaper for light edge distressing
- Suitable wire cutters if your faux greenery has wired stems
Want to Make This Garland?
I’ve put together a convenient Amazon supply list featuring hand-picked, well-rated products that match the items I linked to in the Materials list above so you don’t have to shop around for color matches for paint and the right sized cotton string. I hope this saves you some time!
See My Hand-Picked Supply ListAs an Amazon Associate I earn from qualifying purchases but this doesn’t increase your price at all!
Before You Start
Lay the blanks in a row and check that each hanging hole is clear and has enough intact wood above it. Choose thin smooth plywood circles rather than bark-edged slices if you want the flat painted look shown. Reject cracked blanks or holes so close to the edge that the hanger could tear through.
Test your string through a hole before painting. If it won’t pass easily, use thinner string instead of forcing thick cord into the opening. Plan the display width with the blank disks on the table, allowing visible gaps between them and extra main cord at both ends for attachment.
Work in a ventilated area and follow the paint and finish labels for use and drying. Suggested dimensions and quantities can change with your space. Keep the same blank size throughout this first garland so you can concentrate on the painting and attachment.
Step by Step Tutorial
1. Smooth and Base Coat the Disks
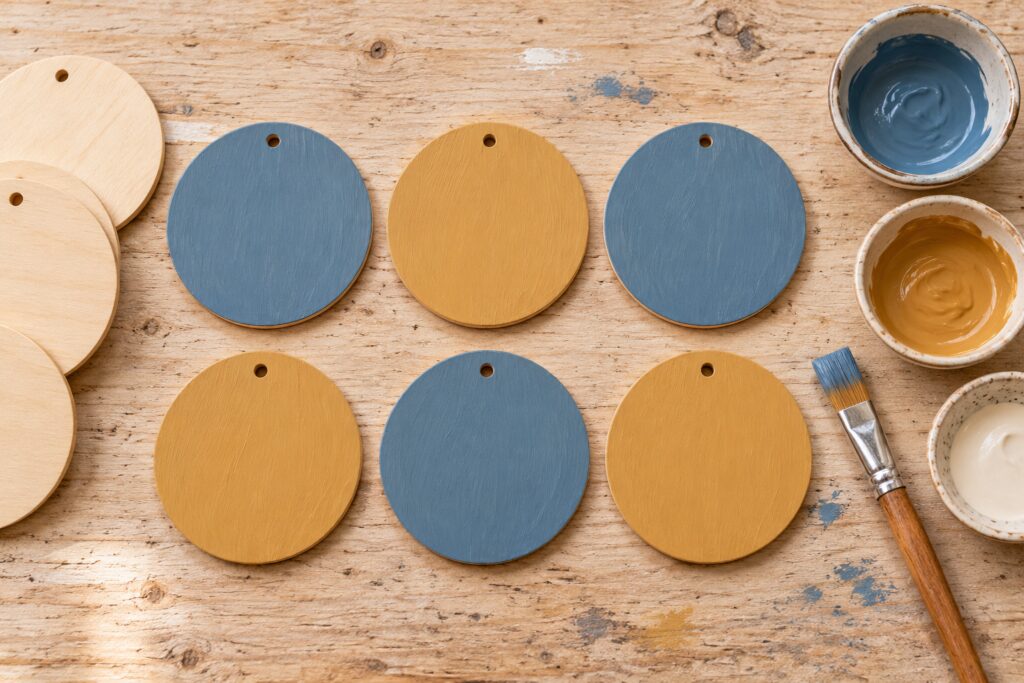
Lightly smooth rough edges if necessary, then remove all sanding dust. Mark the top of each blank by locating its hole. Paint three fronts dusty blue and three honey ochre, keeping paint out of the holes. Use thin coats so the surface stays smooth rather than building thick ridges around the edge.
Let each coat dry according to its label before applying another. Once the fronts are dry enough to handle, paint the backs if desired and let everything dry again. Lay the circles in alternating colors to check the rhythm before drawing the motifs. Don’t stack them while the paint is still tacky.
2. Sketch a Simple Pinecone Shape
On scrap paper, draw a vertical pinecone that is widest around the middle and narrows toward its lower tip. Add a short stem at the top. Keep the whole design comfortably inside the disk, with space below the hanging hole. Cut out that silhouette if you’d like a guide for lightly tracing it onto the painted fronts.
Draw very lightly so the pencil doesn’t show through the cream details later. The design can vary a little from disk to disk, but keep its overall height similar. A large simple motif will read better on a hanging garland than lots of tiny botanical marks.
3. Paint the Brown Body and Cream Scale Tips
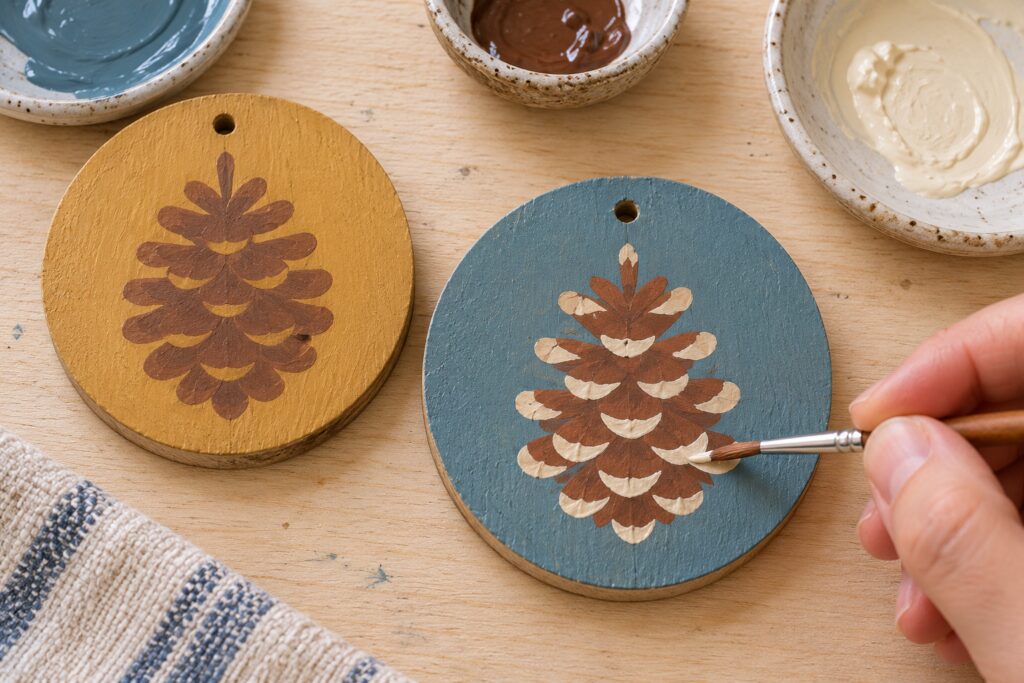
Fill the main silhouette with medium brown, then soften its sides into a few rounded lobes. These suggest the overlapping scales. Work in staggered rows, with shorter lobes near the top and bottom and broader ones through the middle. Keep the shape tapered rather than making a column of identical stripes.
When the brown is dry, use the small brush to add cream crescents along the lower edges of selected lobes. Leave visible brown above and between them. Those pale tips make the pinecone readable against either background without outlining every part. Add the short brown stem, then let the paint dry completely.
4. Finish the Edges and Protect the Paint
If you want a softly worn edge, rub a small area of the rim with fine sandpaper after the paint has dried fully. Work lightly and stop to compare the disks. You’re suggesting gentle wear, not removing so much paint that the background becomes patchy. Skip distressing if you prefer a cleaner painted finish.
A clear matte coating is optional for this indoor decoration. Test it on a spare painted area first and follow the maker’s drying and curing directions. Let both sides cure before adding string. A finish that feels dry on top may still stick to cotton or another disk if handled too soon.
5. Attach Each Disk to the Main Cord
Lay the main cord across the table above the disks. For each hanger, fold a length of thin string in half, feed the folded end through the disk’s hole, pass the two loose ends through that fold, and pull gently to form a lark’s head around the wood above the hole. This means the thin string grips the top of the disk without glue.
Bring the two loose ends up around the main cord and tie them securely together. Begin with loose adjustable knots so you can compare hanging heights and gaps. Once the arrangement looks right, tighten the knots and trim excess tails. Keep the main cord outside the holes; it supports the individual hangers rather than weaving through the disks themselves.
6. Tie Greenery Between the Disks
Trim short faux cedar sprigs and lay one between each pair of disks. If stems contain wire, use suitable cutters and cover or tuck any sharp ends. Tie each sprig separately to the main cord with a short piece of thin string, finishing with a small bow if you like.
Keep the greenery light enough that it doesn’t pull the cord into deep uneven dips. The decoration should show wood, paint, and cotton as well as leaves. Lift the garland carefully by both ends and check that the disks hang freely without knocking together or hiding behind the sprigs.
Tips for Getting the Finished Look
Repeat the blue and ochre in a clear alternating order, then let the painted scales vary a little. That combination gives you a deliberate arrangement without making every brushstroke identical. Keep the cream fairly soft rather than bright white if you want it to sit comfortably against the muted backgrounds.
Check the spacing while the garland is lifted, since the cord’s curve changes how the gaps look. If one disk overlaps its neighbor, move the hanger or reduce the dip before adding more greenery. The pinecones should remain easy to recognize across the room.
Easy Ways to Customize It
Use all blue disks if your room already has plenty of warm wood, or alternate cream and ochre for a lighter variation. You can also leave out the cedar and use small cotton bows between the disks. Keep the same separate hanging method so the design remains easy to adjust.
Displaying the Garland
Hang it from secure supports suitable for its completed weight, away from heat sources, candles, and places where someone could catch the cord. Keep the loose loops and small decorations out of children’s and pets’ reach. This method is intended for a dry indoor display, not an exposed outdoor installation.
Final Encouragement
Paint one practice pinecone before decorating the full row. Once you like the balance of brown and cream, repeat that simple shape across the disks and let the alternating backgrounds bring the garland together.