*This post may contain affiliate links for which I earn commissions.*
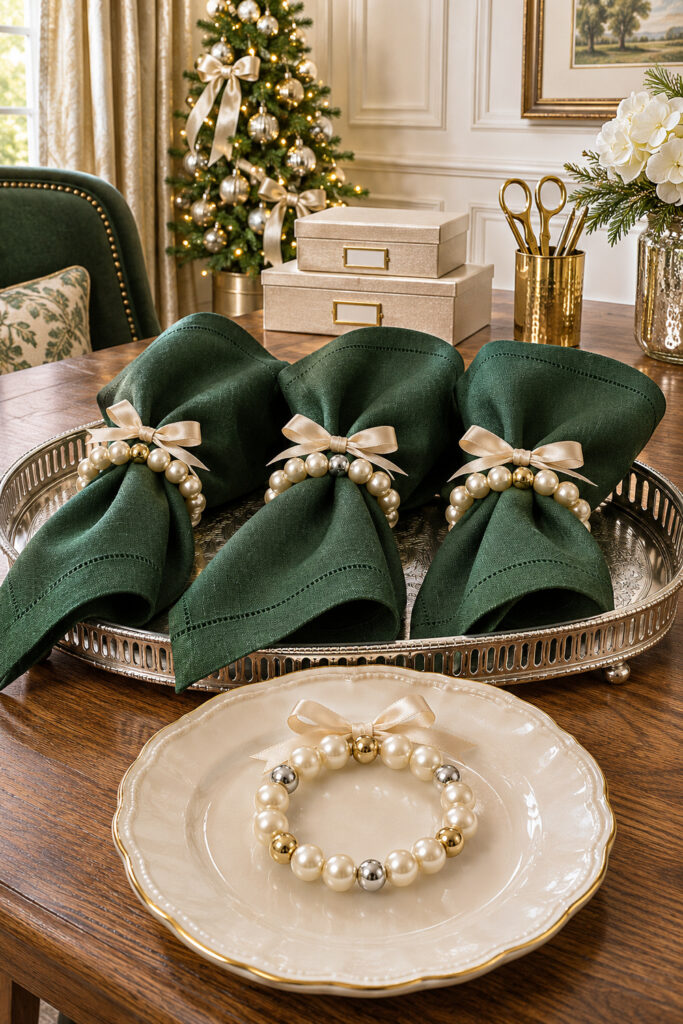
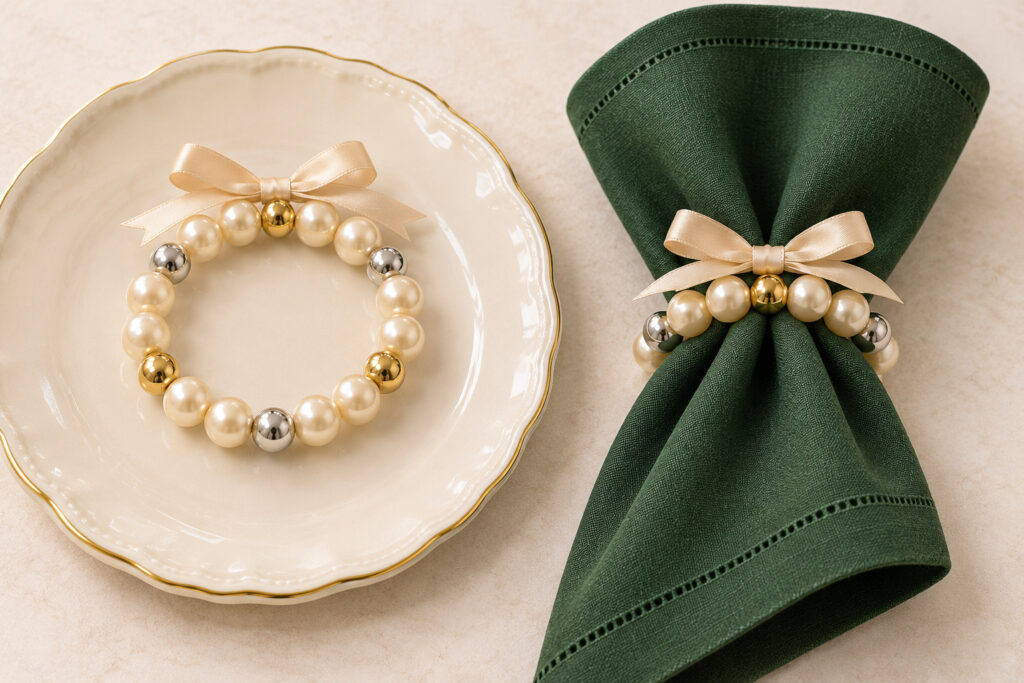
Champagne pearl beads give these Christmas napkin rings a soft base, while gold and silver beads add small points of shine. A narrow satin bow covers the join. Against deep green linen, the rings look festive without needing a large ornament at every place.
This proposed version uses beading elastic, round beads and a separately tied bow. Make one trial ring before preparing a full set, because bead size, hole size and the way you fold a napkin will affect the fit. The suggested pattern below gives you a starting point while preserving the mixed-metal detail in the inspiration.
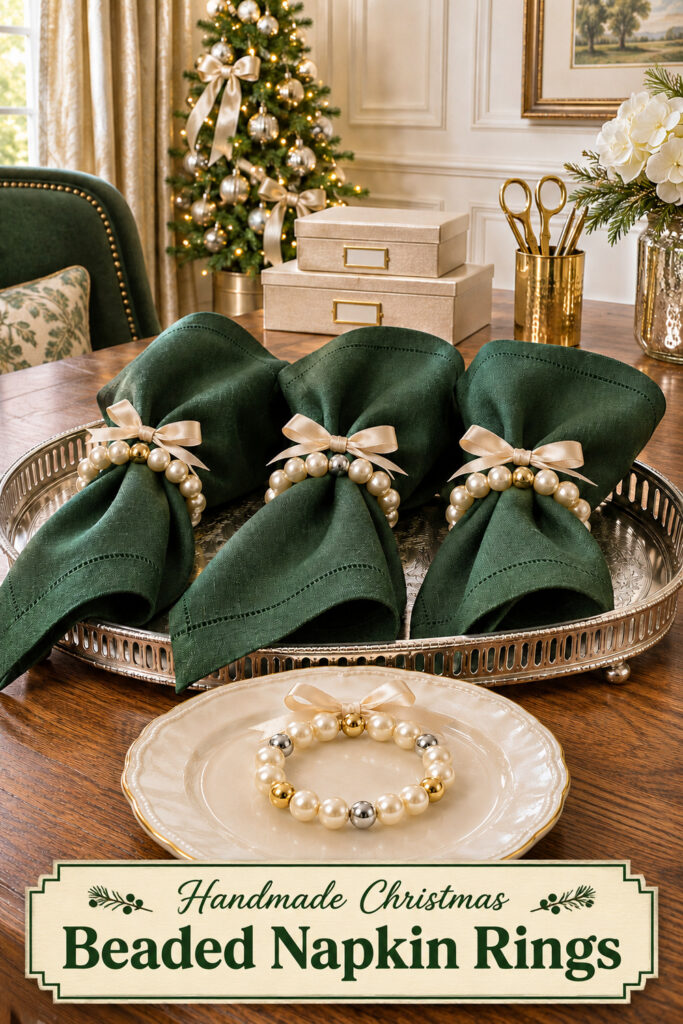
The inspiration and instructional images were generated with AI. This tutorial proposes a practical method and does not document a tested physical project.
Plan the Size Around a Folded Napkin
Choose the napkin fold before you begin. A thick rolled linen napkin needs more room than a narrow fan fold. The ring should slide on without pulling the elastic tight or crushing the fabric into a hard bundle.
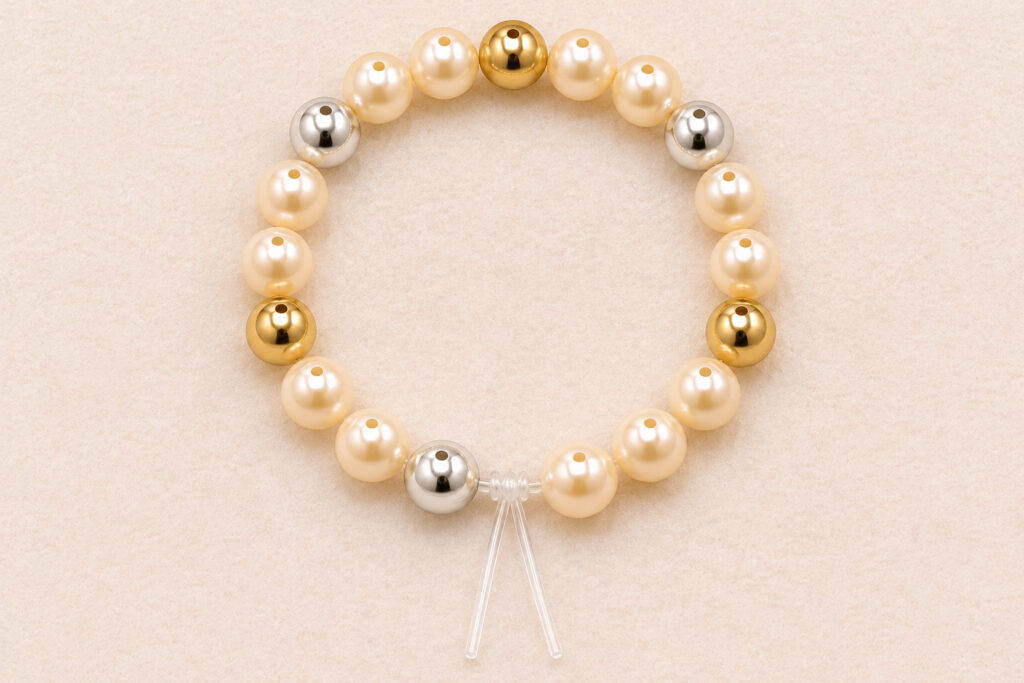
For the trial, use round beads about 8 millimeters across. Start with eighteen beads: twelve champagne-colored faux pearls, three gold-colored beads and three silver-colored beads. The pattern is two pearls followed by one metal bead, changing the metal color at each repeat.
That gives six three-bead groups. Add or remove complete groups if necessary, keeping the color rhythm clear. Don’t treat eighteen as a universal size. The method matters more than matching a bead count that won’t work with your own table linen.
Gather Beads, Elastic and Ribbon
For one trial ring, gather:
- Twelve champagne faux pearl beads, approximately 8 millimeters wide
- Three gold-colored and three silver-colored round beads, approximately the same width
- Beading elastic that passes easily through every bead hole, with 0.8 millimeter cord as a possible starting size
- A length of elastic about 12 inches long, leaving generous ends for tying
- Narrow champagne satin ribbon, approximately 1/4 inch wide, for one small bow
- Optional knot adhesive, only if specified as compatible by the elastic maker
You’ll also need a shallow bead tray or folded cloth, scissors and a temporary bead stopper or small piece of removable tape. Keep a blunt beading needle available only if it fits the selected holes and cord without damaging either.
Use beads with smooth holes and a finish that doesn’t rub onto the napkin. Check a sample against a spare piece of cloth. Avoid beads with sharp edges, flaking paint or uncertain materials. These rings are table accessories, not toys, so keep the small loose parts away from young children and pets during making and storage.
Lay Out and Thread the Pattern
1. Arrange the Six Repeats
Place the beads in a curved line on the work cloth: two champagne pearls, one gold bead, two pearls, one silver bead, then repeat that sequence until all eighteen are laid out. Check that you have three of each metal color.
Keep the groups in order before threading. Small round beads can roll farther than expected on a polished table, so a shallow tray or textured cloth makes this stage easier to control. Lay the ribbon aside until the ring fits.
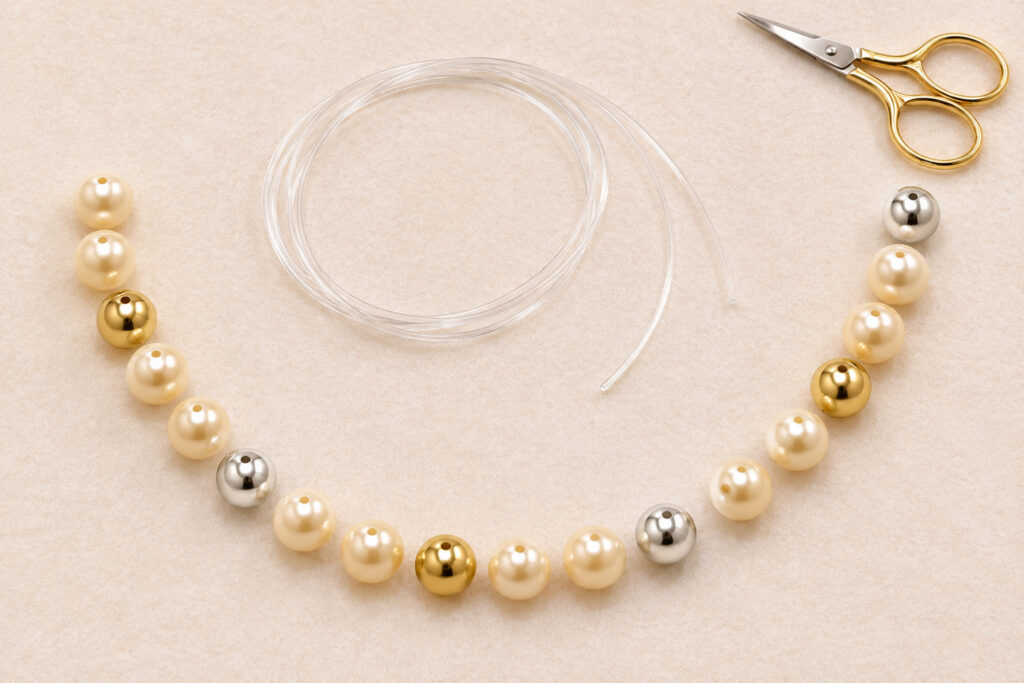
2. Thread the Beads without Stretching the Cord
Check the elastic maker’s preparation directions before using it. If it calls for gently pre-stretching the cord, do that as directed rather than pulling it sharply. Place a temporary stopper at one end, leaving a long tail for tying.
Thread the beads in the laid-out order. Let the cord pass through their holes freely. If a hole snags or scrapes the elastic, replace that bead rather than forcing it along. The ring will be handled repeatedly, so a damaged section of elastic is a poor starting point.
Bring the ends together loosely and check the pattern. Keep the beads touching without drawing the cord into a tight stretched circle. The finished loop needs its normal resting shape, not stored tension pulling against the knot.
Fit and Close the Ring
3. Test the Loop on the Actual Napkin
Wrap the threaded line around the prepared napkin while holding the ends together. Slide it gently into the intended position. If the fit is tight, add a complete three-bead group and check again; if it is much too loose, remove a group.
Test with another napkin from the set in case the fabric or fold varies. Keep the ring comfortably loose enough to remove before eating. The beads should frame the fabric rather than dig into it.
4. Tie the Elastic Using Its Recommended Knot
Use the knot recommended for the chosen elastic. Where suitable, a surgeon’s knot starts with the ends crossing twice through the first loop, then a securing half knot in the opposite direction. Follow the cord maker’s guidance instead if it specifies another closure.
Pull the knot snug while keeping the bead circle relaxed. Check that it holds with a gentle tug over the work tray. Leave the tails for now. Don’t trim them immediately or bury an untested join inside a bead.
5. Secure and Conceal the Join
If the elastic directions recommend a particular knot adhesive, use only a compatible product and the stated amount. Some adhesives can damage some cords, so glue isn’t an automatic substitute for a sound knot. Allow any required setting time according to the product directions.
Trim the tails only after the join has passed its check, leaving the allowance recommended for the selected cord. Position the join near a metal bead if that helps it sit discreetly, without forcing a bulky knot into a hole that is too small.
Tie a small satin bow separately, then secure it around the ring at the join using its own ribbon knot. Keep the loops and tails outside the bead circle so the napkin can slide through. The ribbon hides the attachment; it isn’t the part holding the elastic closed.
Correct Fit and Finish Problems
If the ring leaves a gap between beads when resting, check whether the elastic has been pulled into the knot unevenly. Retie the trial before adding ribbon. A bow may hide the gap from one angle, but it won’t correct the loose structure.
If the ring only fits by stretching firmly, add beads rather than relying on extra tension. Keep new groups in the same two-pearl, one-metal sequence. The exact finished diameter will depend on the actual bead dimensions and napkin fold.
If the bow slides away from the join, retie its attachment more securely without squeezing the elastic. Shorter tails and smaller loops can help it remain balanced. Avoid adding a heavy charm that changes the simple lightweight construction taught here.
Before repeating the trial, leave the ring resting on the work tray and check its shape again. It should remain a relaxed circle without a widening gap at the join. Keep the original bead order beside you while preparing the next length of cord.
Make a Coordinated Set
Once the trial works, count its actual beads and prepare the remaining rings to that pattern. Keep one finished example on the table as a reference. Compare the relaxed circles before tying the final bows.
You can use ivory pearls instead of champagne or choose one metal finish for a quieter version. Keep the bead size and elastic suitability consistent. A larger bead changes both the circumference and weight, so repeat the fit check rather than swapping sizes without adjustment.
Use and Store Them as Table Accessories
Slide the rings onto clean, dry napkins and remove them before laundering. Wipe or care for the beads according to their material guidance, keeping elastic and ribbon treatment in mind. The assembled rings aren’t being presented as dishwasher safe or machine washable.
Store them flat or loosely grouped in a shallow dry box, without stretching them over a storage form. Check the elastic and joins before the next use, replacing any damaged parts. Keep them clear of food and out of reach of children who may put beads in their mouths.
A consistent fold, a relaxed bead circle and a modest bow will give each place setting the same considered Christmas finish.