*This post may contain affiliate links for which I earn commissions.*
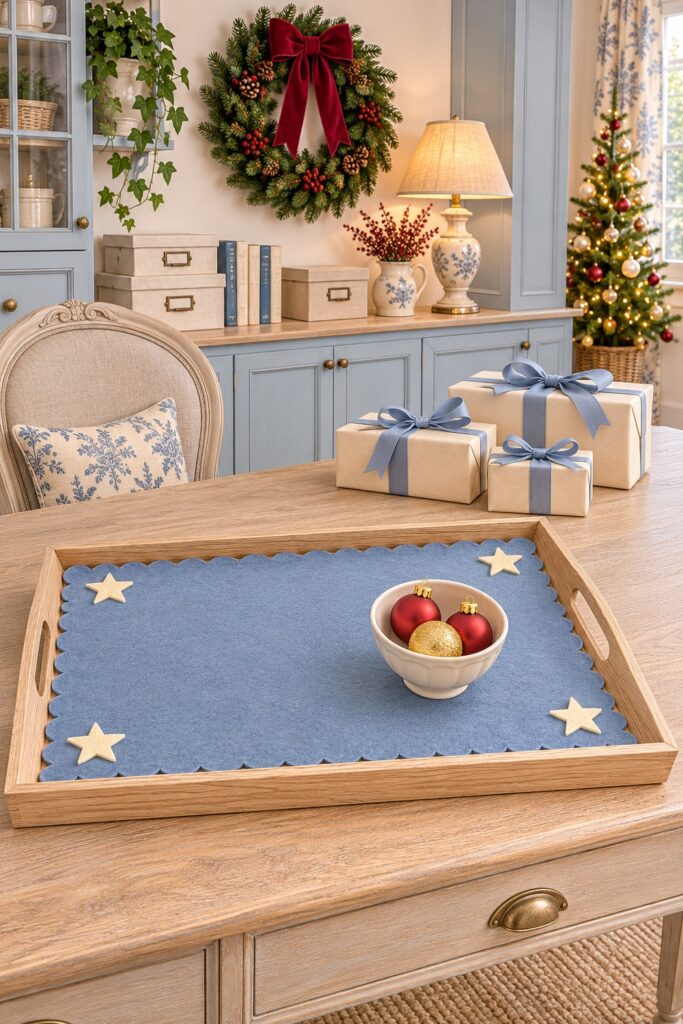
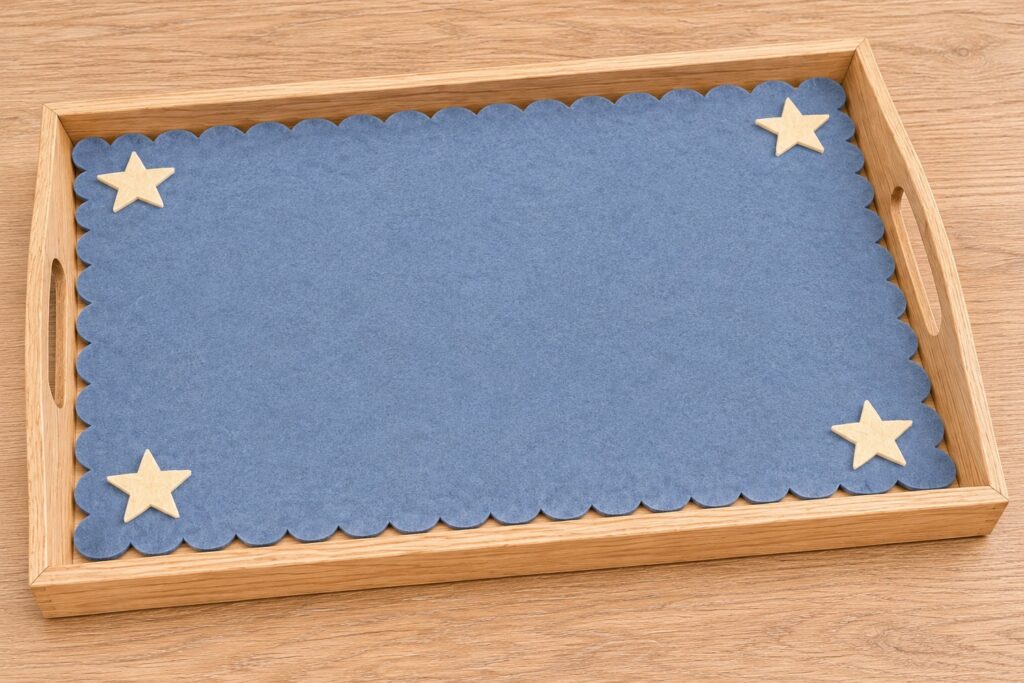
A flat blue felt liner gives this wooden Christmas tray a soft edge, with four ivory stars sitting near its corners. The scallops are part of one cut piece, so there is no ruffled trim to attach. A small bowl of ornaments leaves most of the blue surface visible and lets the finished shape do the decorating.
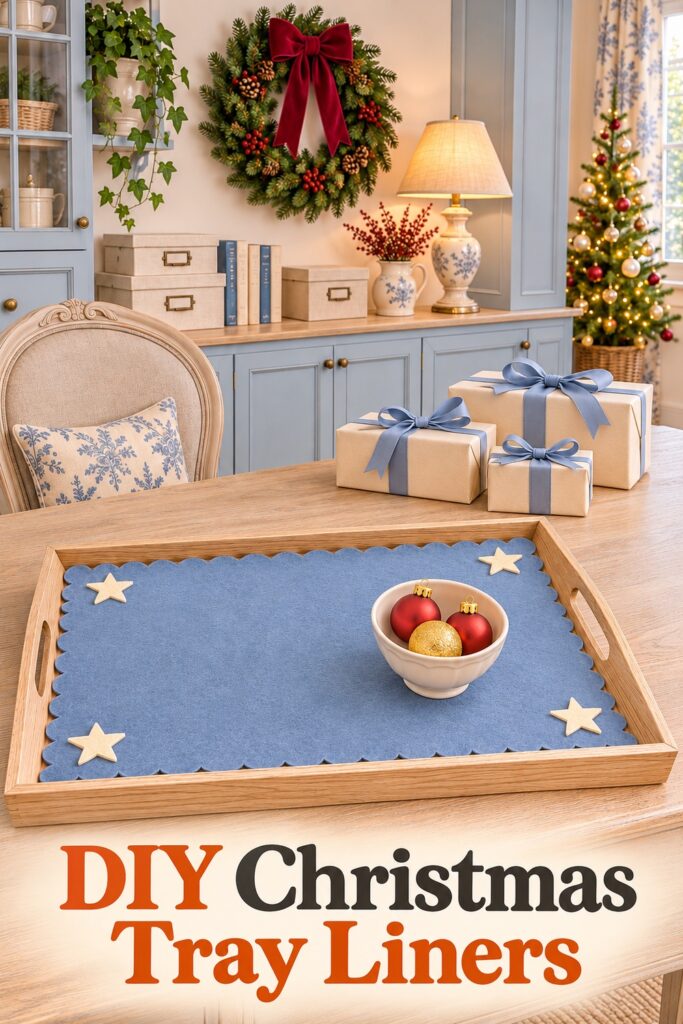
The inspiration and step images were created with AI. This is a proposed project, not a physically tested tutorial. Use the paper-pattern checks below with your actual tray before cutting felt, and follow the directions for the adhesive and materials you select.
Plan a Single Flat Layer
The liner fits inside the tray’s base with a little clearance around its outermost scallop tips. It does not climb the walls or wrap around the handles. Four flat felt stars add the Christmas detail without filling the center, which remains available for a small, dry decorative arrangement.
Start with a shallow tray that has a flat inner base. A tray with curved corners can work, but the paper pattern needs to copy those corners. Choose felt large enough for the complete liner in one piece. Piecing together small sheets would add seams that are not part of the pictured design.
Gather the Materials
- A shallow rectangular display tray with a flat inner base.
- A single sheet or cut length of medium-weight French blue craft felt, sized after measuring the tray.
- Ivory craft felt for four small five-point stars, or four ready-cut flat felt stars.
- Paper large enough for a full-size pattern, a pencil, a ruler, and a small round scallop guide.
- Sharp craft scissors and a removable fabric marker or chalk suitable for the reverse of your felt.
- Fabric adhesive suitable for bonding the chosen felt, used according to its directions.
The exact felt weight and glue can change how the finished edge behaves. Try a small scrap first to check the cut quality and whether the adhesive shows through the ivory layer. Keep glue away from the visible scalloped edge; the liner itself remains removable from the tray.
Step 1: Fit a Paper Pattern Inside the Tray
Measure the usable inner base rather than the tray’s outside dimensions. Draw a paper rectangle slightly smaller than that space and test it inside the tray. It should lie flat without being pushed against the walls. Trim the paper until there is a narrow, even gap around it.
Draw a repeated scalloped line inside that rectangle, keeping every rounded tip within the pattern’s maximum width and length. Work around all four sides and ease the pattern through the corners. Cut the outline, then put it back into the tray for another fit check. If a tip presses against a wall, trim the paper now.
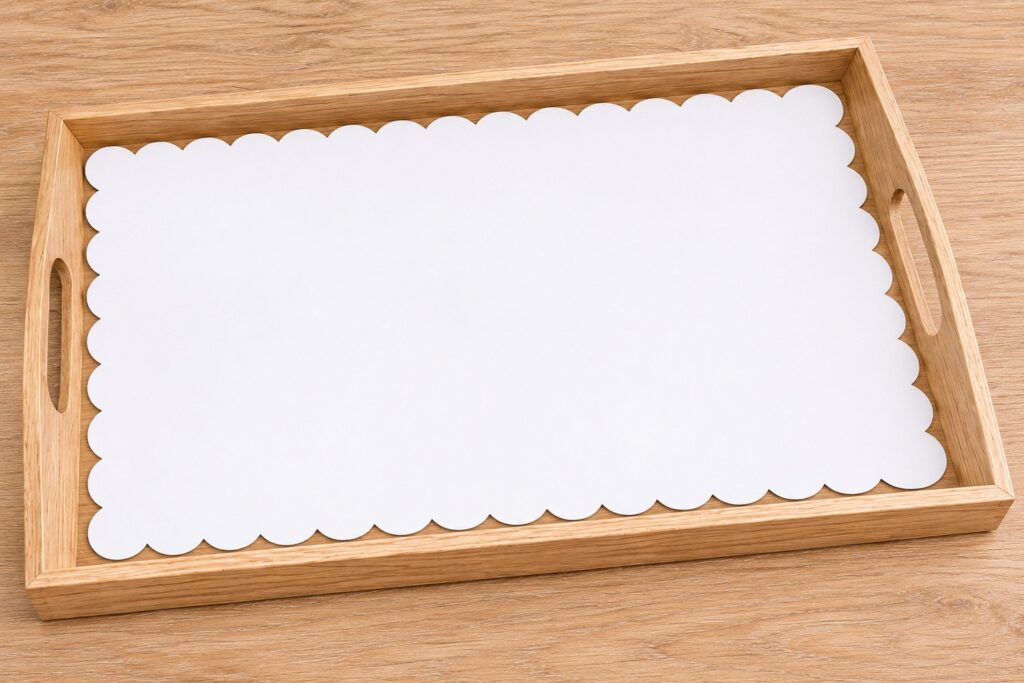
The scallops need to look balanced, but they do not need to match a machine-cut trim. Use the same round guide for each curve and space the repeats before cutting. A slightly shallower curve is easier to keep smooth than a deep notch that leaves narrow points between the scallops.
Step 2: Cut the Blue Felt Outline
Place the approved paper pattern on the reverse of the blue felt. Trace it with a suitable removable marking tool, following its instructions. Cut slowly around the outline with sharp scissors, turning the felt as needed rather than stretching it around the blades. Keep the piece flat on the work surface between cuts.
Set the cut liner beside the paper pattern and compare their shapes. Smooth any small uneven edges with careful, short cuts. The result is one flat scalloped rectangle, with no folded border, stitched casing, padding, or separate ruffle. Put it in the tray briefly to confirm it still lies flat.
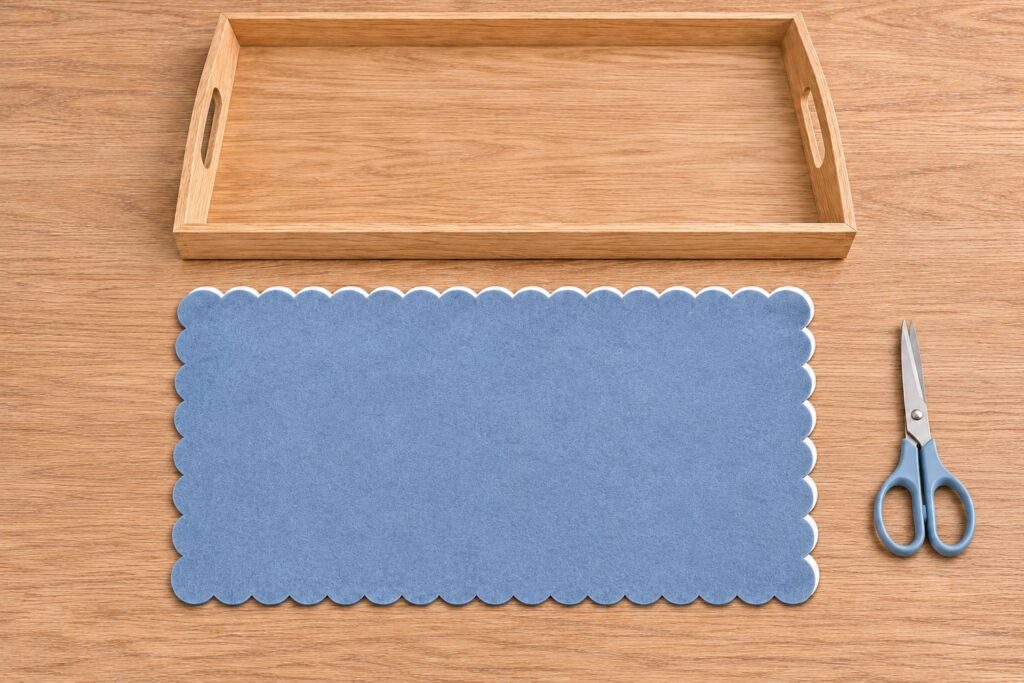
If the felt buckles, lift it out and check where it is too large. Adjust the paper pattern first, then use that as the guide for the felt. Pulling the liner tight or pressing its edges up the sides would change the intended fit and make the scallops harder to see.
Step 3: Position the Four Ivory Stars
Cut four small five-point stars from ivory felt or choose a matching ready-cut set. Lay one near each corner of the blue liner, leaving room between the star points and the scalloped edge. Check the spacing from above. Keep the center open and avoid placing stars where your decorative bowl will sit.
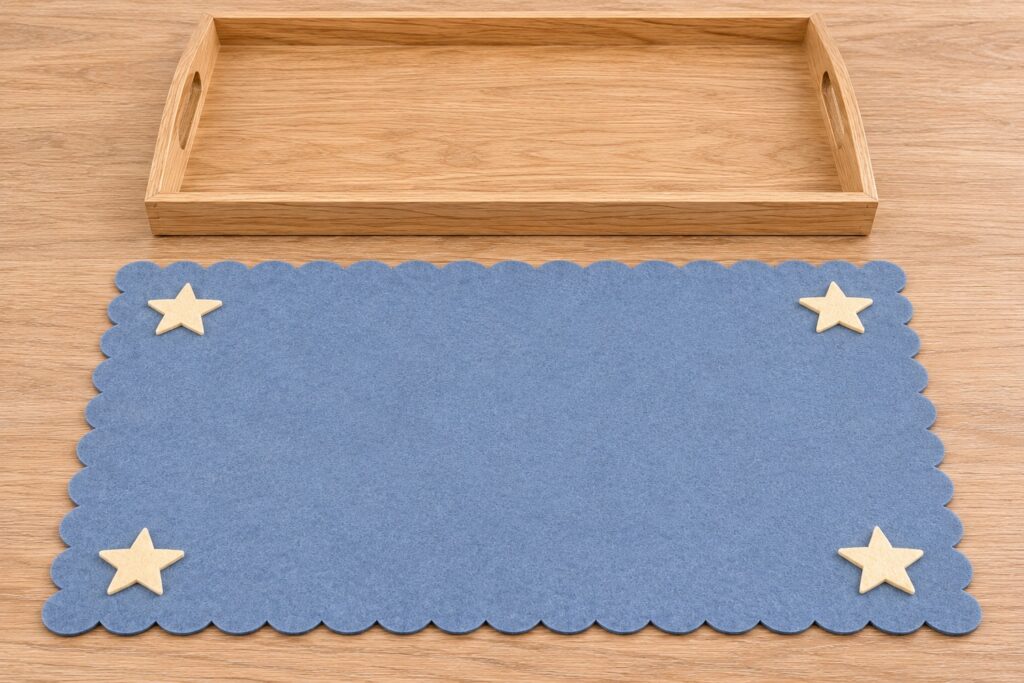
Lift one star at a time and apply a thin amount of suitable fabric adhesive according to its instructions. Return it to its marked position with all points flat. Repeat for the other three stars. Let the bonds set fully as directed before lifting or bending the liner; the picture cannot establish a cure time for your product.
Step 4: Return the Finished Liner to the Tray
Once the adhesive has fully set, lower the liner into the empty tray. Smooth it lightly without stretching and check that the scalloped tips remain within the base. Each star should sit flat, with no point caught beneath a tray wall. The whole liner should lift back out easily for storage or cleaning.
Style the Tray for Christmas
Place a small cream bowl of decorative ornaments slightly off center, leaving the corner stars visible. The inspiration uses red and gold against the blue felt. Keep the bowl’s base well inside the flat central area and check that it sits steadily before adding other pieces nearby.
Cream parcels with blue bows repeat the colors behind the tray. A fir wreath and a modest tree add taller Christmas layers farther back in the craft room. You can use just one nearby seasonal accent if your worktable is smaller, keeping the tray as the clearest project in view.
Check the Finish and Care
This is a decorative liner for dry display objects. It is not a food-contact surface, a heat mat, a waterproof layer, or a verified nonslip support. Use the actual tray and any separate dishes according to their own directions, and keep hot, damp, or dripping objects off the felt.
For cleaning, follow the felt and adhesive guidance together. Lift the liner out before cleaning the tray, and let every surface dry before replacing it. Store the piece flat if possible so the scallops and star points keep their shape for the next seasonal display.