*This post may contain affiliate links for which I earn commissions.*
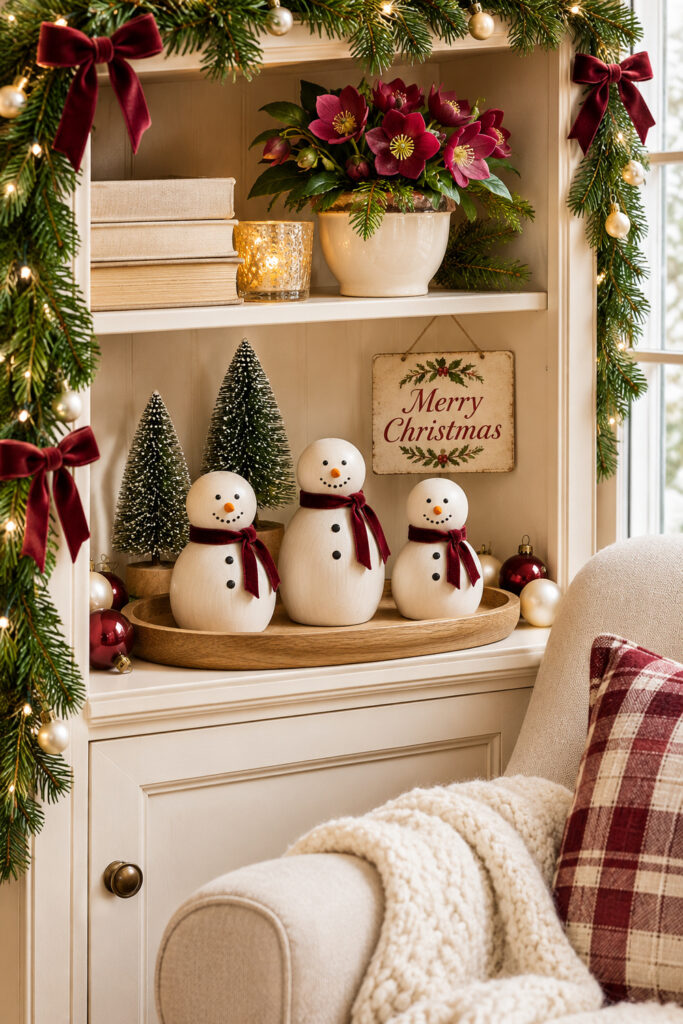
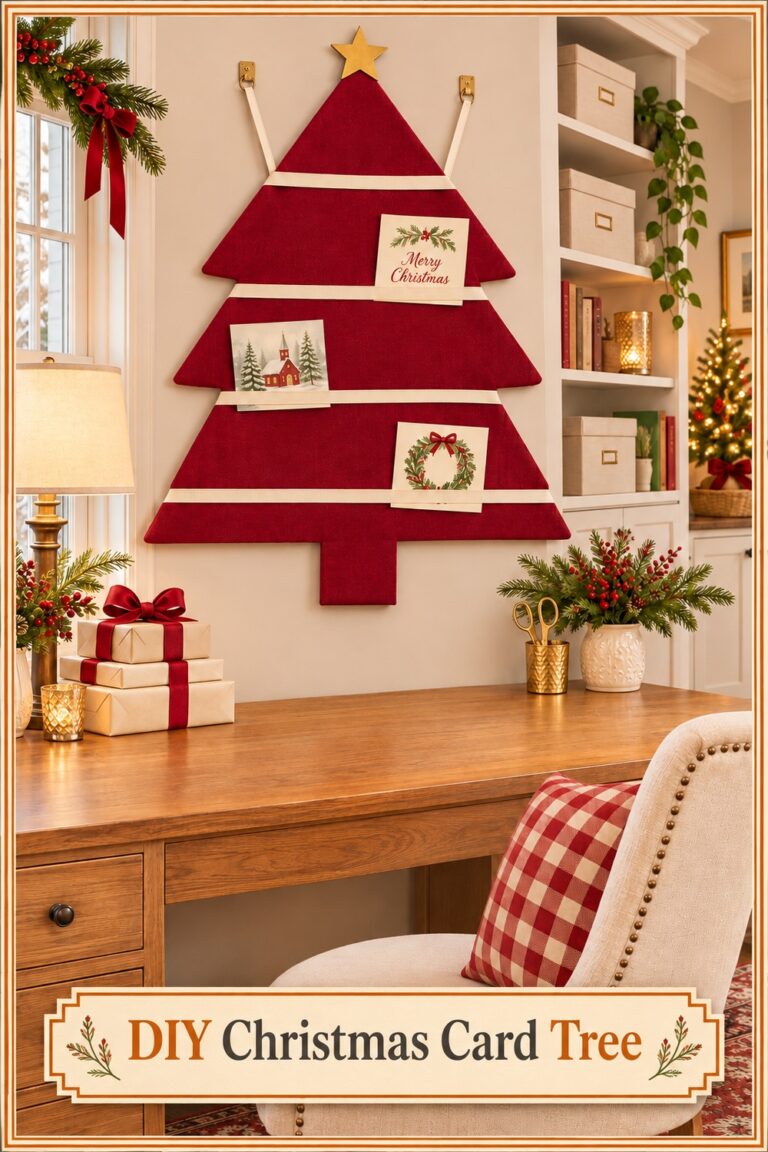
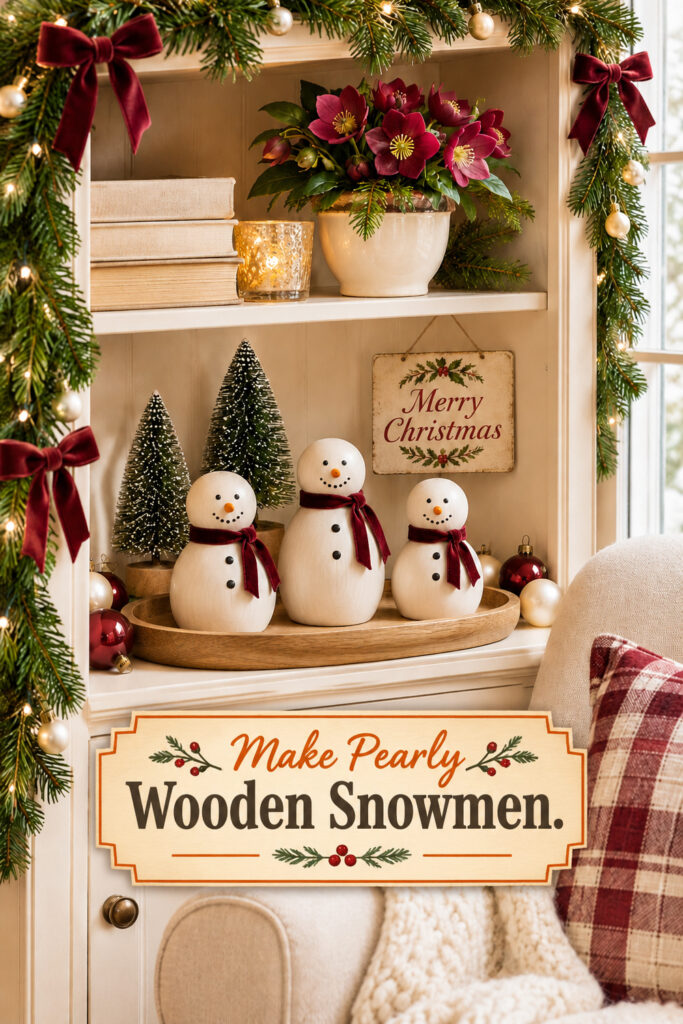
Three pale wooden snowmen sit together on a shallow tray, with cranberry velvet scarves and dark little faces. Their pearl finish catches the shelf light without covering the wood shape in heavy glitter. Small trees, a Christmas greeting, and fuller greenery outside the shelf give the simple figures a generous setting.
This version starts with one-piece wooden snowman blanks that already have connected head and body sections and a flat bottom. You’ll paint the finish and faces, then add ribbon scarves. The tiny noses are painted rather than separate projecting parts. Make one sample before finishing a group so you can check the paint, scarf width, and overall scale.
The inspiration and instructional images were generated with AI. This tutorial proposes a practical construction method rather than documenting a tested project.
Choose the Wooden Shape First
Look for an unfinished wooden snowman shape with a rounded body, smaller head, short neck, and a stable flat base. This method uses a single prepared blank; it doesn’t teach joining loose balls or drilling a dowel through them. Check the actual shape and base before buying several pieces.
A blank around four inches tall is a suggested starting size for a shelf group. You can vary the heights, but keep their faces and scarf proportions related. Set the unpainted shapes on the intended tray to check the available space. Leave room for a tree or sign behind them without pushing a figure against the front edge.
Materials and Tools
- One-piece unfinished wooden snowman blanks with flat bottoms
- White craft paint suitable for the wood and intended indoor use
- A compatible pearl finish or pearlescent paint that can go over the white base
- Charcoal or black and orange craft paints for the faces and buttons
- Narrow cranberry velvet ribbon, about one quarter inch wide as a starting point
- Small soft brushes, a fine detail brush, and clean water or cleaning supplies specified by the paint maker
- A protected work surface, a small paint palette, and sharp ribbon scissors
- Optional fine sanding material only if the blank and finish directions call for surface smoothing
Choose products that work together. Check whether the pearl layer is a paint, a glaze, or a medium, and follow its directions for the base coat and any protective finish. A sample on a spare blank or suitable wood scrap can show whether the combination streaks or hides the shape.
Paint a Smooth Pale Base
1 Check and Prepare Each Blank
Set every snowman on a flat surface and make sure it stands without rocking. Inspect the neck and base for rough areas. If the maker permits light sanding, smooth only the areas that need it and remove the dust as directed. Keep the flat bottom flat rather than rounding its edge away.
Mark the front lightly if needed, then place the blank where you can turn it without touching wet paint. Decide which side has the cleanest outline for the face. Keep the other figures nearby for comparison, but leave enough room that a sleeve or brush won’t knock them over.
2 Apply the White Coat
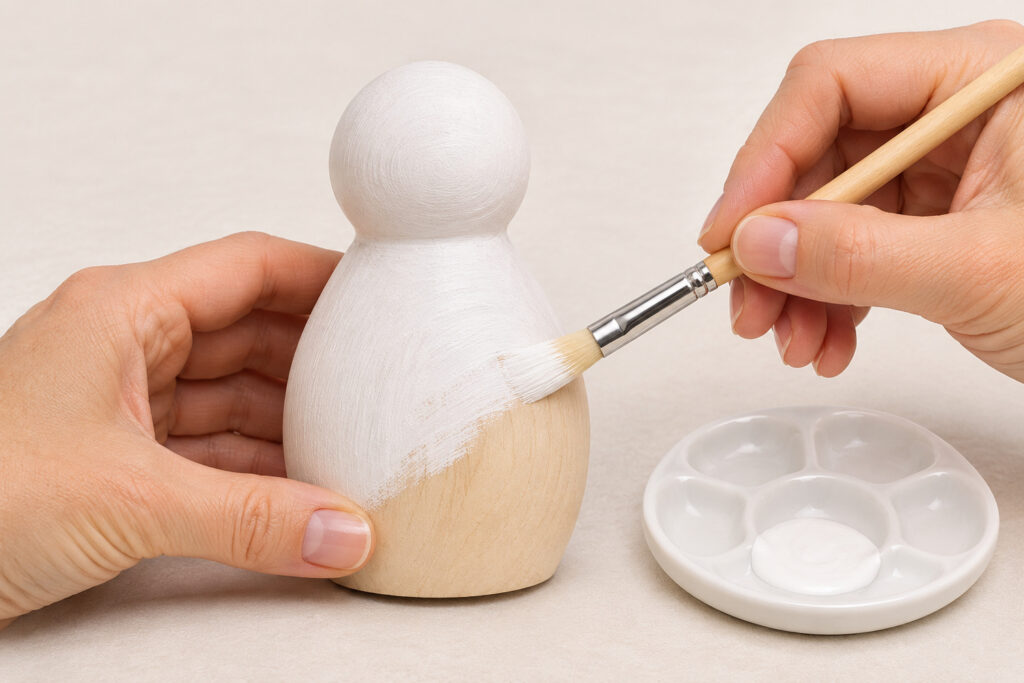
Brush on a thin coat of suitable white paint, following the wood shape from head to body. Work the paint out of the neck crease so it doesn’t collect in a thick ridge. Keep the bottom free of wet buildup that could make the figure stick to the work surface or stand unevenly.
Let the coat dry according to the actual product directions before handling or adding another layer. Apply further thin coverage only as needed. The goal is an even pale surface with the rounded form still clear, not a heavy shell that hides every contour.
3 Add the Pearl Layer
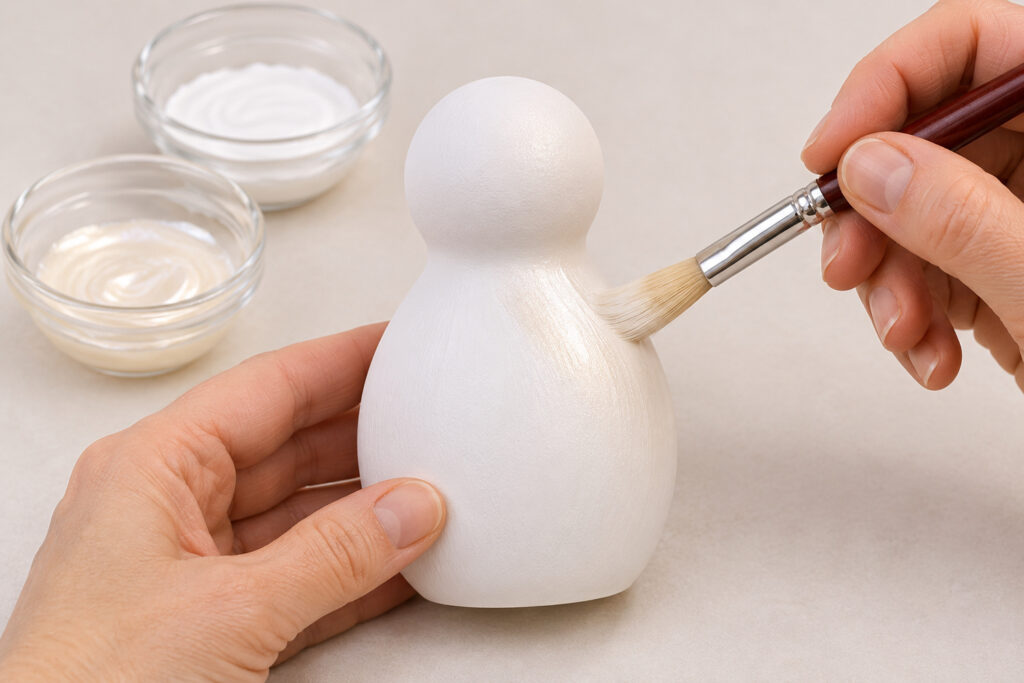
Use the compatible pearl product as directed over the prepared white base. Apply it lightly and evenly, checking the figure from more than one side as you turn it. Clear excess from the neck and lower edge before it settles. Follow the product’s drying and curing guidance rather than judging by the shine alone.
The white undercoat keeps the snowman pale, while the pearl layer changes how it catches the light. Compare the sample in the shelf’s normal lighting before coating the rest of the set. A finish that looks subtle at the worktable may show more strongly under a warm display lamp.
Give the Snowmen Their Faces and Scarves
4 Paint the Small Features
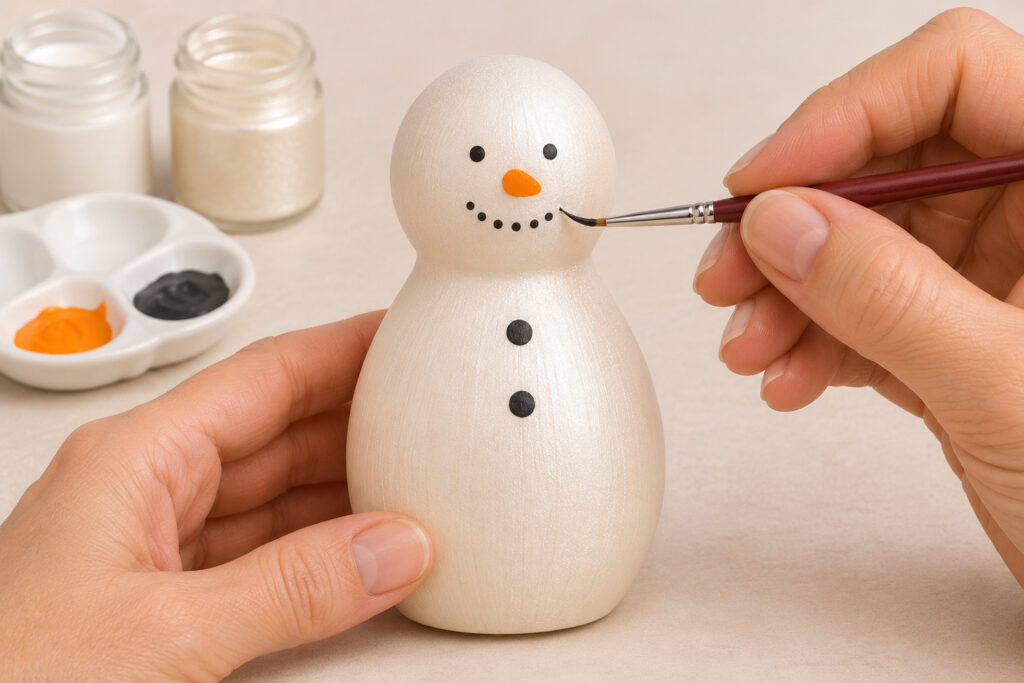
Once the finish is ready for the next layer, use a fine brush to add two small charcoal eyes. Place them on the same gentle horizontal line, with enough space for a little orange nose between and below them. Paint a short orange oval or simple tapered mark instead of attaching a separate nose.
Add a shallow curve of tiny dots for the smile and two small buttons down the body. Keep the marks modest. Larger eyes and a wide grin can change the expression quickly, so begin small and compare the faces before adding more paint. Let the details dry fully as directed before tying ribbon around the neck.
5 Tie a Narrow Velvet Scarf
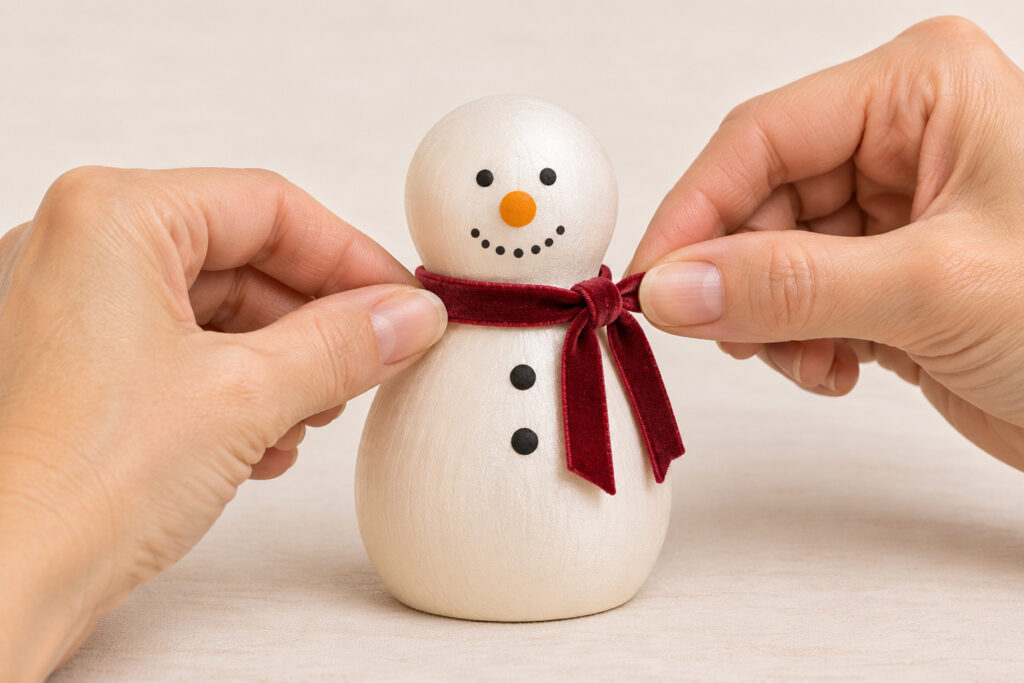
Wrap a short sample length of ribbon around the neck and tie a small simple knot at the front or slightly to one side. Leave two short tails on the chest, then trim them neatly after checking their length. Measure your sample and use it as the cutting guide for the remaining figures rather than assuming every neck is identical.
Keep the knot gentle enough that the ribbon lies softly without scraping the painted surface. Turn the velvet face outward on the visible tails. The scarf should sit below the smile and above the first button, leaving both features clear. No adhesive is needed for the primary scarf method.
6 Set the Group on Its Tray
Arrange the snowmen with the tallest slightly behind the others, keeping each flat base fully on the tray. Turn the faces toward the room while leaving small gaps between bodies and scarves. The figures should stand on their own rather than leaning together for support.
Add a small tree and greeting behind the group only after the snowmen fit. Keep ornaments and greenery outside their footprints. A shallow tray helps define the scene without hiding the bottoms of the figures, and it makes the small group easier to identify on a larger shelf.
Adjust the Finish Before Making More
If the pearl layer looks streaky, check the product’s application directions and the condition of the base coat. Test a thinner application on the sample rather than adding more paint to every figure. Thick buildup around the neck can interfere with the scarf and make the finish look uneven.
If a face feels crowded, stop before painting the whole group. Compare the marks with the head size and leave more open space around them on the next sample. Correct dried details only by a method compatible with the selected paints; avoid rubbing a wet mark across the pearl finish.
Keep the Small Scene Readable
Use one scarf color to connect the three figures, then vary their heights or the direction of a head slightly. Keep the pearl finish consistent enough that they belong together. The fuller shelf decorations can supply the extra detail: a dark tree behind, red ornaments at the sides, and greenery around the opening.
Display and Store the Finished Group
Keep these decorative figures indoors in a dry location, away from food service and open flames. Let all finishes cure as directed before placing them on furniture or wrapping them for storage. Treat them as decorations rather than toys, especially when the setting includes loose ornaments or small trees.
Dust and handle the figures as the paint system allows. Store them upright or separately cushioned so the faces and ribbon knots don’t rub together. When you return the tray to the shelf, check the flat bases and turn every face into view before adding the larger greenery around it.