*This post may contain affiliate links for which I earn commissions.*
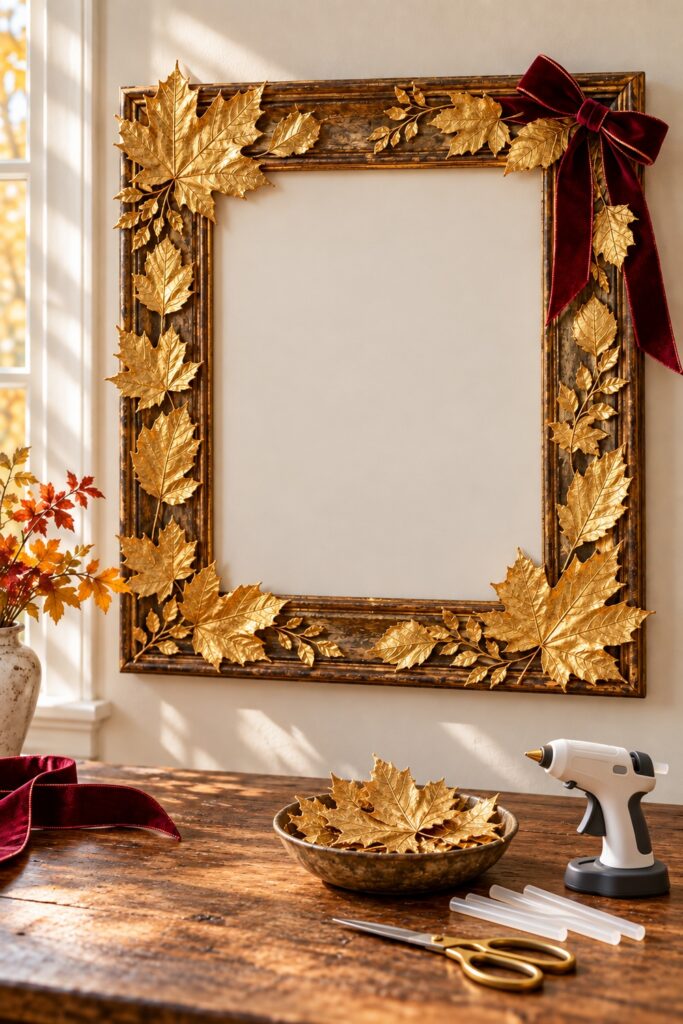
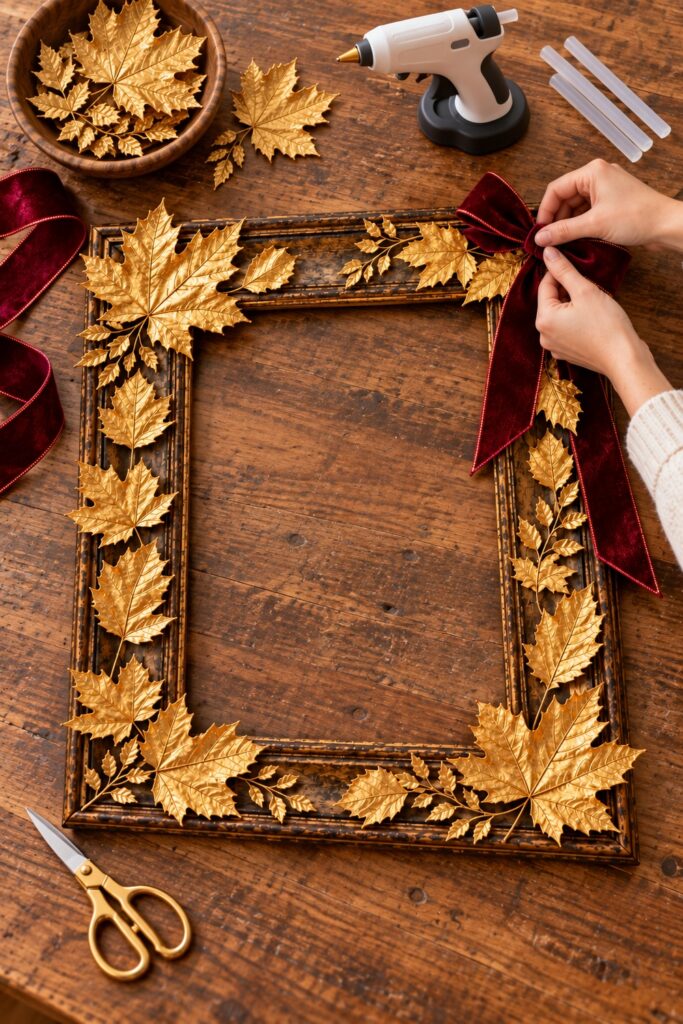
Gold maple leaves and a crimson velvet bow give an ordinary picture frame a richly layered fall finish. The leaf shapes soften the rectangular outline, while dark wood showing between them makes the gold stand out. It is a decorative idea that can look elaborate without requiring an elaborate construction process.
This version uses lightweight faux fabric craft leaves. Choose leaves that are already gold for the simplest project, or spray paint suitable faux leaves to get the shade you want. Prepare the frame, arrange the leaves, and attach them and the bow with hot glue.
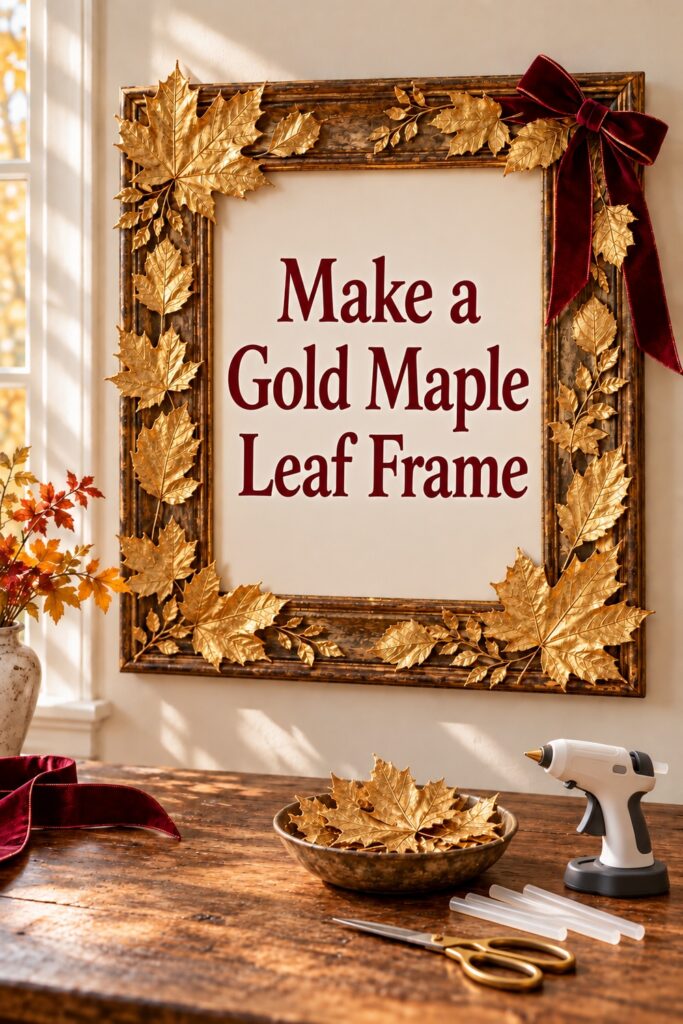
The inspiration and instructional images were created with AI. They illustrate the decorating idea and project steps rather than document a physical project being made.
What You Are Making
You will embellish a wooden frame with overlapping gold faux maple leaves and a velvet bow at the upper right corner. The center can remain open, as shown, or hold a lightweight print using the frame’s original backing. The frame’s existing hardware supports the finished piece; the leaves and bow are decorative.
A frame with a broad face gives you more room for attachment than a narrow one. An opening around 11 by 14 inches is a suggested starting point, but use what fits your space. Leaf sizes matter more than exact dimensions: choose larger ones for the corners and smaller ones to connect the groups along the sides.
Materials and Supplies
Main Materials
- A sturdy wooden picture frame with secure joints and suitable hanging hardware
- Lightweight faux fabric maple leaves in two or three sizes, preferably already metallic gold
- Crimson or burgundy velvet ribbon for a bow and two tails
- A low temperature hot glue gun and compatible glue sticks suitable for fabric and wood
If You Want to Change the Colors
- Paint suitable for the frame’s surface, in dark brown, antique gold, or your preferred color
- Metallic gold floral spray paint labeled for artificial fabric foliage, if your leaves are not already gold
- Optional gold craft paint or metallic wax for small frame highlights
- A compatible clear finish only if the chosen paint manufacturer recommends it
Tools and Workspace Supplies
- A lint free cloth and fine sandpaper if the frame finish needs preparation
- Scissors, plus wire cutters if the leaf stems contain wire
- Protective coverings for the table and a separate suitable spray painting area
- A silicone mat or other heat resistant surface for the glue gun
- A craft stick or silicone finger protector for pressing near hot glue
The number of leaves depends on the frame and how much overlap you want. Spread an assortment around the frame before buying extra supplies. There is no need to cover every inch of wood; small visible gaps are part of the finished look.
Before You Start
Remove the glass, artwork, and backing if present. Check the frame joints and hanging hardware. Use a frame you are comfortable altering, rather than a valuable antique. Wipe away dust and let the surface dry before painting or gluing.
Choose faux leaves with recognizable veins, thin edges, and a little natural curl. Avoid heavily glittered leaves if you want a smooth metallic look with less shedding. Plastic foliage is a different material, so do not assume that paint or low temperature glue suitable for fabric will work on it.
Step 1: Prepare the Frame in Your Preferred Tone
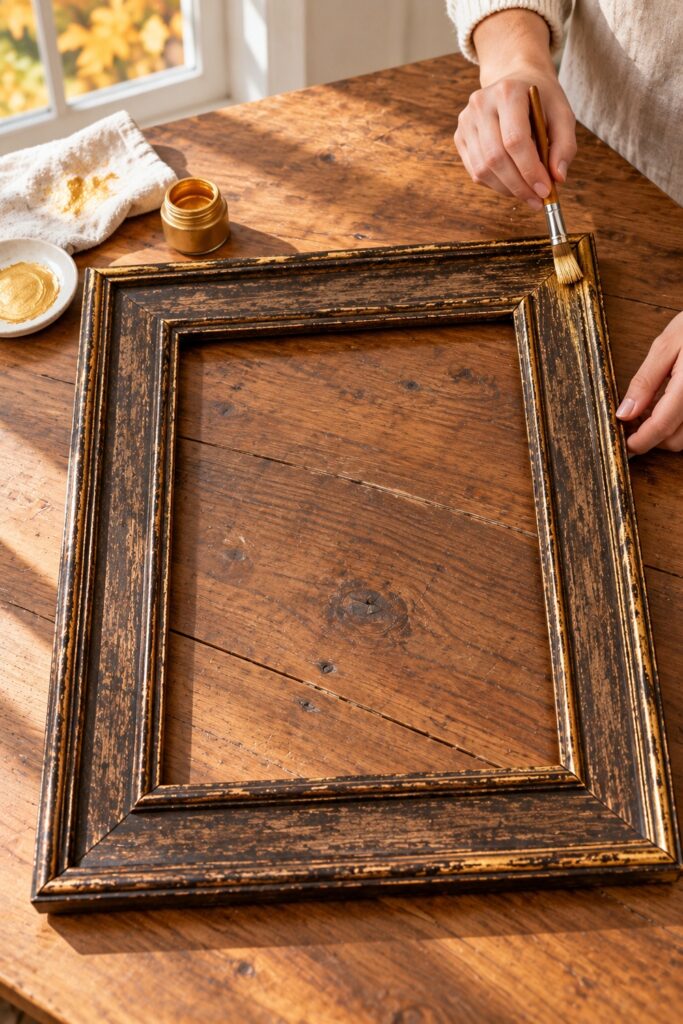
If you like the existing finish, cleaning may be all the preparation needed. To change it, prepare the surface according to the paint instructions. Smooth damaged areas lightly where appropriate, remove the dust, and apply thin coats rather than filling the carved details with paint.
For the dark antique effect in the inspiration, use a deep brown base. Once it is dry, you can lightly brush a little gold craft paint over selected raised edges, or use a suitable metallic wax sparingly. Leave plenty of brown visible. These small highlights are optional and can be skipped on an already decorative frame.
Let every frame coating dry and cure as directed before adding hot glue. Avoid applying wax to the small areas where leaves or ribbon will be attached, since a waxy surface can interfere with the bond. You do not need gold leaf sheets to create a warm aged effect.
Step 2: Use Ready-Made Gold Leaves or Paint a Test Leaf
Already-gold faux fabric leaves let you move directly to arranging. Check one by gently rubbing it with a clean dry cloth. If its coating sheds heavily or comes off easily, choose a different finish rather than trying to fix the entire packet with an unknown sealer.
To paint your own, select a metallic floral spray whose label lists artificial fabric foliage as a suitable surface. Test one spare leaf first. This matters because faux leaves can have different coatings, stiffeners, and backing materials even when they look similar.
Spray in the location and conditions specified on the can, with appropriate ventilation, away from flames and ignition sources. Lay the leaves separately on a protected surface. Apply light coats at the label’s recommended distance, let them dry as directed, and turn them to cover visible backs and edges if needed. Avoid soaking the fabric or spraying leaves already attached to the frame.
Allow the test leaf to dry fully, then check its appearance, flexibility, and finish with gentle handling. If the paint flakes when lightly flexed, choose a more suitable paint or ready-made gold leaves. Thick additional coats or sealer will not reliably correct poor adhesion. Finish the remaining leaves only when the test is satisfactory.
Do not automatically add a clear topcoat. Some metallic finishes should not be clear coated. Use a sealer only when its use is recommended for that exact paint and leaf material, and test it first. This indoor decoration will receive little handling once assembled, so an extra coating may be unnecessary.
Keep spray painting separate from hot gluing. Put aerosols away, allow paint to dry as directed, and move to a clean, fume-free assembly area before switching on the glue gun.
Step 3: Arrange the Leaves Before Gluing
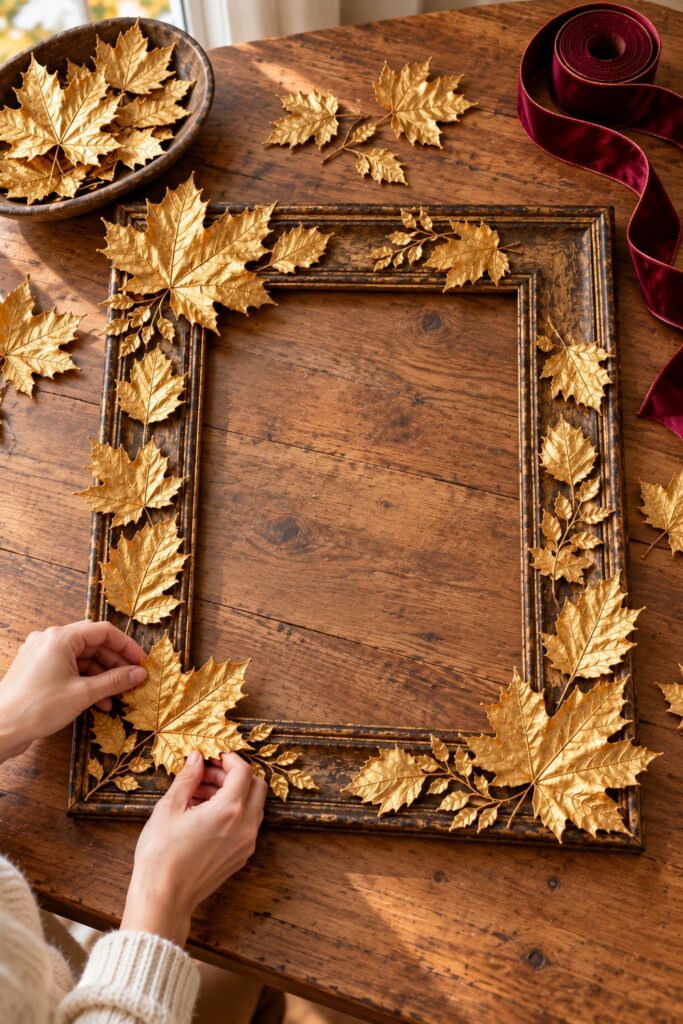
Lay the frame face up. Position larger leaves near the corners, then add smaller ones along the sides. Turn the tips in different directions and overlap them lightly. Let some edges curl away from the wood so the border retains the soft character of fabric foliage.
Leave a clear patch at the upper right for the bow. Keep the opening mostly unobstructed, with only modest leaf overhangs. Each leaf should have a useful contact area on the frame rather than hang from a thin tip of another leaf. Take a photograph when the arrangement looks right.
Step 4: Hot Glue the Leaves to the Frame
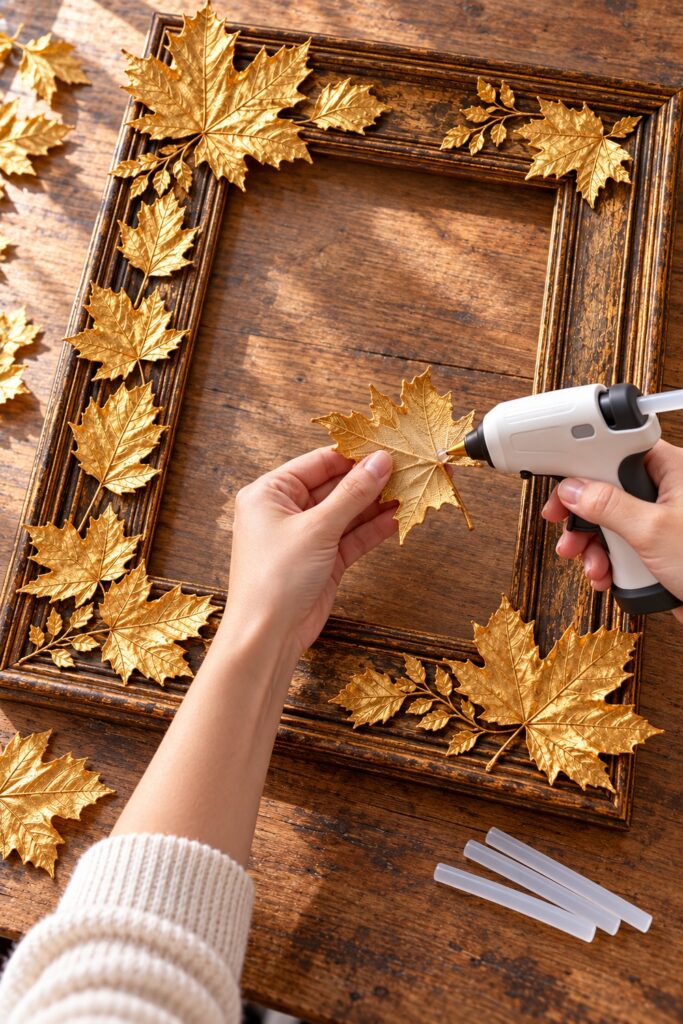
Set the glue gun to its suitable low temperature setting and use the recommended sticks. Test a small attachment on a spare leaf and an inconspicuous area of the frame. Let it cool, then check that the bond holds without scorching the fabric or peeling the frame finish.
Working one leaf at a time, lift it from the layout and place a small bead of glue on its underside near the base or central vein where it will touch the wood. Press it back into position using a craft stick or silicone protector near the adhesive. Keep fingers away from hot glue and the nozzle.
Hold until the glue sets, then continue around the frame. Glue the first layer directly to the wood. For overlapping pieces, aim to anchor the base to the frame too; a small extra dot between overlapping fabric sections can control movement. Leave outer tips free rather than flattening every edge.
Let the glue cool before gently checking the attachments. Remove cooled glue strings and trim stems that show awkwardly. If a piece lifts, correct its contact area instead of burying it under more glue. Stop when the border looks full and the dark frame still shows between groups.
Step 5: Make and Hot Glue the Velvet Bow
Form two generous ribbon loops, pinch their center, and tie the pinch with a narrow ribbon strip. Add two tails and cover the center neatly with matching ribbon. A ready-made velvet bow is an equally useful shortcut if its size suits the frame.
Check the bow in the reserved upper-right area before gluing. Apply a small amount of low temperature hot glue to its back center, then press that center directly against the frame with a craft stick where needed. Keep adhesive away from the visible velvet pile and avoid relying on the leaves to support the bow.
Let one tail fall down the right edge and the other angle slightly inward. Add a discreet glue dot behind a tail only if it needs help staying in place. Allow the glue to cool completely before moving the frame. The bow is decoration, not a handle or hanging loop.
Finish and Display Your Fall Frame
View the frame upright and adjust any loose tips that hide the opening. Use its suitable hanging hardware and wall fixings rated for the completed weight, or a stable frame stand. Refit a lightweight print and backing if desired. Adding a heavy mirror would require a separate assessment of the frame and hardware.
Keep the decoration indoors, dry, and away from flames or fireplace heat. Handle it by the wooden sides and dust gently. For a quieter version, use fewer leaves and a smaller bow. The most effective detail is the contrast between soft gold foliage, visible dark wood, and that one rich velvet corner.