*This post may contain affiliate links for which I earn commissions.*
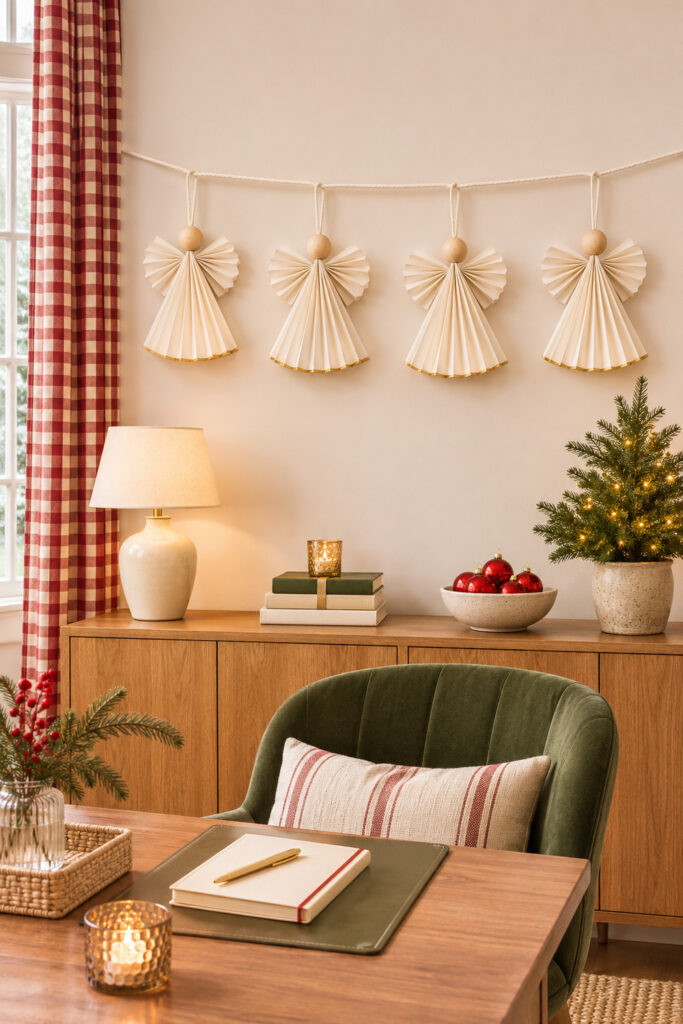
Pleated paper and plain wooden beads give this Christmas garland its quiet charm. The angels hang in a small repeated row, with cream bodies, separate folded wings, and just a little gold at the hems. They look at home above a cabinet without needing faces, elaborate trim, or a crowded background.
This tutorial proposes a lightweight version using one paper fan for each body and a shorter folded strip for the wings. A cord through the wooden bead forms the hanging loop and helps secure the body. The suggested measurements below are a starting point for making a similar decoration, rather than measurements taken from the image.
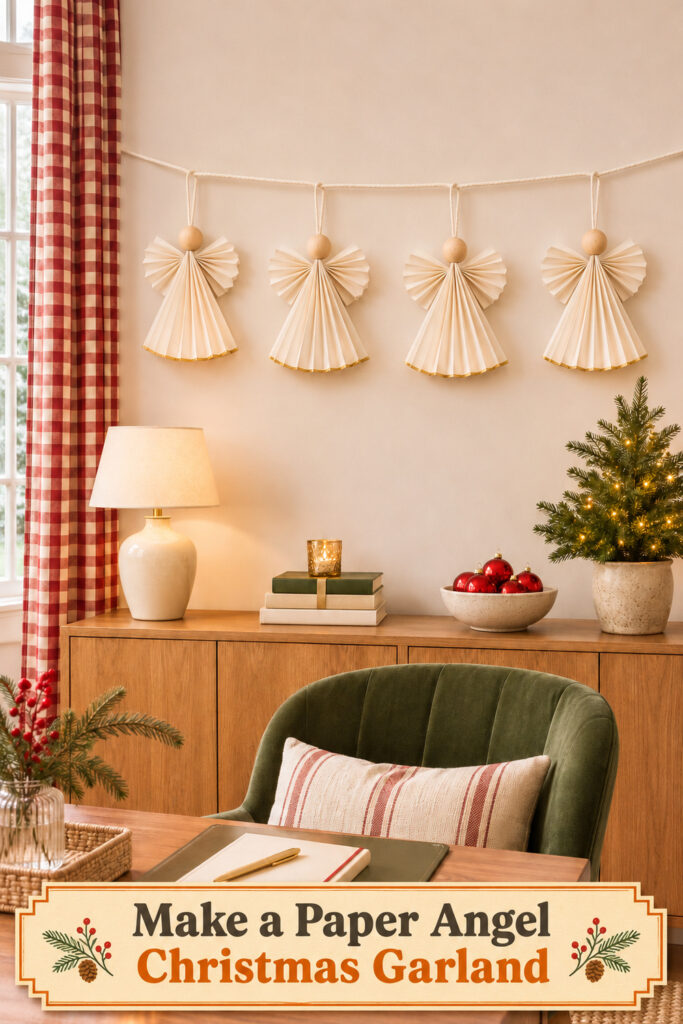
The inspiration and demonstration images were created with AI. This tutorial describes a practical adaptation, not a recorded or tested physical build.
Plan a small repeated garland
The proposed angels finish at roughly five inches high, depending on how you spread the paper and position the bead. Make one complete sample before preparing the rest. It will tell you whether the paper, bead hole, and cord work comfortably together.
Use the same paper and bead size for the row so the repetition looks settled. You can vary the spacing when hanging, but keeping the components consistent makes the construction easier. This is an indoor paper decoration for a dry area away from flames, heaters, and damp greenery.
Gather the paper and finishing pieces
For four angels, prepare these materials and tools:
- Four ivory paper body rectangles, each eight inches wide by four inches high.
- Four ivory paper wing rectangles, each six inches wide by two and a half inches high.
- Four plain wooden beads, approximately three quarters of an inch across, with holes large enough for two strands of your cord.
- Thin ivory cotton cord for four ten-inch hanging lengths and one longer carrying line sized for your display.
- Fine matching thread for the wing centers and for securing the hanging loops to the carrying line.
- Paper-compatible craft glue, a small amount of muted gold craft paint, a ruler, pencil, scissors, and a small brush.
Choose paper that holds a crease but opens into a fan without cracking. A light or medium craft paper is a useful starting point. Test the actual sheet rather than relying on its color or finish alone.
Fold the body and wings
1. Prepare the paper and optional gold edge
Cut one body rectangle and one wing rectangle first. If you want the gold hem, paint a narrow line along one eight-inch edge of the body piece. Let it dry fully according to the paint directions before folding, and keep the paint thin so it doesn’t make a stiff ridge.
Mark half-inch intervals lightly along the long edges as folding guides. Avoid heavy pencil marks on the front. The marks are there to help you make consistent pleats, not to become part of the finished decoration.
2. Make the two accordion strips
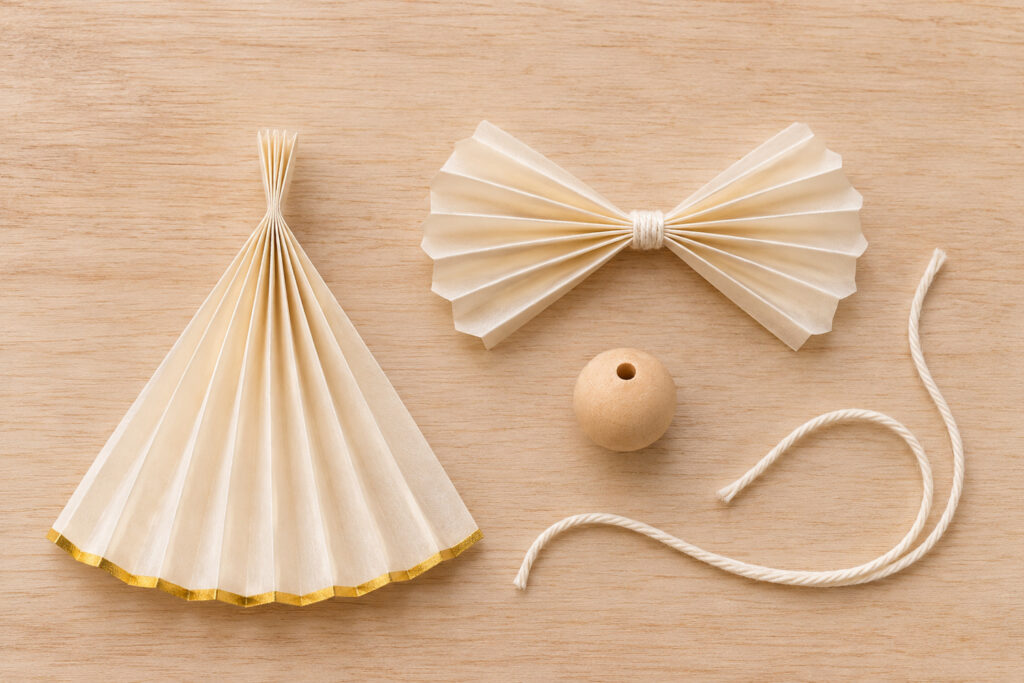
Fold the body back and forth across its eight-inch width, keeping each fold parallel to the four-inch sides. The compressed strip should be four inches long with the gold edge at one end. Press each fold as you go, then stack the folds together neatly.
Fold the wing rectangle across its six-inch width in the same way. Its compressed length will be two and a half inches. Pinch its midpoint and tie it firmly with a little matching thread. Rotate this short folded piece sideways and gently open both ends to make the paired wings.
Join the head and paper parts
3. Form the body fan and hanging loop
Pinch the unpainted end of the body accordion into a narrow neck. Spread the opposite end gently into a modest fan, with the gold hem below. Keep the pleats open enough to show but not stretched into a broad semicircle.
Fold a ten-inch length of thin cord in half and pass both cut ends down through the bead hole. Leave a loop of about two inches above the bead, then tie a small knot directly beneath it. Check that the knot stops the bead sliding downward and leaves two tails for securing the body.
4. Secure the body beneath the bead
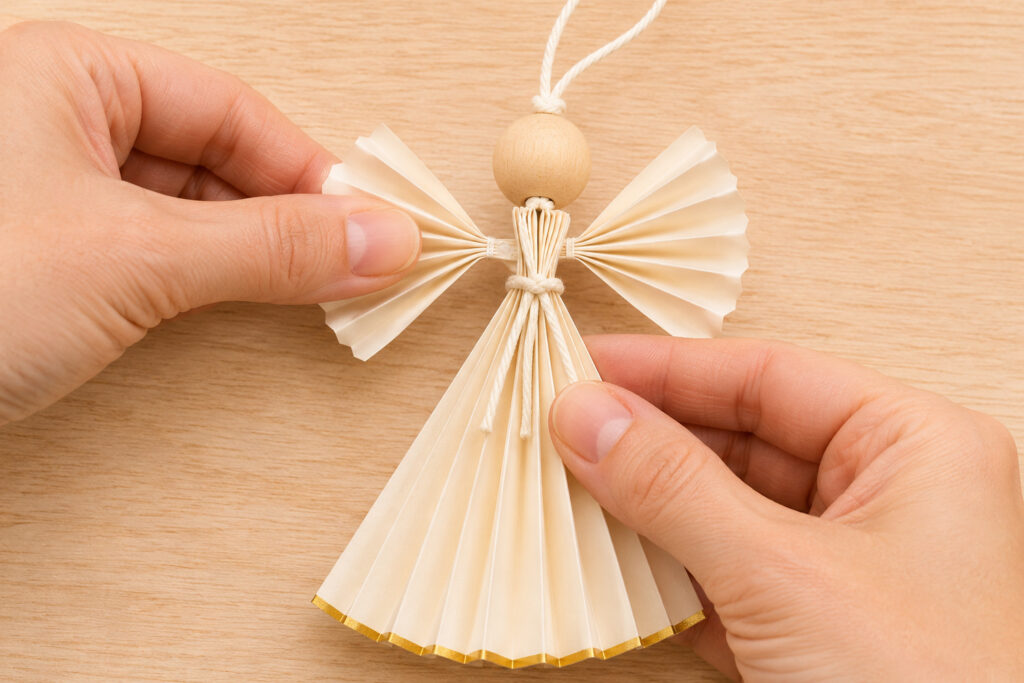
Place the pinched paper neck directly under the bead. Wrap the two cord tails around that narrow area and tie them together firmly at the back. Add a small amount of suitable glue to the wrapped paper joint, following its directions, and keep the hanging loop free.
Support the piece while the glue sets, rather than leaving its weight on a fresh joint. Trim the loose tails neatly once the connection is secure. The cord should help hold the parts together; a large visible blob of glue won’t improve the finish.
5. Attach the wings behind the neck
Position the tied center of the wing piece behind the top of the body, just below the bead. The two open fans should extend to the sides. Apply a little paper-compatible glue at the central contact and hold the pieces in alignment as the adhesive requires.
Check from the front before the joint sets. The bead should sit above the body, with the wings balanced behind it. Keep their outer folds free so they remain visibly separate from the longer body fan.
Build and hang the row
6. Add the angels to the carrying cord
Make the remaining angels to match the sample, then let every glued joint set as directed. Lay them beside one another and adjust the paper gently so their bodies have similar fullness. Avoid pulling on the bead or wings to change the shape.
Thread the longer carrying cord through the individual hanging loops. Position the angels at comfortable intervals, then use a short extra piece of matching thread to tie each loop to the carrying cord at its meeting point. This keeps the decorations from sliding together without making the carrying line part of the body construction. Check the spacing again once the carrying cord is under tension.
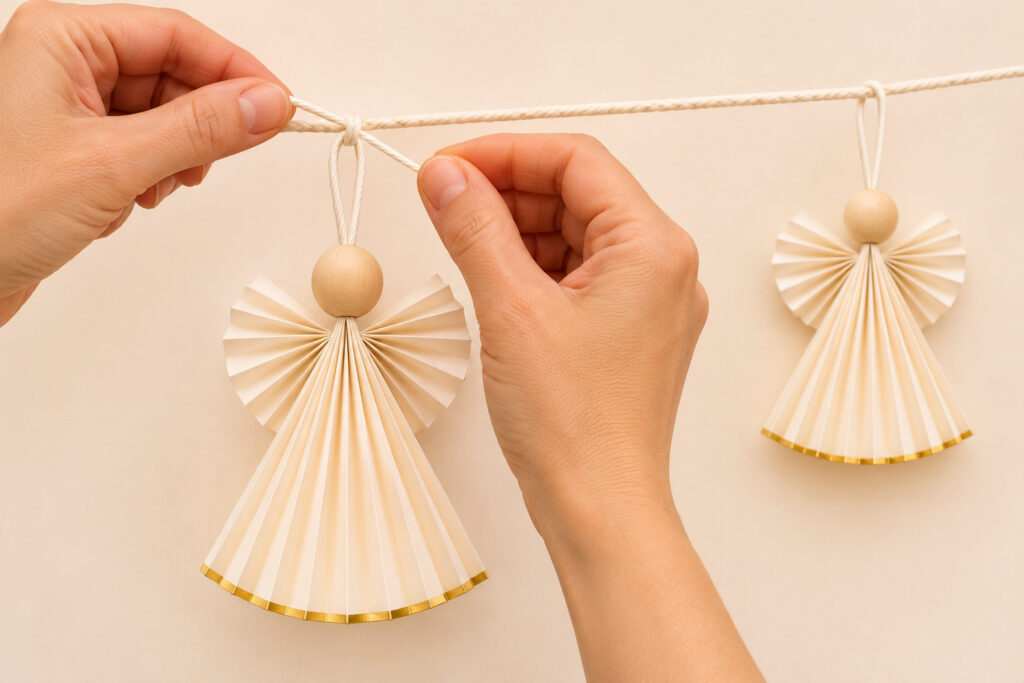
Use suitable wall fixings for the light finished garland and hang it above a dry cabinet or shelf. Keep it clear of lamps, candles, small children, and pets. Check the position before adding anything below that might brush the paper.
Fix small construction problems
If a bead won’t take both cord ends, use a thinner suitable cord or a bead with a larger hole. Don’t force the cord through and split the wood. Test that combination before cutting every hanging length.
If the wings droop, check whether their center tie is loose or their glued contact has shifted. Reposition and support the joint until it sets. Adding more glue over an already crooked join can make it heavier without correcting the alignment.
If one body spreads wider than the others, close its folds gently and reopen them to match the sample. The repeated row looks calmer when the fans have similar proportions, even if the individual creases aren’t identical.
Finish without losing the paper texture
Keep the gold narrow and the bead plain so the pleats remain the feature. A soft cream or pale sage paper could use the same method, but test any coated or heavier sheet before committing to a full row.
Store the garland in a dry box with enough depth to avoid crushing the wings. Support each angel by its body when moving it, and loosen the row carefully rather than tugging the carrying cord through the loops. A small, evenly spaced group above a simple Christmas cabinet will show the folded work far better than extra trim around every bead.