*This post may contain affiliate links for which I earn commissions.*
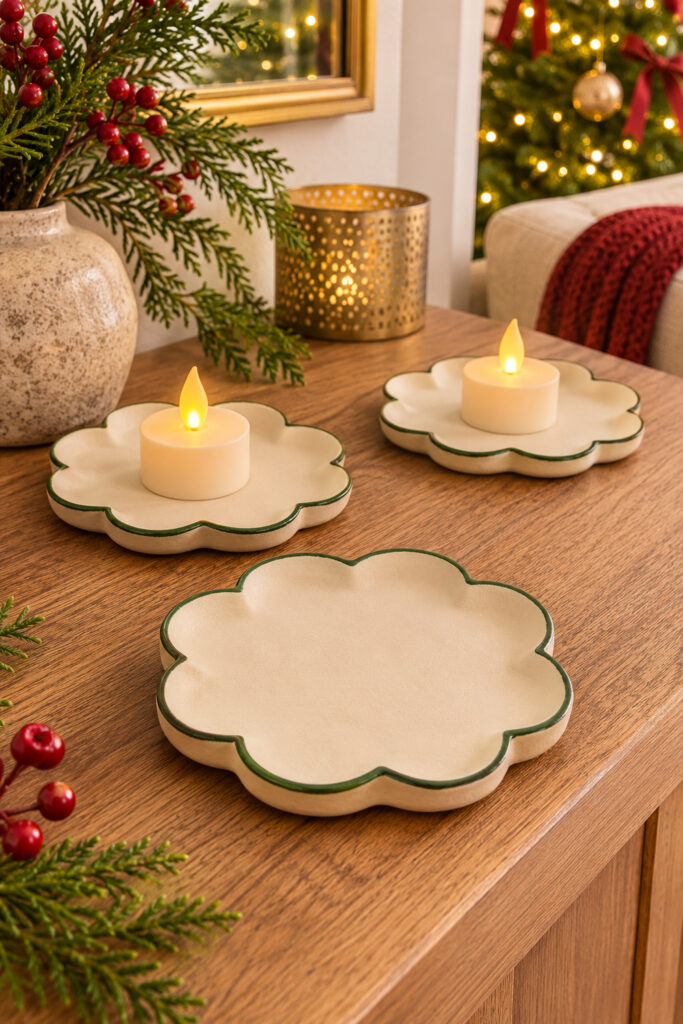
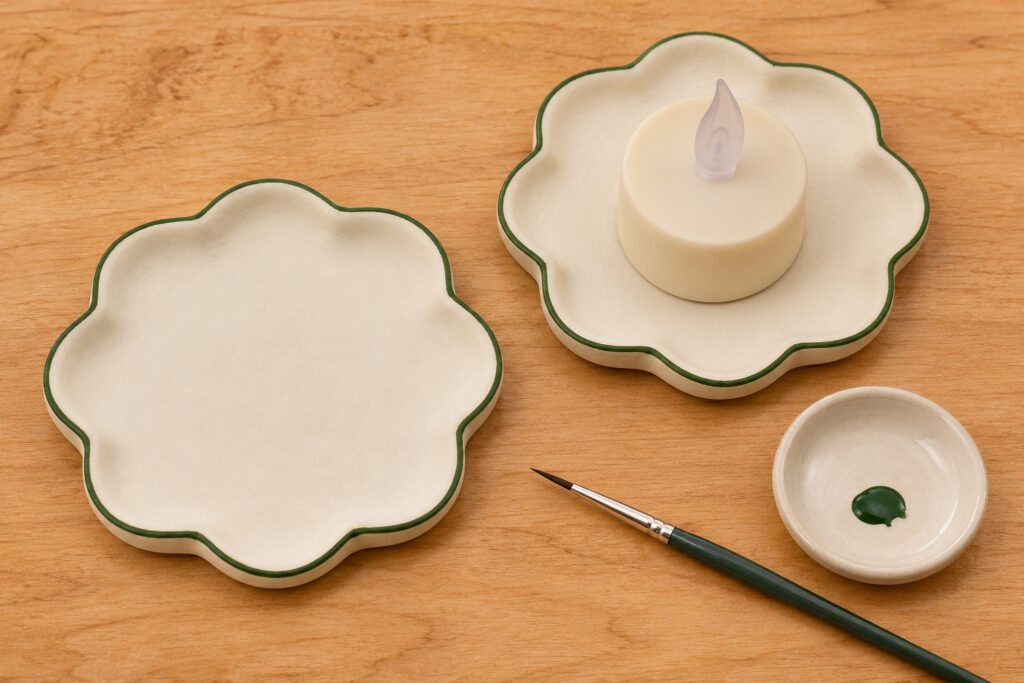
An ivory clay saucer with a scalloped edge gives a little battery tea light a more finished place to sit. The thin green line follows the curves and brings out the shape, even with the light switched off. Make one as a test before cutting a set. These are dry indoor decorations for battery lights only.
Choose a shape you can repeat
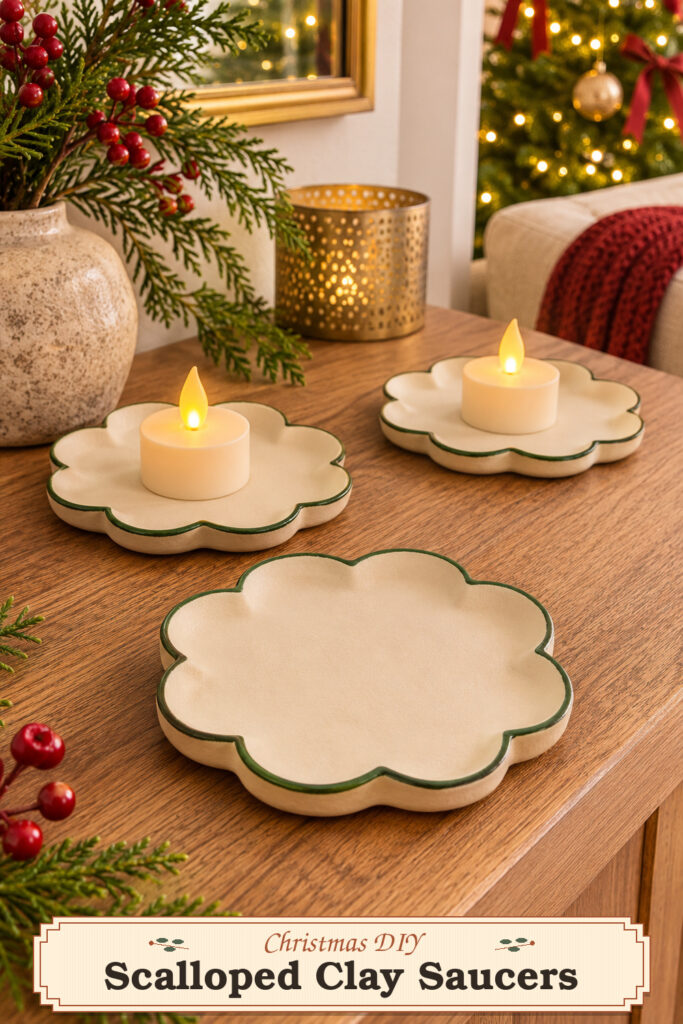
The inspiration and instructional images were created with AI. The tutorial describes a practical way to make similar clay saucers.
Eight rounded scallops make a simple flower-like outline. Keep them broad so the tips are easy to smooth. The raised rim only needs a slight lift. A low shape shows the scallops from the side and leaves the center flat for the tea light. Start around four inches across and check the fit with the battery light you plan to use.
This project uses white or ivory air-dry craft clay and a thin painted line. Follow the clay maker’s directions for thickness, drying, and painting. The saucers are decorative pieces. Use only flameless battery tea lights, and keep the finished pieces dry and indoors.
Materials and tools
- White or ivory air-dry craft clay
- Smooth work surface suitable for the clay and a small rolling pin
- A paper template with eight rounded scallops
- A blunt clay cutter or modeling tool suited to the project
- Optional rolling guides, if you need help keeping the clay even
- A small cup of water for smoothing, if permitted by the clay directions
- Forest green craft paint suited to fully dry clay and a fine brush
- Small battery-operated flameless tea lights
Step 1 Roll the clay and cut the scallops
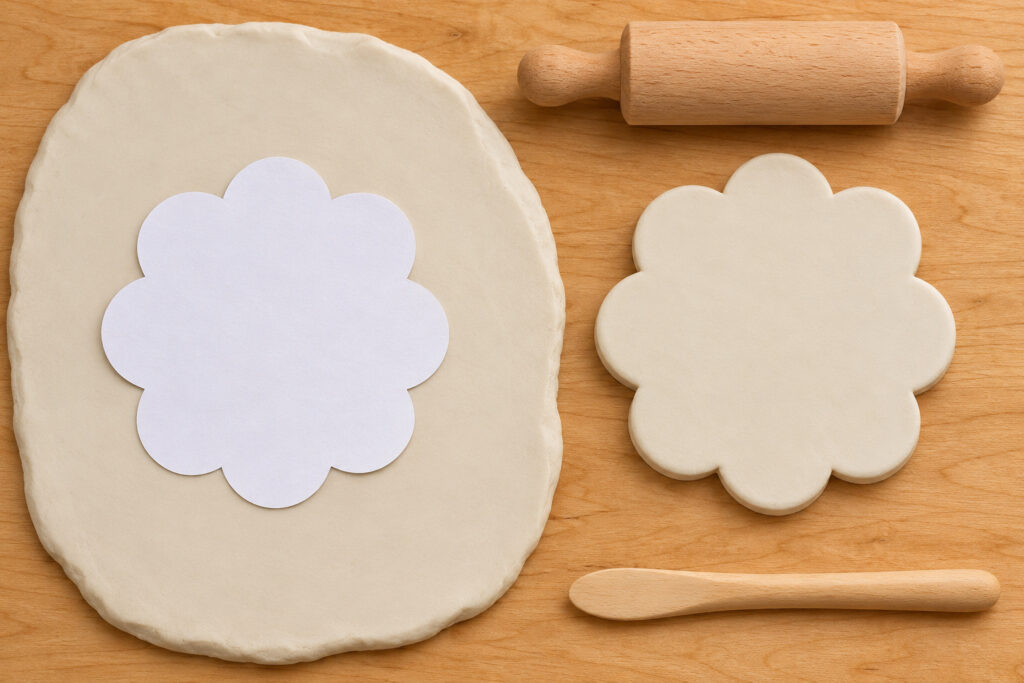
Make a paper template first. Start with a circle and draw eight broad rounded bumps around the outer edge. Keep each bump close in size to the next one. Cut out the paper and set the tea light in the center. Leave a visible band between the light and the point where the rim will rise. If the shape seems tight, make a bigger template before rolling the clay.
Roll a small piece of clay into an even slab. Follow the directions for the clay you chose. About a quarter inch is a useful planning thickness only if the product allows it. Keep the center and rim close to the same thickness. A very thin scallop is harder to lift and easier to damage.
Lay the paper template on the clay and cut around it with a suitable tool. Work from one curve to the next and avoid pulling at the points between them. Lift away the excess clay first. Remove the template and smooth the outside edge with your fingers or tool. Use just a little water if your clay’s directions allow it.
Step 2 Lift the shallow rim and let it dry
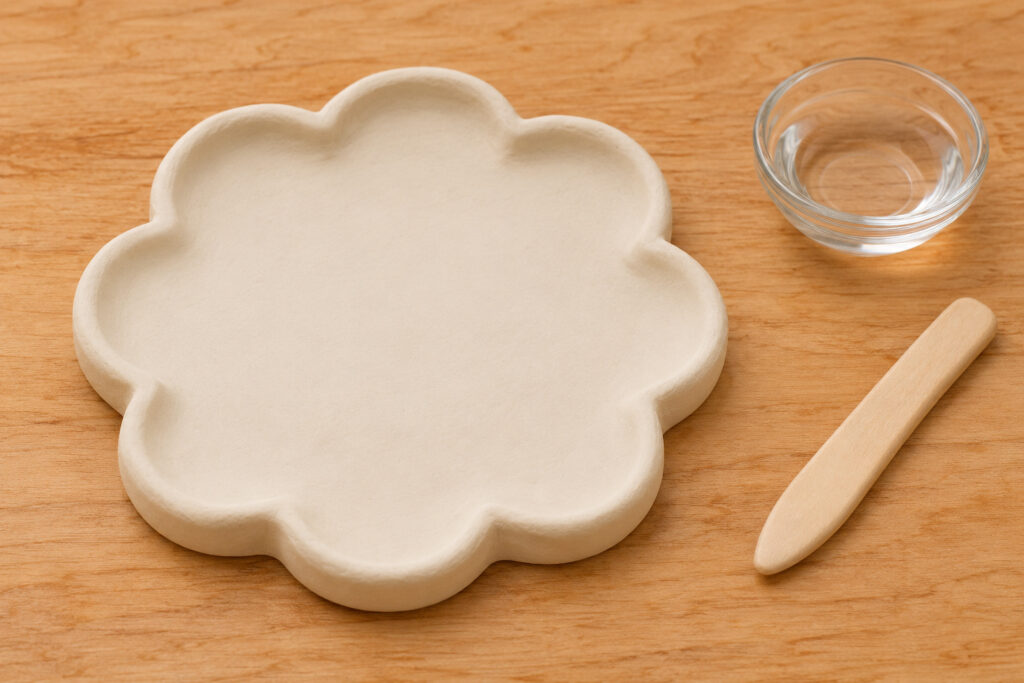
Keep the round on a flat surface. Support each scallop with your fingers and lift its outer edge slightly. Work around the circle in small moves. If you lift one scallop too high, gently bring it down to match the next one. The center should stay flat.
Check the rim from a low angle. If the clay starts to look like a deep bowl, lower the edges. The point of the rim is to show a little shape while still leaving the tea light easy to remove. Smooth the top of each curve. Keep the bottom even so the finished saucer can sit steadily.
Let the clay dry on an appropriate flat surface according to the product instructions. Drying depends on the clay, the room, and the thickness. Avoid rushing it with heat. Wait until it’s fully dry before painting. If the piece rocks after drying or has a crack through the base, use a fresh one for the battery light.
Step 3 Paint the green edge and place the battery light
Test the green paint on a small dry scrap if you have one. A narrow line will show best if the color is strong enough to cover the ivory in a thin coat. Set the saucer flat and work on one scallop at a time. Turn the saucer as you paint so the brush can follow each curve.
Leave the center plain. If the line widens a little around one lobe, match the next few instead of adding more paint across the whole rim. Follow the paint’s drying instructions before touching the edge. Paint both saucers the same way if you want them to read as a pair.
Put one small battery tea light in the center. Check that it sits flat and comes out easily. Use an intact light with a secured battery compartment and follow its directions. Keep the lights and batteries away from children and pets. This saucer is for flameless lights only.
Set out the saucers for Christmas
Try a group of two or three on a low console. Leave enough room to see the scalloped outlines. An empty saucer at the front can show the shape while the others hold lights. Use evergreen and red berries farther back so the green line stays visible against the wood.
You can also use one saucer on a side table, where the curve can be seen up close. Keep it fully on a level surface and away from the edge. If the table already has several things on it, move the greenery to a nearby vase and let the saucer carry the small Christmas detail.
Make a set after the first one works
Use the original paper template to cut the rest. Check the first dried saucer before cutting more, since some clays change size as they dry. If the tea light sits too close to the rim, make the next template a little larger. Keep the clay thickness even so the set feels related.
Paint one rim at a time and check it in the room where you’ll use it. A deep green line looks stronger in daylight than in some evening light. If you prefer a quieter edge, use a softer green on the whole set. Keep the shade close enough to the evergreen behind it to make the display feel connected.
Store the finished pieces dry, with a layer of soft material between them. Avoid stacking them so their rims carry the weight. Wipe dust off gently according to the clay and paint care directions. The flat center should be clear and dry before you put the lights out again.
If the first rim dries a little unevenly, keep it as a practice piece. You can use it to try the green line and compare several brush sizes. A new clay round will be easier to shape once you know how much lift you want. Leave the next one on a flat surface while you work on its edge.
A single saucer also makes a small gift when paired with a battery light and its original instructions. Keep the finish dry and use soft wrapping that protects the raised rim.
Finish with a flat test
Put each saucer on the surface where you’ll display it and check that it doesn’t rock. Look for a clean little gap around the battery light. If you can see the scallops without moving any greenery, the set is ready.