*This post may contain affiliate links for which I earn commissions.*
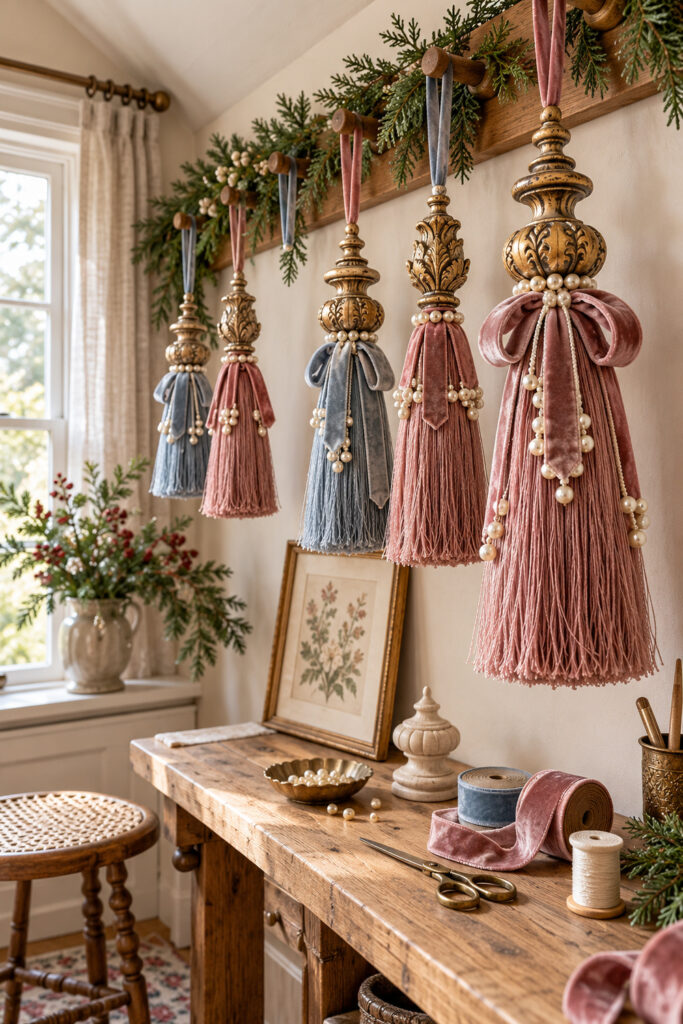
Rose and dusty blue tassels hang beneath antiqued gold caps in this Christmas craft inspiration. Velvet bows soften the joins, and small pearl strands add another layer of detail. The long drops look especially appealing where they can hang freely from a peg rail or a substantial branch.
For a practical version, use a ready made textile tassel and a lightweight wooden cap with a vertical through hole. A strong cord passes through the cap and connects directly to the tassel loop. That connection carries the weight while the ribbon provides the soft finish.
The inspiration and demonstration images were created with AI. This tutorial proposes a practical adaptation rather than documenting a physically tested project.
What You’re Making
You’ll make one indoor hanging decoration with a gold painted wooden top, a long textile tassel, a velvet bow, and optional pearl trim. Repeat the project in rose and blue for a coordinated group.
The sculpted caps in the inspiration are unusually elaborate. This version uses a turned or grooved wooden bead as a simpler cap. Suggested starting proportions are a tassel around 4 to 6 inches long and a wooden top around 1 to 2 inches tall. These are proposed craft dimensions, not measurements taken from the image.
Materials and Supplies
Interestingly, ChatGPT structured this project as being focused on the detail in the wooden finials from which the tassels hang rather than on the tassels themselves.
Materials for Each Drop
- One textile tassel with a firmly attached closed top loop in dusty rose or muted blue
- One lightweight turned wooden finial with a smooth vertical through-hole wide enough for two strands of your cord
- Strong braided craft cord that fits the hole when doubled
- Soft velvet ribbon for a bow and a separate decorative hanging loop cover
- Brown and antique gold acrylic craft paints suitable for the wood
- Sewing thread matching the ribbon
- Optional pearl bead trim and a few short pearl strands
- Optional clear finish compatible with the paint
Tools
- Small paintbrush and a dry brush for highlighting
- Scissors suitable for ribbon
- Hand sewing needle
- Blunt threading needle or loop threader that fits the cap hole
- Ruler and a protected painting surface
- Optional fabric suitable craft adhesive for trim only
Keep needles and small beads away from children and pets. Use paints, finishes, and adhesives according to their labels, including ventilation and curing guidance.
Before You Start
Make one sample before preparing a whole group. Lay the tassel beneath the cap and place a loose bow across their join. Check that the cap is large enough to look intentional but light enough for the intended hanging point. A heavy furniture finial is a poor choice for a small tree ornament.
Test the hole with the doubled cord and threading tool before painting. Both cord strands must pass through without being forced. Choose another cap if the opening is too small or rough. This method avoids drilling, cutting a wooden finial, or depending on glue to support the hanging weight.
Select a tassel whose top loop is visibly attached to its bound head. Gently test that connection. If the loop pulls loose or the fringe slides out of the binding, replace the tassel rather than covering a weak structure with ribbon.
Step by Step Tutorial
1. Paint the Wooden Cap
Remove dust from the wood and keep the through hole clear. Apply a thin brown base coat, reaching into any grooves. Let it dry according to the paint label before adding the metallic layer. Thin coats make it easier to preserve the turned detail.
Load a dry brush lightly with antique gold paint, then wipe off most of it on scrap material. Brush the raised surfaces so brown remains in the recesses. Turn the cap as you work and keep the highlight even around it. Let it dry fully, and add a compatible clear finish if desired, allowing the stated cure time before assembly.

2. Connect the Cord to the Tassel
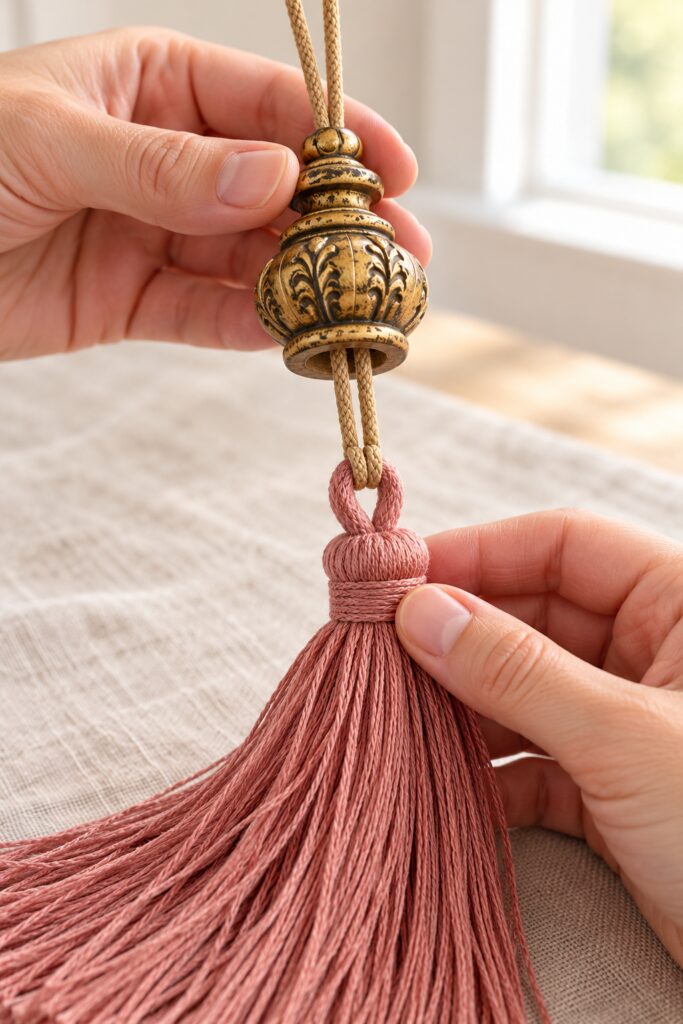
Cut a generous length of braided cord, leaving more than you expect to need for the cap, hanging loop, and final knot. Fold it in half. Pass the folded end through the tassel’s existing top loop, then pass both loose ends through the fold and pull them evenly. This forms a lark’s head hitch around the closed tassel loop.
Check the hitch before threading the cap. The fold should close snugly around the loop without pulling the tassel binding apart. Keep the two free cord ends together above the tassel. They will carry the decoration through the cap, so don’t substitute loosely glued ribbon tails for this connection.
3. Thread and Position the Cap
Feed both cord ends through the cap from bottom to top with your threader. Slide the cap down until its lower edge meets the tassel head. The tassel loop and cord hitch remain below the cap; the bow will soften that area later. A small visible gap is easier to disguise than forcing the textile head into a solid wooden bead.
Hold the two cord ends together and lift the assembly gently over a soft surface. Check that the cap sits upright and the tassel hangs below it without twisting. If the cap slides sideways, check the cord path and choose a better fitting cap rather than trying to correct the balance with more embellishment.
4. Form the Hanging Loop
Bring the two cord ends together above the cap and tie a secure overhand knot, leaving enough loop between the knot and cap to fit the intended peg or branch. Keep the cap seated while setting the length. Tighten the knot and check it by gently loading the ornament over a soft surface.
To add the velvet appearance shown in the inspiration, cut a separate narrow ribbon strip to follow the two sides of the cord loop. Fold it over the loop’s upper end and hand stitch its lower ends together just above the cap. Keep the cord inside this decorative cover. The cord carries the weight; the ribbon hides it and can be adjusted for a neat front view.
5. Sew the Velvet Bow Around the Join
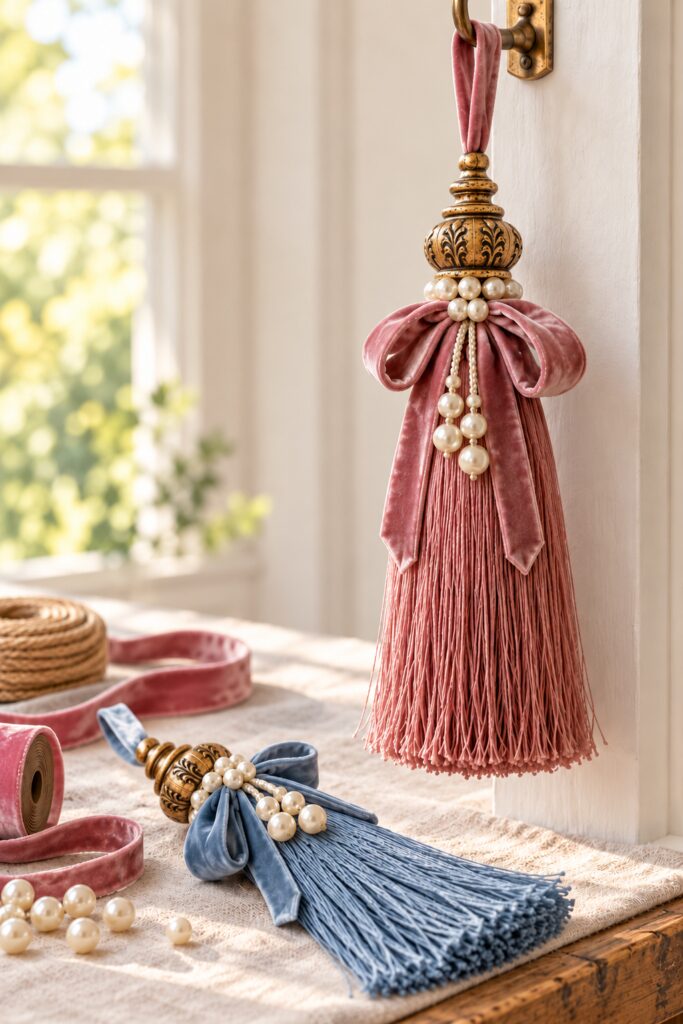
Tie a soft velvet bow around the narrow area just below the cap. Arrange the loops on either side of the tassel head, with tails falling over the fringe. Trim the tails shorter than the tassel so the strands remain visible below them. Turn single faced ribbon at the knot to keep the velvet outward.
Use matching thread to tack the back of the bow to the tassel’s firm bound head, taking several small stitches without cutting into its binding. Catch the ribbon knot as well so the bow can’t gradually work loose. Keep the needle away from the load bearing cord and top loop.
6. Add Optional Pearl Details
Wrap a short length of pearl trim around the join above the bow if it fits neatly. Stitch it to the ribbon’s back or use an adhesive suitable for the trim and fabric, following its label. This trim is decoration, so it shouldn’t be needed to hold the cap or tassel together.
For dangling accents, tie a few short pearl strands securely to the bow’s center and stitch their knots to the ribbon. Keep their ends above the bottom of the fringe. Check each strand for loose beads, then gently separate the tassel threads with your fingers and trim only obvious stray ends.
Tips for Getting the Finished Look
Keep the gold finish softer in the recessed areas so the wooden shape remains visible. Let the bow sit below the cap instead of wrapping the whole top in fabric. The contrast between hard painted wood and soft fringe is the detail worth preserving.
Hang the ornament while arranging the bow. Ribbon and pearl strands fall differently when suspended than when lying flat. Rotate the cap and bow until the best side faces outward, then make the final securing stitches.
Easy Ways to Customize It
Use the same cap shape for a coordinated pair, changing only the rose and blue textiles. For a larger wall drop, increase the tassel length while keeping the wooden part lightweight. For a tree, reduce the whole ornament and test its weight on a strong branch.
You can omit pearl strands and retain a single collar of trim for a cleaner finish. If the ribbon already has considerable texture, a smaller bow lets the gold cap remain the main feature.
Displaying the Finished Drops
Use a secure indoor peg, hook, or suitable tree branch. Space a group so the fringe can hang freely without tangling with neighboring ornaments. Keep drops away from heat sources, moving doors, and places where dangling strands invite grabbing or chewing.
Store them hanging if possible, or lay them flat with tissue supporting the bows. Keep the pearl strands separate from the fringe. A quick check of the cord, knot, and tassel loop before rehanging will reveal a loose connection while it’s still easy to fix.
Final Encouragement
Finish one drop and hang it where you intend to use it before making the rest. Adjust that first cap, bow, and tassel combination until the proportions feel right. It gives you a useful pattern to repeat while leaving room for the small differences that make a handmade group interesting.