*This post may contain affiliate links for which I earn commissions.*
Cream candle-shaped lights give this cottage tree its old-fashioned rhythm. Their upright forms stand out between dark branches, with red gingham bows, wooden stars, and a strand of beads providing the softer details. The tree feels full without relying on a dense covering of baubles.
The useful idea is to let one light shape lead the decorating. For a real version, choose LED candle lights expressly designed for Christmas trees and use them according to their instructions. The generated scene is inspiration, not a tested lighting installation. You can borrow the balance of vertical lights, small bows, and plain stars while fitting the actual products safely to your own tree and room.
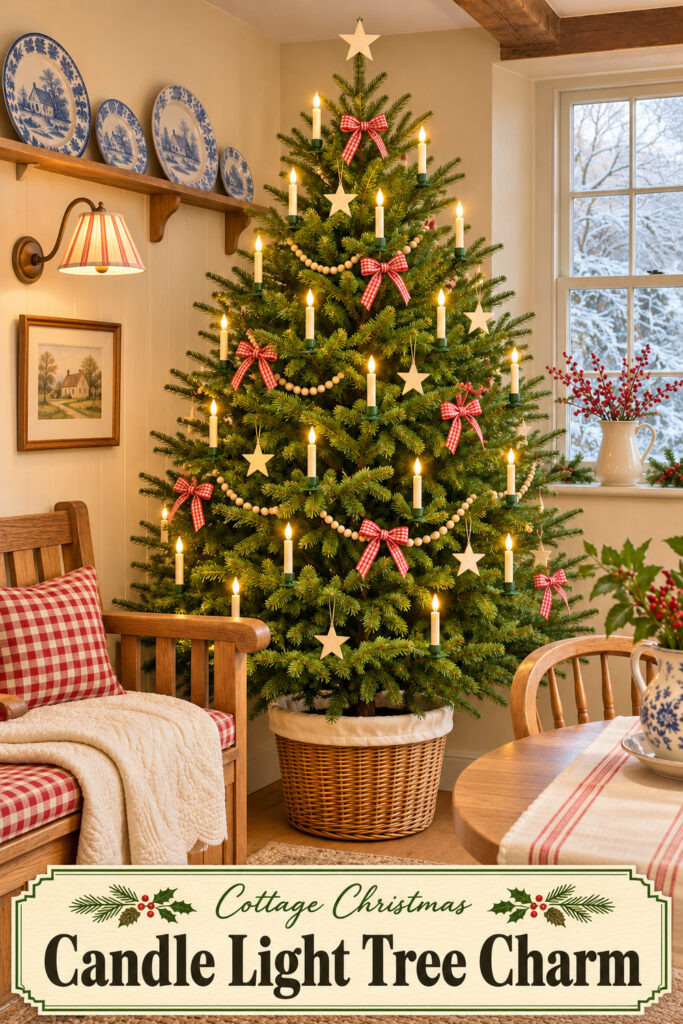
This image was generated with AI as decorating inspiration. Similar pieces can help you recreate its effect.
Let the candle shapes remain visible
The pale shafts give the eye a repeated vertical line through the tree. They work because enough dark greenery remains around them to show their outlines. A large bow or a crowded ornament group directly in front would hide that distinctive treatment.
Spread the visible lights through the height of the tree rather than placing all the brightest shapes along its outer edge. Follow the light maker’s directions for attachment and spacing. The visual aim is a balanced rhythm, but the actual product requirements come first.
Keep the supporting decorations simple. Gingham, plain wood, and cream shapes suit the cottage mood without creating another large theme. The tree’s natural branch structure still shows, giving the small repeated pieces something calm to sit against.
Choose tree lights made for the purpose
Look for candle-shaped LED lights with attachments intended for the type of tree you have. A decorative battery taper for a dining table isn’t automatically suitable for clipping to a branch. Check the product’s intended use, attachment method, clearances, and power arrangement before buying.
Use electric light only for this effect, never real candles on the tree. The flame-shaped tips in the inspiration should be translated into suitable manufactured LEDs. A nostalgic appearance can come from the shape and warm color without introducing an open flame among branches and ribbon.
Check how each unit is powered and controlled. Battery versions may need access for replacement, while connected systems need an appropriate cable route. Follow the actual instructions and keep equipment accessible rather than burying it beneath beads or inside the basket.
Test the lights before decorating around them. Confirm that the clips fit without damaging the branches and that the units remain in their intended position. If a branch can’t hold a light securely, choose another suitable position or a different tree-rated system rather than improvising a fastening.
Build the bows around the light pattern
The red-and-white checks add a small burst of color between the cream lights. Their repeated size gives the tree order, while the fabric texture connects it to the cushion on the bench. Keep the bows modest enough that the candle shapes still lead.
Tie one sample before preparing the set. Check the loop width against the tree’s branches and the light units. A bow that looks small in your hand can fill a narrow section once its tails are added.
Finish the tails neatly and keep fabric outside all required light clearances. Follow the lighting instructions rather than assuming an LED label removes every placement restriction. The bows should be attached to suitable branches of their own, not used to hold the lights upright.
Place the red accents at several heights. If one side begins to look much brighter, step back and move a bow rather than adding another ornament automatically. A limited collection can feel generously decorated when the repeated color is well distributed.
Add stars and beads as quieter layers
The plain wooden stars give the tree a few broader pale shapes. Their simplicity matters: they echo the light color without copying the tall candle form. Choose sizes that remain visible but don’t overwhelm the small bows.
Hang each star so it rests freely in a suitable gap. Avoid pressing it against a light or tangling its hanger with several other decorations. Give heavier pieces a branch appropriate to their weight, following any product guidance.
The wood beads make gentle curves across the darker greenery. Their warm color connects to the oak furniture and woven basket, bringing the tree into the room. Use a restrained amount so the bead line doesn’t compete with the vertical lighting pattern.
Check the bead strand’s weight and attachments on your actual tree. Keep it clear of controls and cables, and avoid pulling branches into an unnatural curve. The relaxed shape should come from a suitable arrangement, not from stretching the strand tight between weak tips.
Finish the base and nearby seating
The woven basket gives the tree a defined base without adding a pile of parcels. Treat it as a decorative outer cover around a proper stable tree stand. It shouldn’t replace the support your tree requires or conceal equipment that needs ventilation or access.
Keep any liner and other textiles clear of the lighting system’s requirements. Check the tree’s care directions as well, especially if it is live. A pretty base still needs to allow the ordinary maintenance that keeps the whole arrangement suitable for use.
The bench repeats the gingham on a larger scale, with a folded cream layer softening the wood. Leave enough seat depth for someone to sit comfortably. If the tree narrows the space, move the bench rather than asking guests to squeeze past branches.
The blue plates and striped wall shade add cottage character around the tree. They can remain familiar room features. You don’t need every surface to carry Christmas objects when the tree already supplies a clear seasonal focal point.
Adapt the treatment to your tree
On a smaller tree, reduce the number of supporting ornaments and use bows suited to its scale. Follow the lighting product’s intended use rather than simply shortening or altering a system. A few well-placed candle shapes can still define the look.
If you prefer blue checks or plain red ribbon, keep the cream lights and wooden details as the connection. Change one major fabric color, then step back before adding more. The treatment depends on clear shapes and repeated materials more than a precise shade of red.
Choose the lighting before the finishing pieces
Start with a suitable tree and lighting system, then select bows and ornaments around them. That order gives the practical requirements room in the plan from the beginning.
Look for clip on LED Christmas tree candle lights
Confirm that the complete product is intended for tree use. Review its attachment, power, care, and clearance directions rather than relying on appearance alone.
Shop similar red gingham ribbon
Choose a scale of check that remains readable in small bows. Test its stiffness and loop shape before cutting the whole spool.
Look for plain wooden star ornaments
A few simple shapes can echo the candle color. Check their weight and hangers against the branches where you plan to place them.
Review the tree with the room in use
Check the installed lights as directed, then look from the bench, table, and doorway. Move a supporting ornament if it hides a light shape or crowds a useful route.
Keep controls accessible and switch the lights off according to the maker’s guidance. A display that is easy to care for will be more pleasant to enjoy through the season.
Final Styling Tip
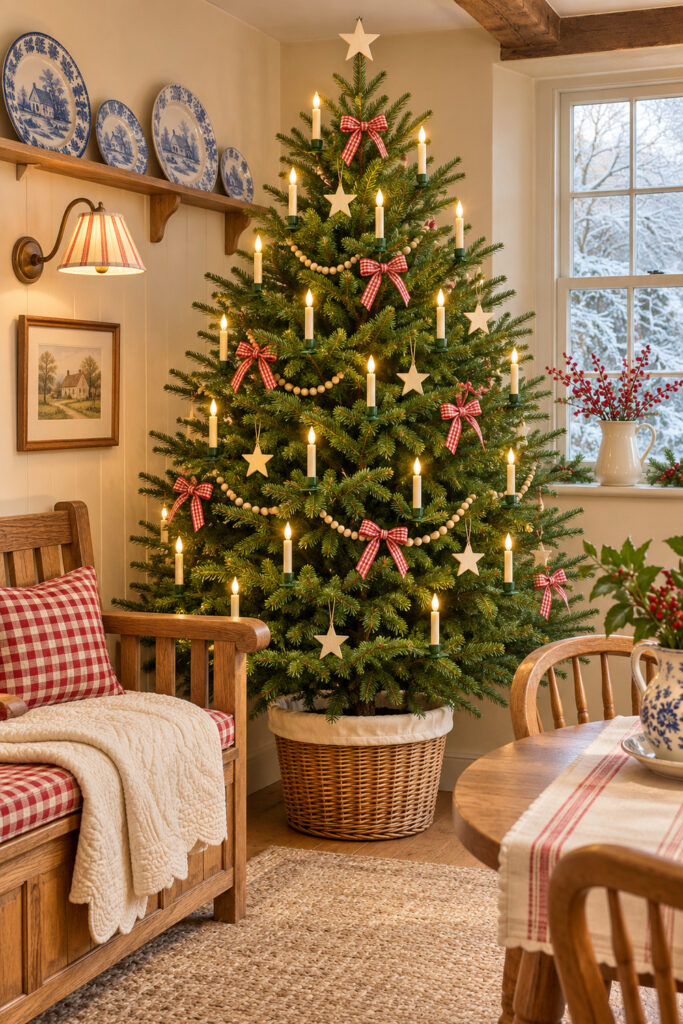
Leave a little dark greenery around each pale candle shape. That contrast is what gives this tree its quiet, nostalgic sparkle.